Short-Term Rentals
Photo Approval Workflow for Rental and Hotel Listings
Streamline your review process to ensure every property image is accurate, compliant, and professionally polished before publishing across major booking channels.
By Hospitality Lens · · 14 min read

A photo approval workflow is the fixed path an image takes from whoever shot it to a live listing: intake, a check for accuracy, a check for polish, one named sign-off, and a publish step you can verify. For a team running 10 or more properties, the workflow matters more than the camera. Owner-submitted and cleaner-taken photos arrive in every state, and without a path they get posted as they are or argued over by email.
This guide lays out a workflow built for property managers, co-hosting agencies, serviced apartment operators and boutique hotel teams. It also shows where enhancement, such as fixing light and crooked lines, fits into the path without changing what the property actually looks like.
TL;DR
- Sort every incoming photo into three groups: usable as is, usable after enhancement, and needs a retake. Decide the third group quickly.
- Review in two passes, in order: accuracy and privacy first, then crop, color and consistency. One named person gives the final approval per property.
- Check each file against platform rules before it goes live, for example Vrbo’s minimum size and its list of rejected photo types.
- Use four statuses and name the file, the problem and the fix in every change request.
- Approval covers one exact file and its named destinations. Re-check what actually appears live.
Table of Contents
- What a photo approval workflow actually does
- Who approves: one name, clear roles
- Stage 1: Intake and triage
- Stage 2: Enhancement within honest limits
- Stage 3: Two review passes, in order
- Stage 4: Check against platform rules
- Stage 5: Feedback, statuses and file names
- Stage 6: Publish, then inspect what is live
- Measuring whether the workflow works
- Where enhancement speeds the workflow up
- Try it on one photo
- Our perspective
- FAQ
- Sources
What a photo approval workflow actually does
The purpose is simple: nothing reaches a booking page until someone accountable has confirmed it is true, clean and allowed.
In the hotel world this is built into software. In one major hospitality content system, properties load images and an administrator accepts or rejects them before they are syndicated to online travel agencies. The same approval step also covers changes to categories and captions. You do not need an enterprise system to copy the logic. You need the same three things: a holding area for unapproved images, a person with authority to release them, and a record of what was released.
The search results for this topic are full of film-studio stills platforms, design review tools and SharePoint tutorials. None of those answer the question a rental manager has, which is how to get a pile of mixed-quality owner photos to the point where you can publish them with confidence. That is what the rest of this page covers.
Who approves: one name, clear roles
The most common failure in multi-person photo review is not bad taste. It is a missing decision-maker. Everyone gives opinions, nobody closes the loop, and the gallery stays half-finished.
Name a person, not a department
Write “Dana Ruiz, operations lead” on the property record, not “marketing.” One person owns the final decision for each property’s photo set. Others advise.
Split the roles by what each person can do
One practical permission model, described by a hotel marketing team in its asset-library guide, uses three roles. An admin can approve, publish and delete. An editor can upload, edit and tag but cannot publish finals. A distributor, such as a channel manager or virtual assistant, can only download approved finals.
For a rental company this maps cleanly. The property manager or ops lead is the admin. Your onboarding coordinator or photo editor is the editor. The person who pushes listings to Airbnb, Vrbo, Booking.com or your direct-booking site is the distributor, and only touches approved files.
Who owns accuracy
One point should be settled in writing. A change-control guide for short-term rental listings states that the host owns accuracy, usage rights, accessibility claims, amenity representations and the decision to add or remove an image. An assistant or contractor can arrange approved images, but should escalate when a photo shows a person or private record, when its origin is unknown, when two rooms could be confused, or when something pictured is not actually available.
If you manage on behalf of owners, put that division in your management agreement and your photo record. It saves arguments later.
Stage 1: Intake and triage
Every photo enters the workflow the same way, whether it came from an owner’s phone, a cleaner after turnover, or an existing listing you want to refresh.
Record the property, the room, who took it and when. Then sort each image into one of three groups:
- Usable as is: sharp, level, honestly lit, nothing to fix.
- Usable after enhancement: the room is clear and the angle is fine, but the light is dark, the lines lean, or there is clutter or a stray person in frame.
- Needs a retake: blurred, cropped so the room cannot be understood, or showing a space the guest could not recognize.
Be decisive about the third group. Enhancement improves a usable photo. It cannot rescue one that never showed the room. A one-time shoot or a quick retake by the cleaner is the right call there, and for flagship launches, architectural work or difficult capture conditions a professional photographer is the better route.
For existing listings, run the same sort across the whole gallery. Many refreshes turn out to be an enhancement job for most images and a retake list of three or four.
Stage 2: Enhancement within honest limits
The enhancement step is where a workflow can quietly go wrong, so give it a written boundary. Allowed: lighting and color correction, straightening perspective and horizons, removing clutter, people or loose objects, and general polish. Not allowed: adding furniture, changing a view, adding amenities, or altering the size or condition of a space.
That boundary is not only ethical. It is a platform rule. One vacation rental booking site’s quality standards require photos to depict current condition, allow authentic photos taken within 90 days before a listing goes live or after a material change, and prohibit AI images that do not depict the actual property and excessive filters that materially alter color, size, brightness, view or condition.
A simple test for the approver: what would a reasonable guest infer from this image? If the answer is something that is not true on arrival, the edit does not pass, however small the changed area.
Our own approach is built around that boundary. HospitalityLens enhances the real photo and does not invent rooms, views, architectural features or amenities. You can read more on how we handle a property photo approval process that stays honest.
Stage 3: Two review passes, in order
Review in two tiers, and run them one after the other.
Pass one: facts, privacy and safety
Someone who knows the property, such as the on-site manager, general manager or the person who did the last inspection, confirms the facts. Is the sofa still there? Is the pool open? Is the signage current? Does a family photo, a visible address, a license plate or a staff member appear in frame?
A hotel photography approval guide recommends this order because factual errors, such as outdated signage, refurbished rooms or people who should not be pictured, are cheaper to catch before anyone spends time on crop and color.
Pass two: crop, color and consistency
A brand or portfolio lead then checks that the set looks like it belongs to your company. Are verticals straight? Is the white balance similar room to room? Is the retouching level the same across the portfolio? This is the pass that makes 40 listings look like one operation. Our guides on how to standardize vacation rental photos and property image consistency go deeper on that second pass.
Stage 4: Check against platform rules
Before anything is marked approved, test it against the rules of the place it will appear. Rejection after upload is slow and sometimes costly.
Take Vrbo. Its photo guidelines require at least 1024 x 683 pixels in JPEG, PNG, WebP, AVIF or SVG, and list as rejectable: black-and-white or sepia photos, blank or duplicate images, blurry or pixelated ones, close-ups, collages, non-photos, and anything with text or graphic overlays such as logo watermarks or borders. The same page says each listing needs at least six unique photos published at all times, and that going below six for more than 30 days can bring an indefinite suspension. Multi-unit listings need a building exterior, an interior or lobby, three guest rooms and a bathroom.
Expedia search and ranking systems use multiple signals that can change over time. Treat image quality as one part of listing quality and rely on current first-party guidance rather than a guaranteed ranking effect.
Note what that implies for a watermarked proof. A preview with a watermark is a review copy only. It must never be uploaded. Your approved final should be clean, full resolution and free of overlays.
Platform rules change, so check the current help page for each channel when you set up the workflow and again when you audit.

Stage 5: Feedback, statuses and file names
Email threads are where review slows down. A comment like “can we do something about the corridor shot?” is useless when there are four corridor shots. The hotel approval guide above suggests marking the exact part of the frame and keeping notes attached to that image and version.
A workable status set has four labels: In review, Changes requested, Approved with exceptions, and Approved. Every change request names four things: the filename, the problem, the expected correction and who owns it by when.
Naming matters as much. Use predictable file names such as listing-id_room_view_01.jpg instead of “final-final-2.jpg”. When a channel manager asks which file is current, the answer is in the name and the record.
Set these rules in writing before the first review round: who the final decider is, how many revision rounds each property gets, the deadline for the property pass, and what happens if a reviewer does not answer. That last one, the non-response default, is the rule most teams forget.
Stage 6: Publish, then inspect what is live
Approval applies to an exact file and its named destinations. It does not automatically carry over to a new crop, a different platform, a paid ad or a later relist. A real estate editing checklist makes this point and asks teams to record the file, destinations, date, reviewer and change trigger.
Keep a record per listing that includes the approved image ID, date, room shown, a factual caption, display order, any seasonal condition, the approver and proof of publication. The sequence in the change-control guide is a good template: inventory current images, tie each approved image to a verified fact, remove obsolete ones, get approval for the order, publish through the source listing, then look at the public page.
That last step is not optional. Channels re-process images, and connected channels can show an old gallery. Think about keeping a rental gallery accurate across platforms as ongoing work, not a one-time upload.
Push the canonical set to channels yourself rather than letting channel managers pull from old emails. Hotel teams have identified old emails as a top source of stale OTA photos, and the same hotel marketing guide recommends auditing live listings against the approved set every quarter. Retire outdated shots with an expiry date, for example after a renovation or when the season changes.

Measuring whether the workflow works
Track a few things: how many assets were published, how many obsolete images were removed, caption corrections, channel lag and rollbacks. The change-control guide adds a useful warning: a very low exception count can mean staff are closing ambiguous cases too early, so a perfect score is not automatically good news. Track preventable delay, like a missing approver, separately from legitimate waiting, like an owner on vacation.
Where enhancement speeds the workflow up
The slowest part of most approval workflows is the retake loop: ask the owner for new photos, wait, receive another dark batch, repeat. When the original photos are usable, enhancement removes much of that loop.
In practice this means your triage group two, usable after enhancement, goes through a quick edit instead of back to the owner. The edited image then enters pass one and pass two like any other. Nothing about your approval rules changes. You simply stop spending review rounds on exposure, tilt and clutter.
Try it on one photo
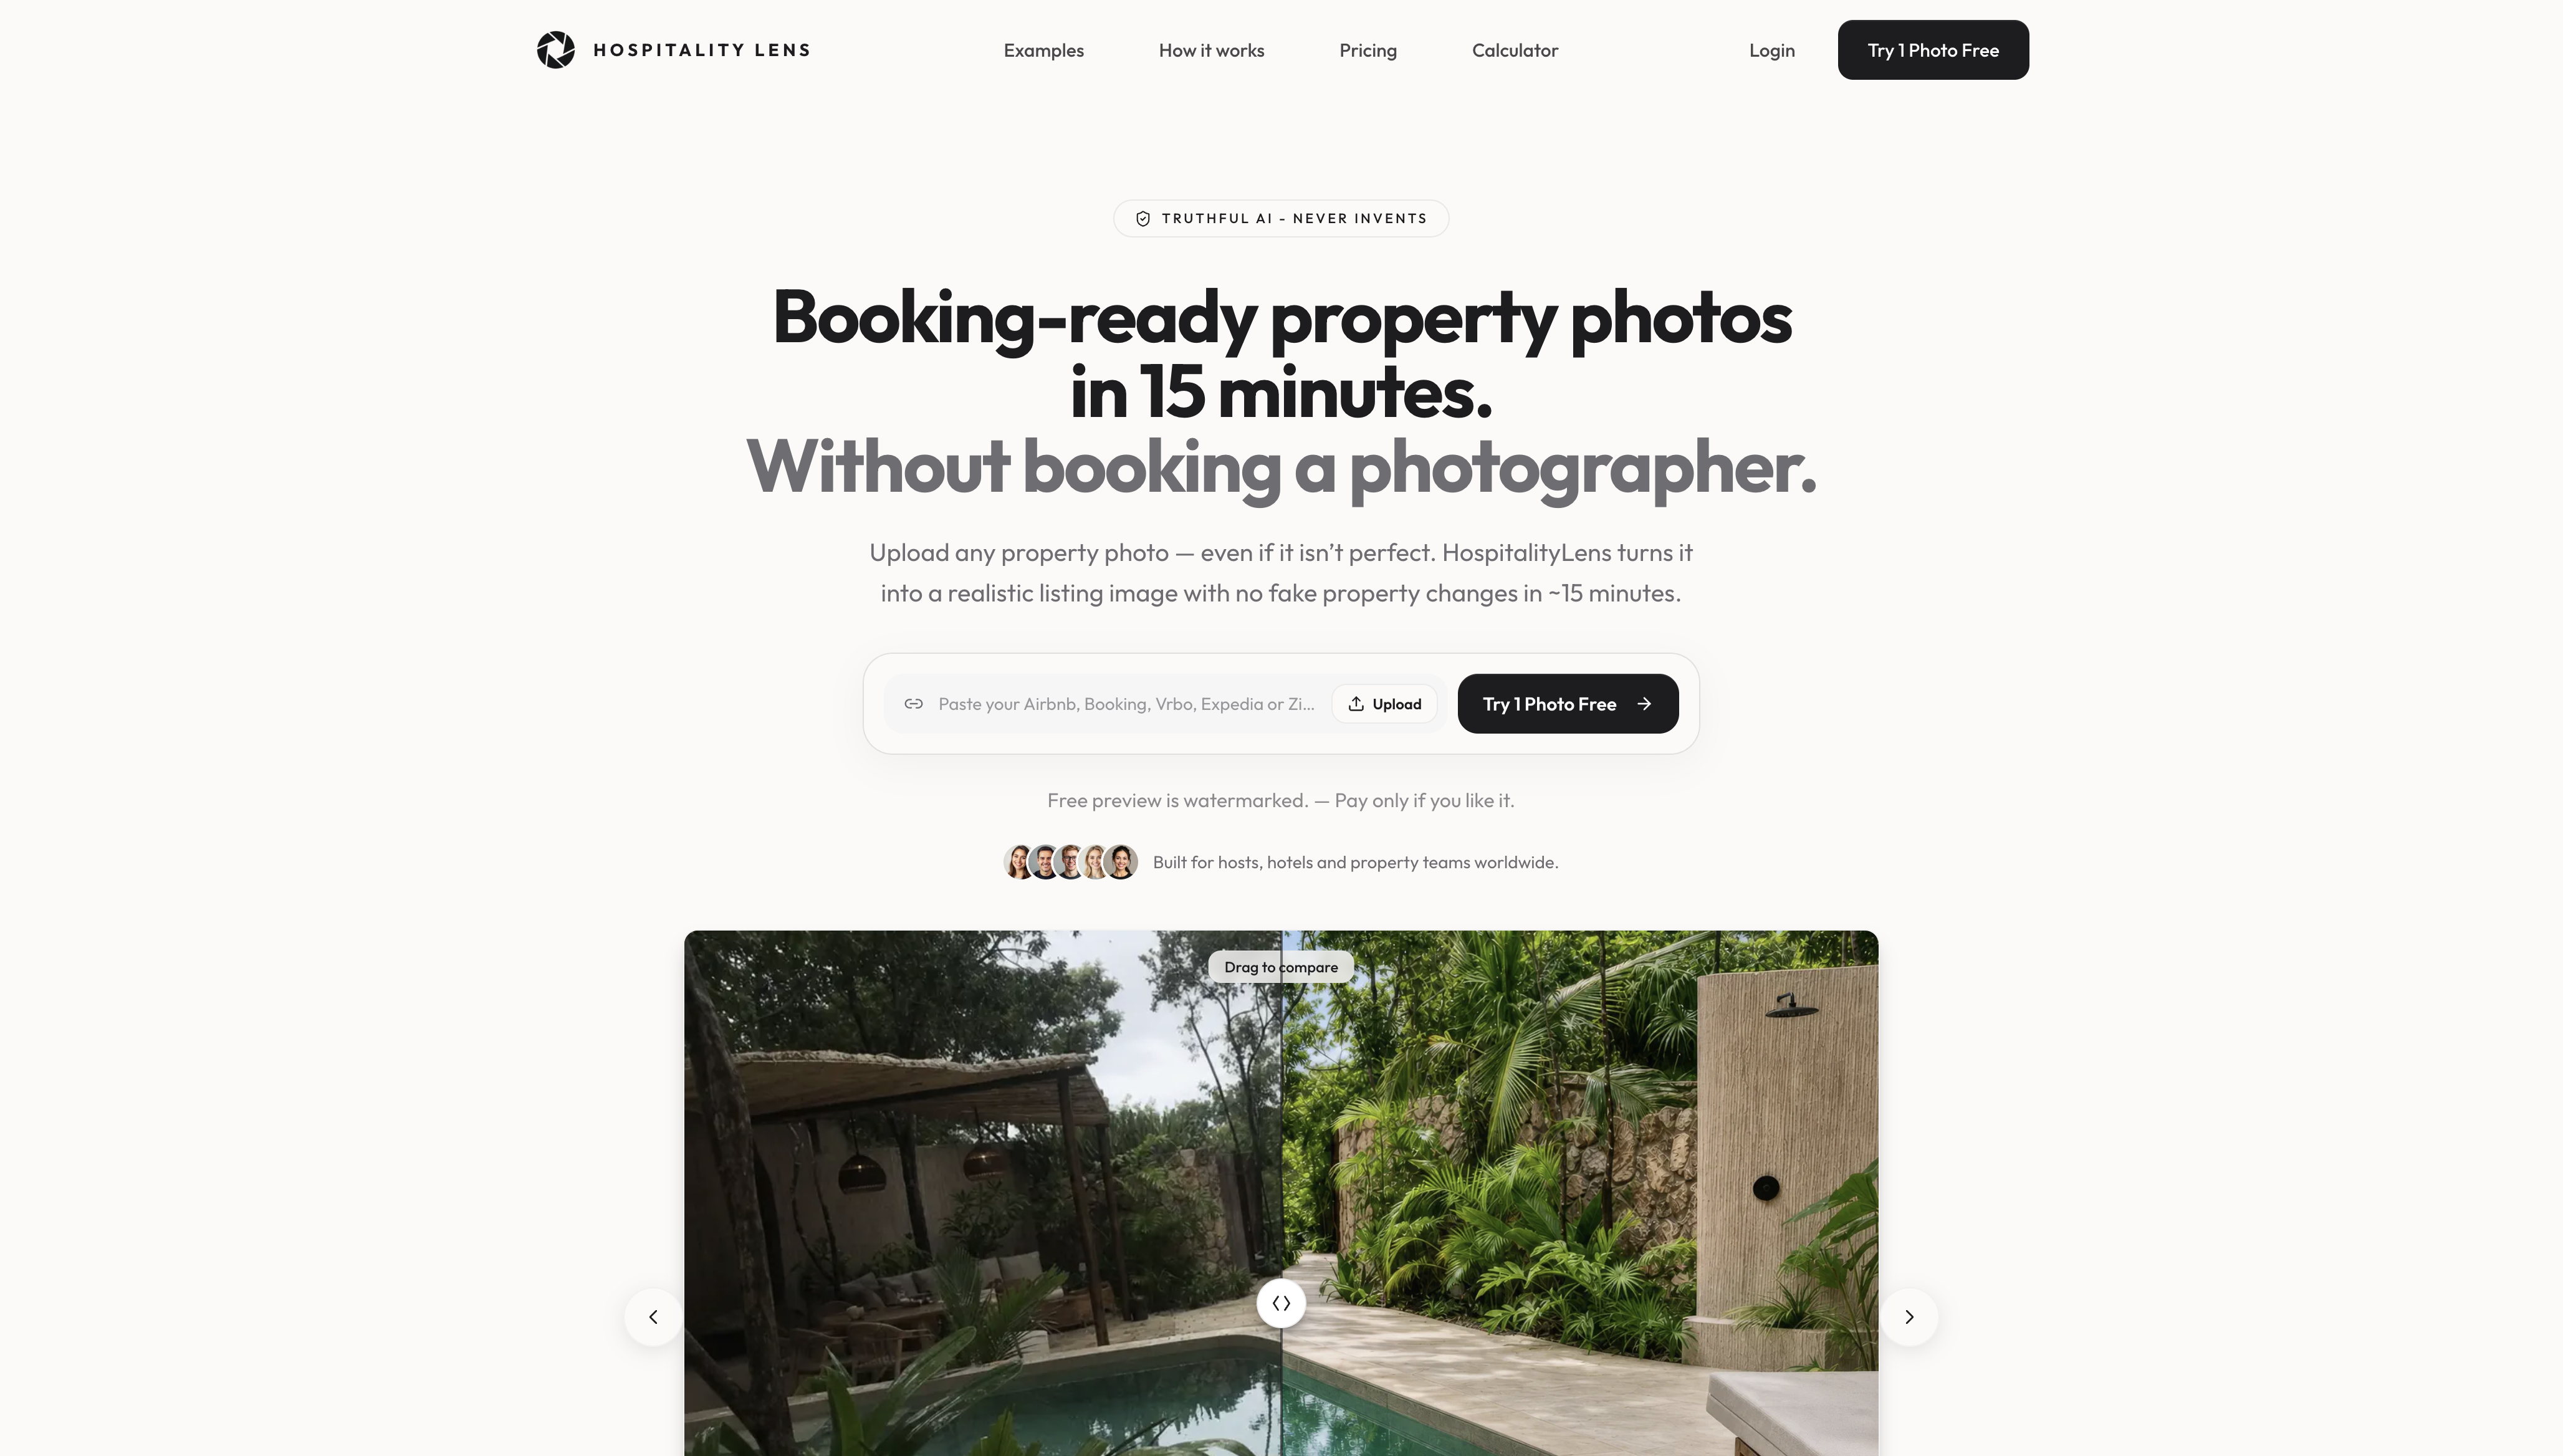
HospitalityLens turns dark, crooked, cluttered, owner-submitted or cleaner-taken property photos into realistic, booking-ready images for Airbnb, Vrbo, Booking.com and direct-booking sites. Try one photo free: the preview is watermarked, so it works as a review copy for your approver, and the preview takes about 15 minutes. Multiple revisions are allowed, so your change requests have somewhere to go.
Current HospitalityLens pricing (USD); one-time packs — The Hero: 1 photo for $12; The Refresh: 10 photos for $59; The Property: 25 photos for $129; The Portfolio: 100 photos for $399; monthly subscriptions — THE STARTER: 10 photos/month for $49/month; THE OPERATOR: 25 photos/month for $99/month; THE PORTFOLIO: 100 photos/month for $299/month; one-time pack credits do not expire; monthly subscription credits remain valid for up to 3 months; 2 free revisions per photo on one-time packs; 3 free revisions per photo on monthly subscriptions. See current pricing.
Our perspective
Most approval workflows fail at the front door, not the review table. Teams approve whatever arrives, then spend weeks debating it.
We think the better habit is to sort first. Some photos are fine. Some need light, a straight horizon or a cleared counter. A few need a retake. Treating them as three different jobs keeps your approver’s time for the decisions that matter.
We also think honesty belongs in the workflow itself, written down, not left to taste. HospitalityLens improves the real photo and does not invent rooms, views or amenities, so your accuracy pass has less to argue about and your listing stays something a guest recognizes at check-in.
For portfolio teams, speed and consistency come from repeating the same path every time. That is why we built around a quick preview, room for revisions, and a clear line between enhancing a photo and changing a property. A professional photographer is still the right call for flagship launches, architectural work and spaces the current photos cannot show.
The HospitalityLens Team
FAQ
What is a photo approval workflow?
It is the sequence every listing image passes through before publication: intake, triage, enhancement, review, final sign-off and a live check. Each step has an owner and leaves a record. The goal is that nothing goes live unverified.
How many people should approve a listing photo?
Many can advise, but one named person should make the final call per property set. Use a two-pass review, with facts and privacy first and brand and polish second. This keeps feedback from turning into an open-ended preference vote.
How many revision rounds should I allow?
Set the number before the first round and write it down, along with the deadline and a default for non-response. Two rounds is a common starting point, but pick what fits your portfolio. HospitalityLens includes multiple revisions, so you can tie each round to a specific file and fix.
Does approval carry over to other platforms?
No. Approve a specific file for specific destinations. A new crop, a different channel, an ad or a relist should go back through review. After publishing, open the live page and check how the platform rendered the image.
Can enhanced photos be used on Airbnb and Vrbo?
Yes, when the edit keeps the property true to life. Vrbo, for example, rejects blurry images, duplicates and images with overlays, so approve only clean, full-resolution files with no watermark. Check each platform’s current photo guidelines before you publish.
Sources
- Workflow and Approval Engine Overview
- Setting Up Permissions in Your Hotel Asset Library
- Use change control for STR listing photos
- Palmabook Quality Standards
- Hotel Photography Approval Across Multiple Properties
- Vrbo photo guidelines
- Expedia PartnerCentral photo guidance
- Real Estate Photo Editing Checklist
- How rental platform listings work