Short-Term Rentals
How to Streamline Rental Portfolio Photo Management
Optimize your rental listings by leveraging AI photo enhancement, consistent shot lists, and smart file organization for faster, higher-quality images.
By Hospitality Lens · · 14 min read

The fastest way to streamline rental portfolio photo management is to combine three things: a standard shot list, a consistent file-naming and metadata system, and an AI enhancement pipeline for photos that are usable but not booking-ready. Together, these remove the two real bottlenecks in multi-listing photo work: waiting on a photographer’s calendar and hunting for files nobody labeled properly.
A professional photoshoot still wins for flagship properties, architectural showcases, or units where the raw capture is so dark, cluttered, or crooked that no amount of editing saves it. For everything else, in most portfolios, that’s the majority of units, a phone photo plus AI correction gets you to publish-ready faster and cheaper.
Do these three things this hour:
- Write your room-by-room shot list on one page and pin it where your cleaning or onboarding team will see it.
- Rename one existing photo using a property-unit-room-date convention, just to test the pattern before rolling it out.
- Upload one rough photo to HospitalityLens’s free preview to see what AI correction actually looks like on your own image.
Key Takeaways
A standardized shot list, consistent file metadata, and AI-based photo enhancement together cut portfolio photo turnaround time far more than any single fix alone.
Free watermarked preview. Pay only if you like it. No card is required to create the free watermarked preview. See current pricing for unlocks, one-time packs, and subscriptions.
Table of Contents
Capture and Prep Checklist for Repeatable, Fast Shoots
Photography is the single biggest driver of listing engagement, and preparation done before the camera comes out matters more than the camera itself. A repeatable shot order means anyone on your team, not just your best photographer, can produce a usable set.
Follow this sequence for every unit:
- Hero shot (the room a guest sees first in the listing, usually the living area or a standout view)
- Living area, wide angle
- Kitchen, wide angle
- Kitchen details (counters, appliances, any upgraded fixtures)
- Each bedroom
- Each bathroom
- Storage or closet space
- Exterior and entry
- Amenities (pool, parking, workspace, laundry)
- One condition or damage reference shot for your own records
For phone captures, use a tripod or a stable ledge, turn on your camera’s grid and level guides, and shoot in HDR mode when your phone supports it. Export or resize to roughly 2,048 pixels on the long edge, which holds up across most listing platforms without ballooning file size. Aim for 20 to 30 images per unit when the layout supports it, since listings with more high-quality photos see meaningfully higher inquiry rates.
Before you shoot: turn on every light, clear personal items and toiletries, and leave one recognizable object (a chair, a doorway) in frame so viewers can judge scale. Budget 30 to 60 minutes per unit for a quick in-house shoot, and batch similar floor plans back-to-back to save setup time.
Pro Tip: Shoot your worst-lit room first while your energy and patience are highest. Bad light is the hardest thing to fix later, in-camera or in editing.
File Naming and Folder Rules That Keep Portfolio Images Searchable
Standardizing how you name and store photos turns a scattered image library into searchable evidence, which matters the moment you have more than a handful of units. A new hire should be able to find any photo in under a minute, not dig through a shared drive for twenty.
Set up folders by function, not by date:
01_PreListing02_MarketingPhotos03_Applications04_LeaseDocs05_MoveIn06_Maintenance07_MoveOut
Keep marketing photos and inspection or move-in/move-out photos in separate branches. One Florida property management guide on photo documentation makes this point clearly: a marketing gallery and a condition-evidence file serve different audiences and different legal purposes, and blending them makes both harder to use.
For filenames, use a fixed pattern: PROPERTYID_UNIT_ROOM_YYYYMMDD_SHOT01.jpg. A real example looks like 123Main_U2_Living_20260512_01.jpg. That single string tells you the property, the unit, the room, the capture date, and the shot number without opening the file.
Attach metadata tags for property ID, unit number, room, shot purpose (marketing versus documentation), photographer or uploader, capture date, and a revision ID if the photo has been re-edited. A consistent taxonomy like this can cut image-retrieval time from hours to minutes for anyone new to the portfolio, and it makes targeted batch refreshes possible: you can pull every kitchen photo older than a year with one search instead of opening folders one by one.

When Should You Use AI Enhancement Instead of a Photographer?
Use AI enhancement when the underlying photo is usable but the presentation isn’t. That means the composition is reasonable and the lighting is at least workable, but the image looks dim, off-color, cluttered, or crooked. AI enhancement compresses the production cycle dramatically compared to scheduling and waiting on a photographer, and the cost-per-photo math favors it for volume work like onboarding a new property or refreshing an aging listing.
A photographer remains the better call for flagship launches, genuinely difficult architecture, or captures so poor that editing can’t recover them, no lighting fix saves a photo that’s badly out of focus.
Be upfront about limits. AI correction should mean truthful edits only: lighting, color, perspective, clutter, and object removal while the real property stays the real property. It should never add rooms, views, or amenities that don’t exist, and any conceptual or seasonal image should be labeled as such rather than passed off as a literal capture.
Run a simple pilot before committing:
- Pick one underperforming listing and pull its current photo set.
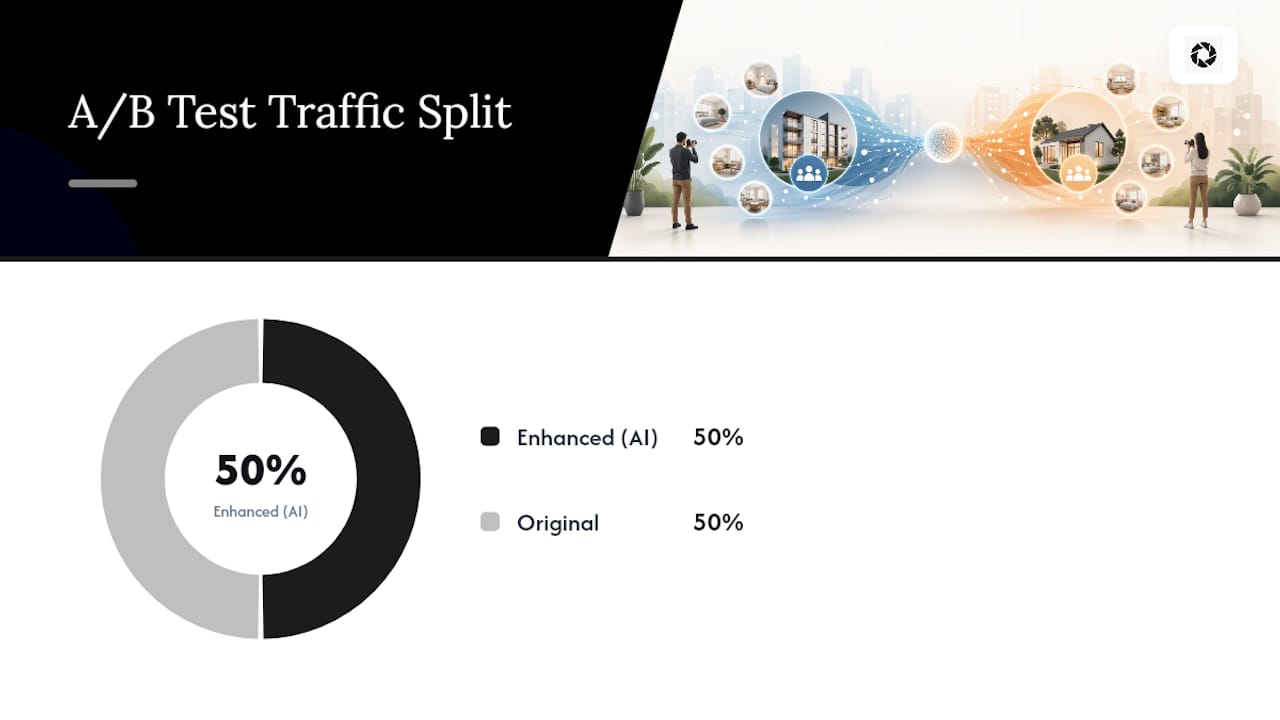
- Run the full set through AI enhancement and split traffic, half enhanced, half original, in an A/B test.
- Compare click-through rate, bookings, and time-to-live between the two versions.
Free watermarked preview. Pay only if you like it. No card is required to create the free watermarked preview. See current pricing for unlocks, one-time packs, and subscriptions.
Pro Tip: Don’t judge AI enhancement on your best photo. Test it on your worst usable one, the dim kitchen shot everyone avoids using. That’s where the real value shows up.
Operationalizing Photo Workflows Across Hundreds of Listings
Once you’re managing dozens or hundreds of units, ad hoc editing breaks down fast. The fix is treating your photo library like a digital asset system, not a folder of loose files. AI-enhanced images integrated into a DAM or PMS can sync automatically across channel managers instead of requiring manual re-uploads to every OTA.
Tag every image on the way in with property ID, unit, room, and campaign, so bulk actions become searchable filters instead of manual sorting. Then run three bulk workflows regularly:
- Batch enhancement across a whole property or a whole seasonal cohort at once, rather than photo by photo.
- Batch export with channel-specific crops: a 2,048 pixel long-edge master file for most listings, plus square crops for platforms that require them.
- Batch reordering so the hero shot and top five images stay consistent across every channel a listing appears on.
Before anything goes live, run it through a short quality-control checklist:
- Resolution meets the platform’s minimum
- The hero thumbnail is legible and appealing at small size
- Metadata tags are complete, not placeholder text
Route every batch through an approval step, one person or team signs off before publishing, so automation removes the repetitive admin work of renaming and routing files without removing accountability for what actually goes live. A workflow guide from Wild Foodz’s hospitality efficiency series makes a similar case for hospitality operations generally: automation should absorb the tedious steps, not the judgment calls.
Building an Onboarding and Refresh Cadence That Actually Sticks
New units need a full photo set at listing creation, no exceptions, since that first impression sets the tone for every guest search that follows. Beyond that, most portfolios do well with a light seasonal refresh once a quarter or just ahead of peak booking season, plus spot updates whenever something specific changes.
Trigger a photo update when:
- Furniture or décor changes materially
- A new amenity gets added (a hot tub, a workspace, a parking spot)
- An owner specifically requests updated images
- Three months have passed without any refresh
- A listing’s click-through rate falls noticeably below your portfolio benchmark
Current HospitalityLens pricing (USD); one-time packs — The Hero: 1 photo for $12; The Refresh: 10 photos for $59; The Property: 25 photos for $129; The Portfolio: 100 photos for $399; monthly subscriptions — THE STARTER: 10 photos/month for $49/month; THE OPERATOR: 25 photos/month for $99/month; THE PORTFOLIO: 100 photos/month for $299/month; one-time pack credits do not expire; monthly subscription credits remain valid for up to 3 months; 2 free revisions per photo on one-time packs; 3 free revisions per photo on monthly subscriptions. See current pricing.
How HospitalityLens Fits Into This Workflow
HospitalityLens handles the enhancement layer of this workflow directly: lighting and color correction, perspective and horizon straightening, clutter cleanup, and removal of people or stray objects, all while keeping the actual property exactly as it is. No invented rooms, no added views, no phantom amenities.
Pricing is transparent and built around the reader’s own volume:
Free watermarked preview. Pay only if you like it. No card is required to create the free watermarked preview. See current pricing for unlocks, one-time packs, and subscriptions.
- One-time packs: 10 photos for $59, 25 for $129, or 100 for $399, each with two revisions per photo.
- Subscriptions: 10 photos a month for $49, 25 for $99, or 100 for $299, each with three revisions per photo, plus additional photos at $5, $4, or $3 depending on tier.
Start with the free preview on your worst photo, compare it honestly against the original, and decide from there whether a pack or subscription fits your onboarding pace. For listings where the raw capture itself is the problem, not the editing, HospitalityLens’s directory of property photographers is the more honest next step.
Free watermarked preview. Pay only if you like it. No card is required to create the free watermarked preview. See current pricing for unlocks, one-time packs, and subscriptions.
What a Complete Portfolio Photo Set Should Include
A minimum viable set for any short-term rental or serviced unit runs 20 to 30 photos, covering every room plus exterior and amenities, since research on listing performance ties larger, higher-quality photo sets to stronger engagement. Fewer than 15 images tends to leave gaps that make guests hesitate, particularly around bathrooms and storage, two areas travelers consistently check before booking.
A workable minimum breaks down like this: one hero image, two to three living area angles, two kitchen shots (one wide, one detail), two images per bedroom, one to two per bathroom, one storage or closet shot, two exterior angles, and one image per distinct amenity. A one-bedroom unit with a single bathroom might land around 18 to 22 photos. A three-bedroom property with a pool and dedicated workspace can reasonably run 30 or more.
Consistency across the portfolio matters as much as the count itself. If one listing in your portfolio has 35 crisp images and another has 12 uneven ones, guests notice the disparity even if they can’t articulate why one listing feels more trustworthy. Set a portfolio-wide minimum, document it in your shot list, and audit against it quarterly using the same folder and metadata system you use for refreshes. Treat the minimum as a floor, not a target: units with unusual layouts, standout views, or multiple outdoor spaces should exceed it, not just meet it.
What We Think Most Portfolio Managers Get Wrong About Photo Workflows
Most advice on rental photography treats every listing like a one-time event: shoot it once, publish it, move on. That’s the wrong model for anyone managing more than a few units. The properties that keep booking well treat photos the way they treat maintenance logs, as living records that get reviewed, refreshed, and audited on a schedule.
The conventional wisdom oversells the photoshoot and undersells the filing system. A gorgeous photo set sitting in an unlabeled folder, with no naming convention and no metadata, degrades in value the moment the person who took it leaves the company. Nobody can find it, nobody knows if it’s current, and it eventually gets replaced by a rushed phone photo out of sheer necessity.
What actually moves the needle is unglamorous: a shot list everyone follows, a filename pattern nobody has to think about, and a fast way to fix a mediocre photo without waiting two weeks for a photographer’s availability. AI enhancement is a genuine part of that system for most day-to-day refresh work, not a replacement for photographers on the projects that truly need one.
— The HospitalityLens Team
Get Your First Enhanced Photo Without Booking a Shoot
HospitalityLens is the direct alternative to scheduling a new photoshoot every time a listing needs a refresh: instead of coordinating a photographer’s calendar for a quick lighting fix or a decluttered kitchen shot, you upload the photo you already have and get a corrected version back.

The workflow fits naturally into everything covered above: shoot using the standard checklist, name and tag the file, then run it through HospitalityLens when the raw capture needs help but doesn’t warrant a professional shoot. Every photo, whether it’s a single upload or part of a subscription tier, gets two or three revisions depending on the plan, so you’re not stuck with a fix that misses the mark. Start by uploading one photo through the free watermarked preview to see the correction on your own image before spending anything, then check the step-by-step guide for how uploads, revisions, and listing integration actually work.
Sources
FAQ
What Is the Fastest Way to Manage Photos Across a Rental Portfolio?
Combine a fixed room-by-room shot list, a consistent filename and metadata system, and AI enhancement for usable-but-flat photos; this handles onboarding and refreshes without having to book a photographer for every unit.
How Many Photos Should Each Listing Have?
Aim for 20 to 30 images per unit when the layout supports it, since larger, higher-quality photo sets are tied to stronger listing engagement.
When Should I Hire a Photographer Instead of Using AI?
Choose a photographer for flagship launches, complex architecture, or photos so poor (badly out of focus, severely underexposed) that no enhancement can recover them.
Does AI Photo Enhancement Add Anything That Wasn’t in the Original Photo?
No. Truthful enhancement corrects lighting, color, perspective, and clutter in the real space; it should never add rooms, views, or amenities that don’t exist. HospitalityLens follows this rule and never invents property features.
How Much Does HospitalityLens Cost per Photo?
The first preview is free and watermarked; the finished photo is $12 with two revisions, and packs or subscriptions bring the per-photo cost down to as low as $2.99 for high-volume subscribers.
How Often Should I Refresh Listing Photos?
Refresh listing photos regularly to maintain engagement, updating after significant changes or periodically throughout the year to keep content current.
Recommended