Short-Term Rentals
Rental Managers: $12 Photo Fix for Dead TV Screens, Free Preview
Enhance your rental listings by effortlessly transforming distracting TV screens into inviting visuals, attracting more potential guests with polished property photos.
By Hospitality Lens · · 13 min read
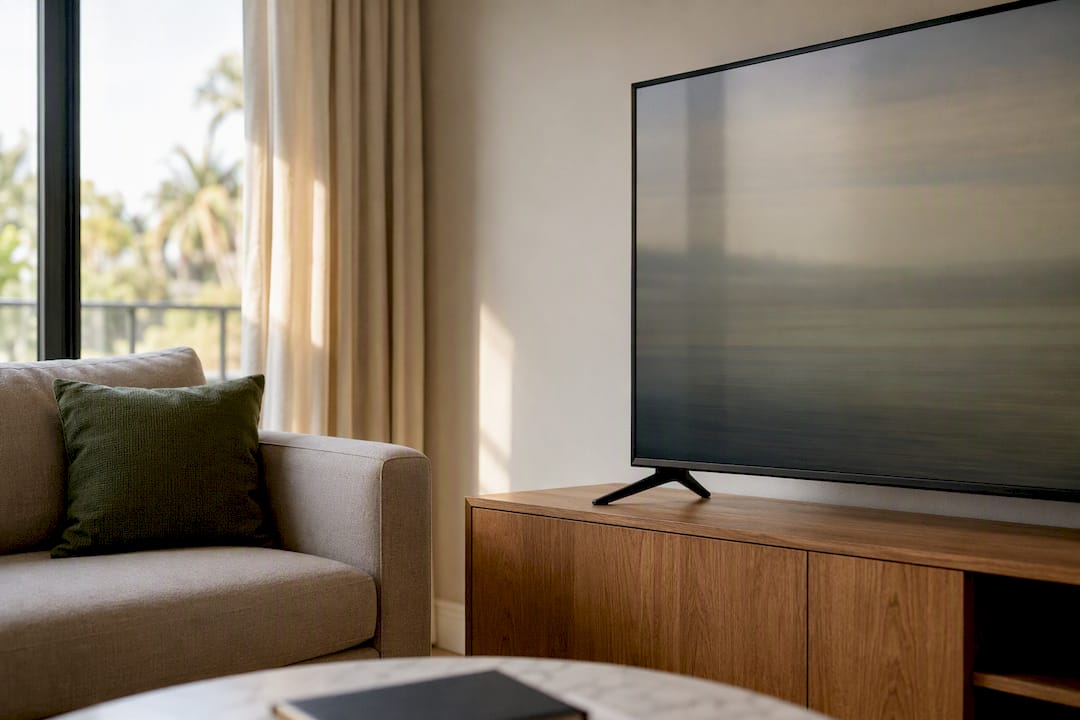
TV screen replacement means editing the on-screen image inside an existing property photo, not repairing a physical television. It’s worth doing when a blank black screen or glaring reflection distracts from an otherwise strong shot, especially your cover photo. HospitalityLens and similar services handle this as a routine, truthful edit, not a fabrication.
TL;DR:
- Replacing a TV screen in property photos is suitable mainly for primary images where the screen serves as a focal point and can distract viewers if blank or glare-filled.
- The edit involves precisely masking, transforming, and blending a neutral image that matches room lighting to avoid creating an artificial or mismatched appearance.
- Content on the replaced screen should be neutral and calming, avoiding copyrighted, timestamped, or overly saturated images that draw attention away from the room.
- Avoid replacing screens in photos where the space or TV features are misrepresented, ensuring edits do not imply false size or mounting details.
- Outsourcing to professional services or using AI tools offers quick, consistent results, but a clear briefing, including original files and preferred images, is essential for quality.
Table of Contents
What Does TV Screen Replacement Actually Change in a Photo?
The edit swaps or brightens whatever is showing on the television in a listing photo. That could mean covering a dead black screen with a calm image, killing a harsh window reflection, or smoothing a screen surface that looks scratched or dirty in the raw shot. Nothing else in the room changes.
This is different from virtual staging, which adds furniture that doesn’t exist, or from any edit that implies a feature the property doesn’t have. A screen replacement touches one rectangle in the frame. The couch, the wall art, the view outside the window: all of it stays exactly as photographed.
Most screen edits break down into a few recurring sub-tasks:
- Fitting a replacement image to the TV’s exact perspective, so it sits flush inside the frame instead of floating
- Matching brightness and color temperature to the room’s actual light
- Handling reflections, since a screen with zero glare looks more artificial than one with a faint highlight
- Cleaning up dust, glare spots, or a cracked-looking surface without altering the TV itself
Real estate and short-term rental photo editing services list screen replacement alongside perspective correction and reflection removal for a reason: they’re all small, targeted fixes rather than wholesale image invention.
When Should You Actually Replace a TV Screen?
Not every photo needs this. A TV that’s off but sits quietly in the background of a secondary bedroom shot rarely matters. The calculation changes once that same blank screen sits front and center in your hero image, where guests decide whether to keep scrolling or click through.
- Cover photo or primary listing image. This is where the edit earns its cost. A dead screen or blown-out glare spot on your lead photo pulls the eye away from the room itself, right when a guest is making a split-second decision.
- Listing gallery hero shots. Living room and media room photos that guests linger on benefit almost as much, particularly if the TV faces a bright window.
- Secondary or supporting images. Lower priority. If a guest is already three photos deep into your gallery, they’re past the point where a glare spot changes their mind.
Skip the edit anywhere it would misrepresent the space, such as suggesting a screen size or wall mount that doesn’t match reality. The goal is a cleaner presentation of what’s actually there, not a different television.
How Do You Replace a TV Screen Step by Step?
Whether you’re doing this yourself in Photoshop or handing it to a freelancer, the sequence is the same. Phixer’s editing walkthrough lays out the core mechanics, and they hold up regardless of tool.
- Choose a neutral replacement image. Pick something calm and non-branded before you touch the photo. Note which direction the room’s light is coming from, since that determines how you’ll shade the insert later.
- Mask the screen area. Select the TV’s visible screen precisely, staying inside the bezel so you don’t bleed edits onto the frame.
- Transform to fit the corners. Distort your replacement image so its four corners land exactly on the TV’s four corners, matching the camera’s actual viewing angle.
- Blend brightness and color. Adjust exposure, color temperature, and saturation on the inserted layer so it reads as lit by the same source as the rest of the room, not a separate light source pasted in.
- Reintroduce a highlight or reflection. A flat, glare-free screen is one of the fastest ways to tip a viewer off that something was edited. A faint reflection or soft highlight, dialed in at partial opacity, makes the screen look present in the room rather than dropped on top of it.
- Check for edge artifacts. Zoom in on the bezel line where your insert meets the physical screen. Any halo, color fringe, or misaligned corner shows up fast at full resolution.
- Preview at thumbnail size. Most guests browse listings on a phone. Shrink the image down and check that the edit still reads cleanly at that size.
- Export crop variants if needed. Square crops for some platforms, wide crops for others; confirm the edit holds up across formats.
If you’re outsourcing, send the original unedited file, a note on which screen(s) need attention, and any preference on replacement imagery. Vague instructions like “make it look nicer” produce inconsistent results across a portfolio.
Pro Tip: Keep one saved reflection/highlight overlay you like and reuse it at low opacity across your portfolio. It saves time and keeps every property’s screens looking consistent.
What Should You Actually Put on the Replaced Screen?
The content you choose matters as much as the technical blend. Neutral, non-branded visuals work best: abstract patterns, calm landscape photography, or a soft lifestyle image. Anything that looks like it belongs on a screensaver, not anything that looks like a paused show.
Avoid a few categories entirely:
- Copyrighted media, movie stills, or anything resembling a live broadcast
- Streaming service logos or interfaces, which imply a subscription that may or may not exist
- Timestamped content, news tickers, or anything that dates the photo the moment a guest looks closely
- Overly saturated or high-contrast images that make the screen glow unnaturally against the rest of the room
Digital Photography School’s guidance on shooting TVs makes a point worth repeating: mismatched brightness or color temperature is the single most common giveaway that a screen has been edited. If the room reads warm and the screen reads cool, or vice versa, viewers notice even if they can’t say exactly why.
On the technical side, export at the resolution your booking platform requests, and keep a full-size master file alongside any downsized thumbnail version. Most listing platforms compress images on upload anyway, so starting with a clean, properly sized JPEG avoids a second layer of compression artifacts on top of your edit.
What Makes a Screen Edit Look Fake?
A handful of mistakes show up again and again, and most of them are fixable in minutes once you know to look for them.
- Oversaturated or overly bright inserts. A screen that glows brighter than every lamp in the room breaks the illusion instantly.
- Misaligned perspective. If the inserted image’s corners don’t match the TV’s actual angle, the screen looks like a sticker rather than a display.
- No reflection at all. A perfectly flat, glare-free screen in a room with any ambient light looks suspicious, not polished.
- Dated or attention-grabbing content. A specific show, a visible timestamp, or a bold logo pulls the eye away from the room and toward the edit itself.
Catching these before publishing takes one careful look at full resolution, ideally on a second monitor, before the photo goes live on any platform.
How Much Does TV Screen Replacement Cost, and How Fast Can You Get It?
Three routes exist, and each comes with a different tradeoff between cost, speed, and consistency.
- DIY editing. Free beyond your own time and whatever software you already own, but slow if you’re managing edits across a full portfolio, and quality depends entirely on your comfort with masking and blending.
- Freelance editor per photo. Faster turnaround than DIY for a single image, but pricing and quality vary widely from one freelancer to the next, and bulk consistency across dozens of listings is hard to guarantee.
- AI-assisted photo enhancement service. Typically priced per photo, in bulk packs, or through a monthly subscription, with turnaround measured in a day or two, rather than a back-and-forth email thread.
Before committing to any vendor, confirm a few things up front:
- Whether you get a watermarked preview before paying
- How many revisions are included per photo
- Whether you retain full usage rights to the finished image
- Whether sample edits are available before you commit to a bulk pack
Bulk packs and subscriptions tend to bring the per-photo price down significantly compared to one-off freelance requests, which matters once you’re managing multiple properties.
How HospitalityLens Handles TV Screen Edits for Rental Portfolios
HospitalityLens applies the same core toolkit to screen edits as it does to the rest of a listing photo: lighting and color correction, perspective fixes, and object removal, all aimed at matching the room’s real light rather than pasting something foreign into the frame. The service explicitly preserves accurate interiors rather than inventing features, which is the same standard a screen replacement should meet.
Pricing can vary depending on volume and service options, typically including single photo orders with preview, bulk packs, and monthly subscriptions, with costs and revision limits differing accordingly.
If a property needs new angles entirely, or the existing photos are unusable, a photographer is still the better call. Screen replacement and similar edits work best on photos that are already close, just held back by one distracting element.
How Editors Should Actually Think About This Edit
Most advice on listing photos treats every enhancement as equally urgent, and that’s the wrong instinct. A TV screen replacement matters most on the handful of images guests actually linger on, your cover shot and your top two or three gallery photos, and matters far less everywhere else. Spend your revision budget there first.
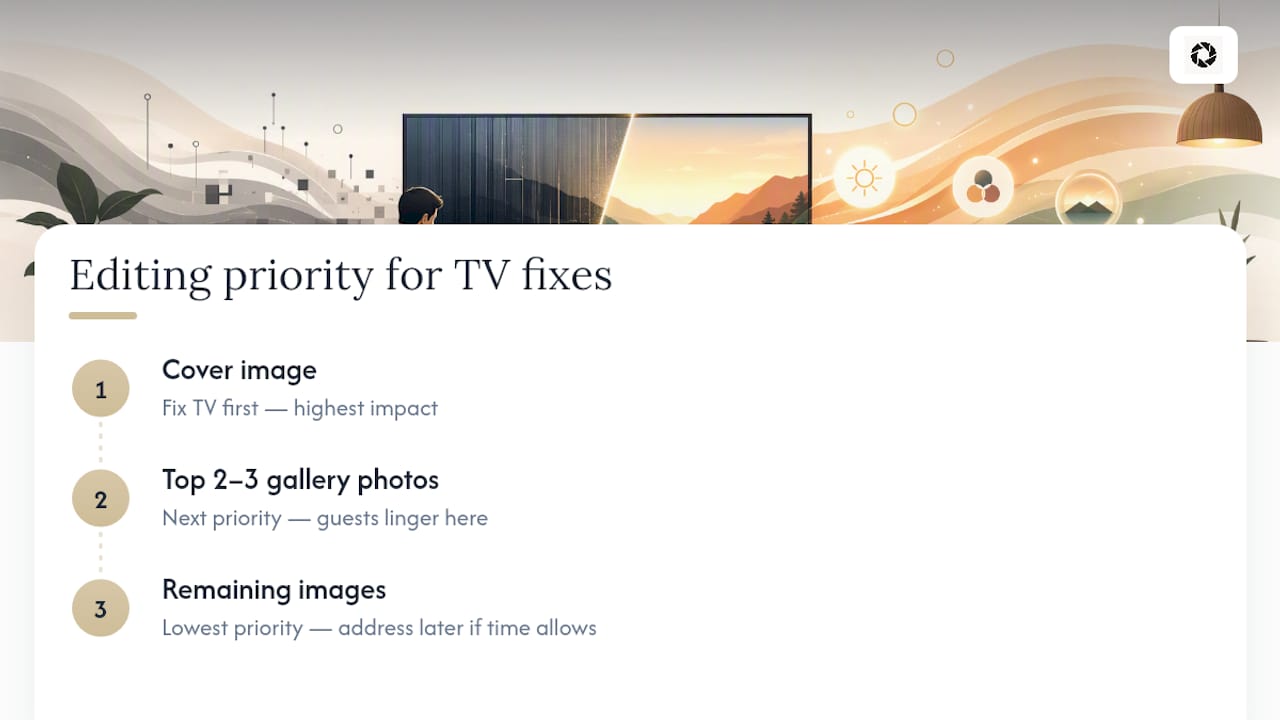
The conventional wisdom also undersells how much the reflection detail matters. Editors who skip reintroducing a highlight or soft glare almost always produce a screen that reads as pasted, even when the perspective and color match are otherwise solid. That single step, often skipped to save thirty seconds, is usually the difference between an edit nobody notices and one that makes a guest suspicious of every other photo in the gallery.
What we’d tell any manager working through a backlog of properties: prioritize truthfulness over polish. A slightly imperfect but honest photo builds more trust over a portfolio than a flawless one that later reads as staged. Guests forgive an unremarkable TV. They don’t forgive feeling misled once they check in.
— The HospitalityLens Team
Try One Photo Free Before You Commit to a Full Portfolio Edit
If you’re staring at a folder of owner-submitted or cleaner-taken photos images with dead TV screens and mismatched lighting, there’s a lower-risk way to test whether editing actually helps before you commit budget to it. HospitalityLens gives you a free watermarked preview on any photo, screen edits included, so you can see the result before paying anything.

Current HospitalityLens pricing (USD); one-time packs — The Hero: 1 photo for $12; The Refresh: 10 photos for $59; The Property: 25 photos for $129; The Portfolio: 100 photos for $399; monthly subscriptions — THE STARTER: 10 photos/month for $49/month; THE OPERATOR: 25 photos/month for $99/month; THE PORTFOLIO: 100 photos/month for $299/month; one-time pack credits do not expire; monthly subscription credits remain valid for up to 3 months; 2 free revisions per photo on one-time packs; 3 free revisions per photo on monthly subscriptions. See current pricing.
Pick your worst hero shot, the one with the dead screen and the glare spot, and try it free before deciding anything else.
Sources
FAQ
Is Replacing a TV Screen in a Listing Photo Misleading?
No, as long as the edit only corrects the screen’s appearance (removing glare, brightening a blank screen, or cleaning up a dirty surface) without implying a different TV, size, or feature than what’s actually installed.
How Long Does a TV Screen Replacement Edit Take?
DIY edits can take anywhere from a few minutes to over an hour depending on skill level, while services like HospitalityLens typically return edited photos within a day or two, with faster turnaround at higher volume.
Export as a high-resolution JPEG that matches your booking platform’s size requirements, keeping a full-resolution master file separate from any thumbnail-sized version.
Can I Use a Screenshot From a Movie or Show on the Replaced Screen?
Avoid it. Copyrighted or branded content risks legal issues and dates the photo the moment a viewer recognizes it; a neutral landscape or abstract image is the safer choice.
Do I Need a Professional Photographer Instead of an Edit?
If your existing photos are unusable, poorly framed, or the property needs entirely new angles, a photographer is the better route; for photos that are otherwise solid but held back by one distracting screen, an editing service is the more cost-effective fix.
Recommended