Photography Tips
How to Fix Converging Verticals in Property Photos
Image quality can influence how people evaluate a listing, but there is no universal performance uplift that applies to every property. Measure clicks, inquiries, bookings, or sales on the individual listing.
By Hospitality Lens · · 15 min read

Converging verticals are the walls, door frames and window edges that tilt toward each other in a photo, so a room looks like it is leaning or falling backward. You fix them by making those edges truly vertical again, either at the moment of capture or afterward with perspective correction. For a team managing many listings, the fastest route is usually to correct the photos you already have. HospitalityLens does this as part of its perspective and horizon correction, and you can try one photo free (the preview is watermarked).
This guide explains the cause in plain terms, shows how to correct the problem without wrecking the image, and tells you when the photo is beyond saving and a photographer should go back.
TL;DR
- Converging verticals happen when the camera is tilted up or down, so its sensor is no longer parallel to the walls. Wide-angle lenses make it more obvious.
- The fix is to make vertical lines vertical. A result that is slightly off looks like a mistake, so aim for fully straight.
- Correcting in software crops the frame and can stretch it, so photos need enough room around the subject to start with.
- For owner-submitted and cleaner-taken photos, correcting existing images is usually faster than scheduling a new shoot. Flagship launches and unusable originals still call for a photographer.
- You can try one photo free before ordering a pack or a subscription.
Table of Contents
- What converging verticals are, and why your listing photos have them
- Why leaning walls cost you bookings
- First, check that the lines should be vertical
- How to fix converging verticals in photos you already have
- Do not over-correct
- Resolution: the quiet cost of correcting
- Prevent the problem at the source
- Fix it by fixing the photo, not by reshooting
- What it costs to correct a portfolio
- A suggested workflow for 10 or more listings
- Perspective
- Try a correction on one of your own photos
- FAQ
- Sources
What converging verticals are, and why your listing photos have them
Point a camera upward to fit a tall subject in the frame and the sensor tilts back. It is then no longer parallel to the vertical edges of the subject. Those edges converge toward a vanishing point above the subject, and the building appears to lean backward.
In a rental, the same thing happens indoors. A phone held a little high or low, aimed slightly down at a bed or slightly up at a ceiling, bends every door frame and corner. Pointing the camera downward over a kitchen island can make vertical lines look nonvertical in the same way.
Two details matter for how you handle it.
First, it is not a lens defect. Amateur Photographer’s explanation of converging verticals describes the effect as something that varies with viewpoint rather than an optical fault. The relationship between camera, lens and subject is the cause. A better phone will not make it disappear.
Second, wide-angle lenses make it worse. The effect is most dramatic with wide-angle lenses, the type used to fit a whole building or a small room into the frame. Most phones shoot wide by default, and small rentals push people to stand in a corner and tilt.
That is why the problem is so common in owner-submitted and cleaner-taken photos. Nobody was trying to make a leaning room. They were trying to fit everything in.

Why leaning walls cost you bookings
A guest scrolling search results decides in a second or two whether a place looks cared for. Crooked walls do not announce themselves as a perspective problem. They read as something feeling off: smaller, messier, less trustworthy. Our brand view is simple: the listing photo is emotional before it is rational, and a photo that looks tilted creates doubt before the guest reads a single amenity.
There is a second reason that matters more for portfolios. When twenty listings have twenty different tilts, the brand looks uneven. Straight verticals are one of the cheapest ways to make a portfolio look consistent, because the fix does not depend on the property.
First, check that the lines should be vertical
Before you correct anything, be certain the edges in question are meant to be vertical. Walls, door frames, window frames, cabinets and bookshelves nearly always are. Older buildings, sloped attic ceilings, and a staircase running up a wall are not. A correction that forces a genuinely angled feature upright warps the room.
PhotoEphemeris makes the same point in its guide to fixing converging verticals: you must be certain the verticals should be vertical before applying the correction, because small placement errors can produce strange-looking images.
This also fits our rule about honesty. Straightening is a correction of the camera’s angle, not a change to the property. HospitalityLens does not invent rooms, views, architectural features or amenities, and perspective correction should never hide the way a real room is built.
How to fix converging verticals in photos you already have
The goal of any correction is the same: pull the converging edges back to true vertical, then recover the frame that the pull removed.
The fastest route for a portfolio
If you are managing ten or more listings, the cost of correcting by hand is time, not skill. Each photo needs its lines judged, adjusted, cropped and checked. Multiply that by a dozen photos per listing and a portfolio refresh turns into a project.
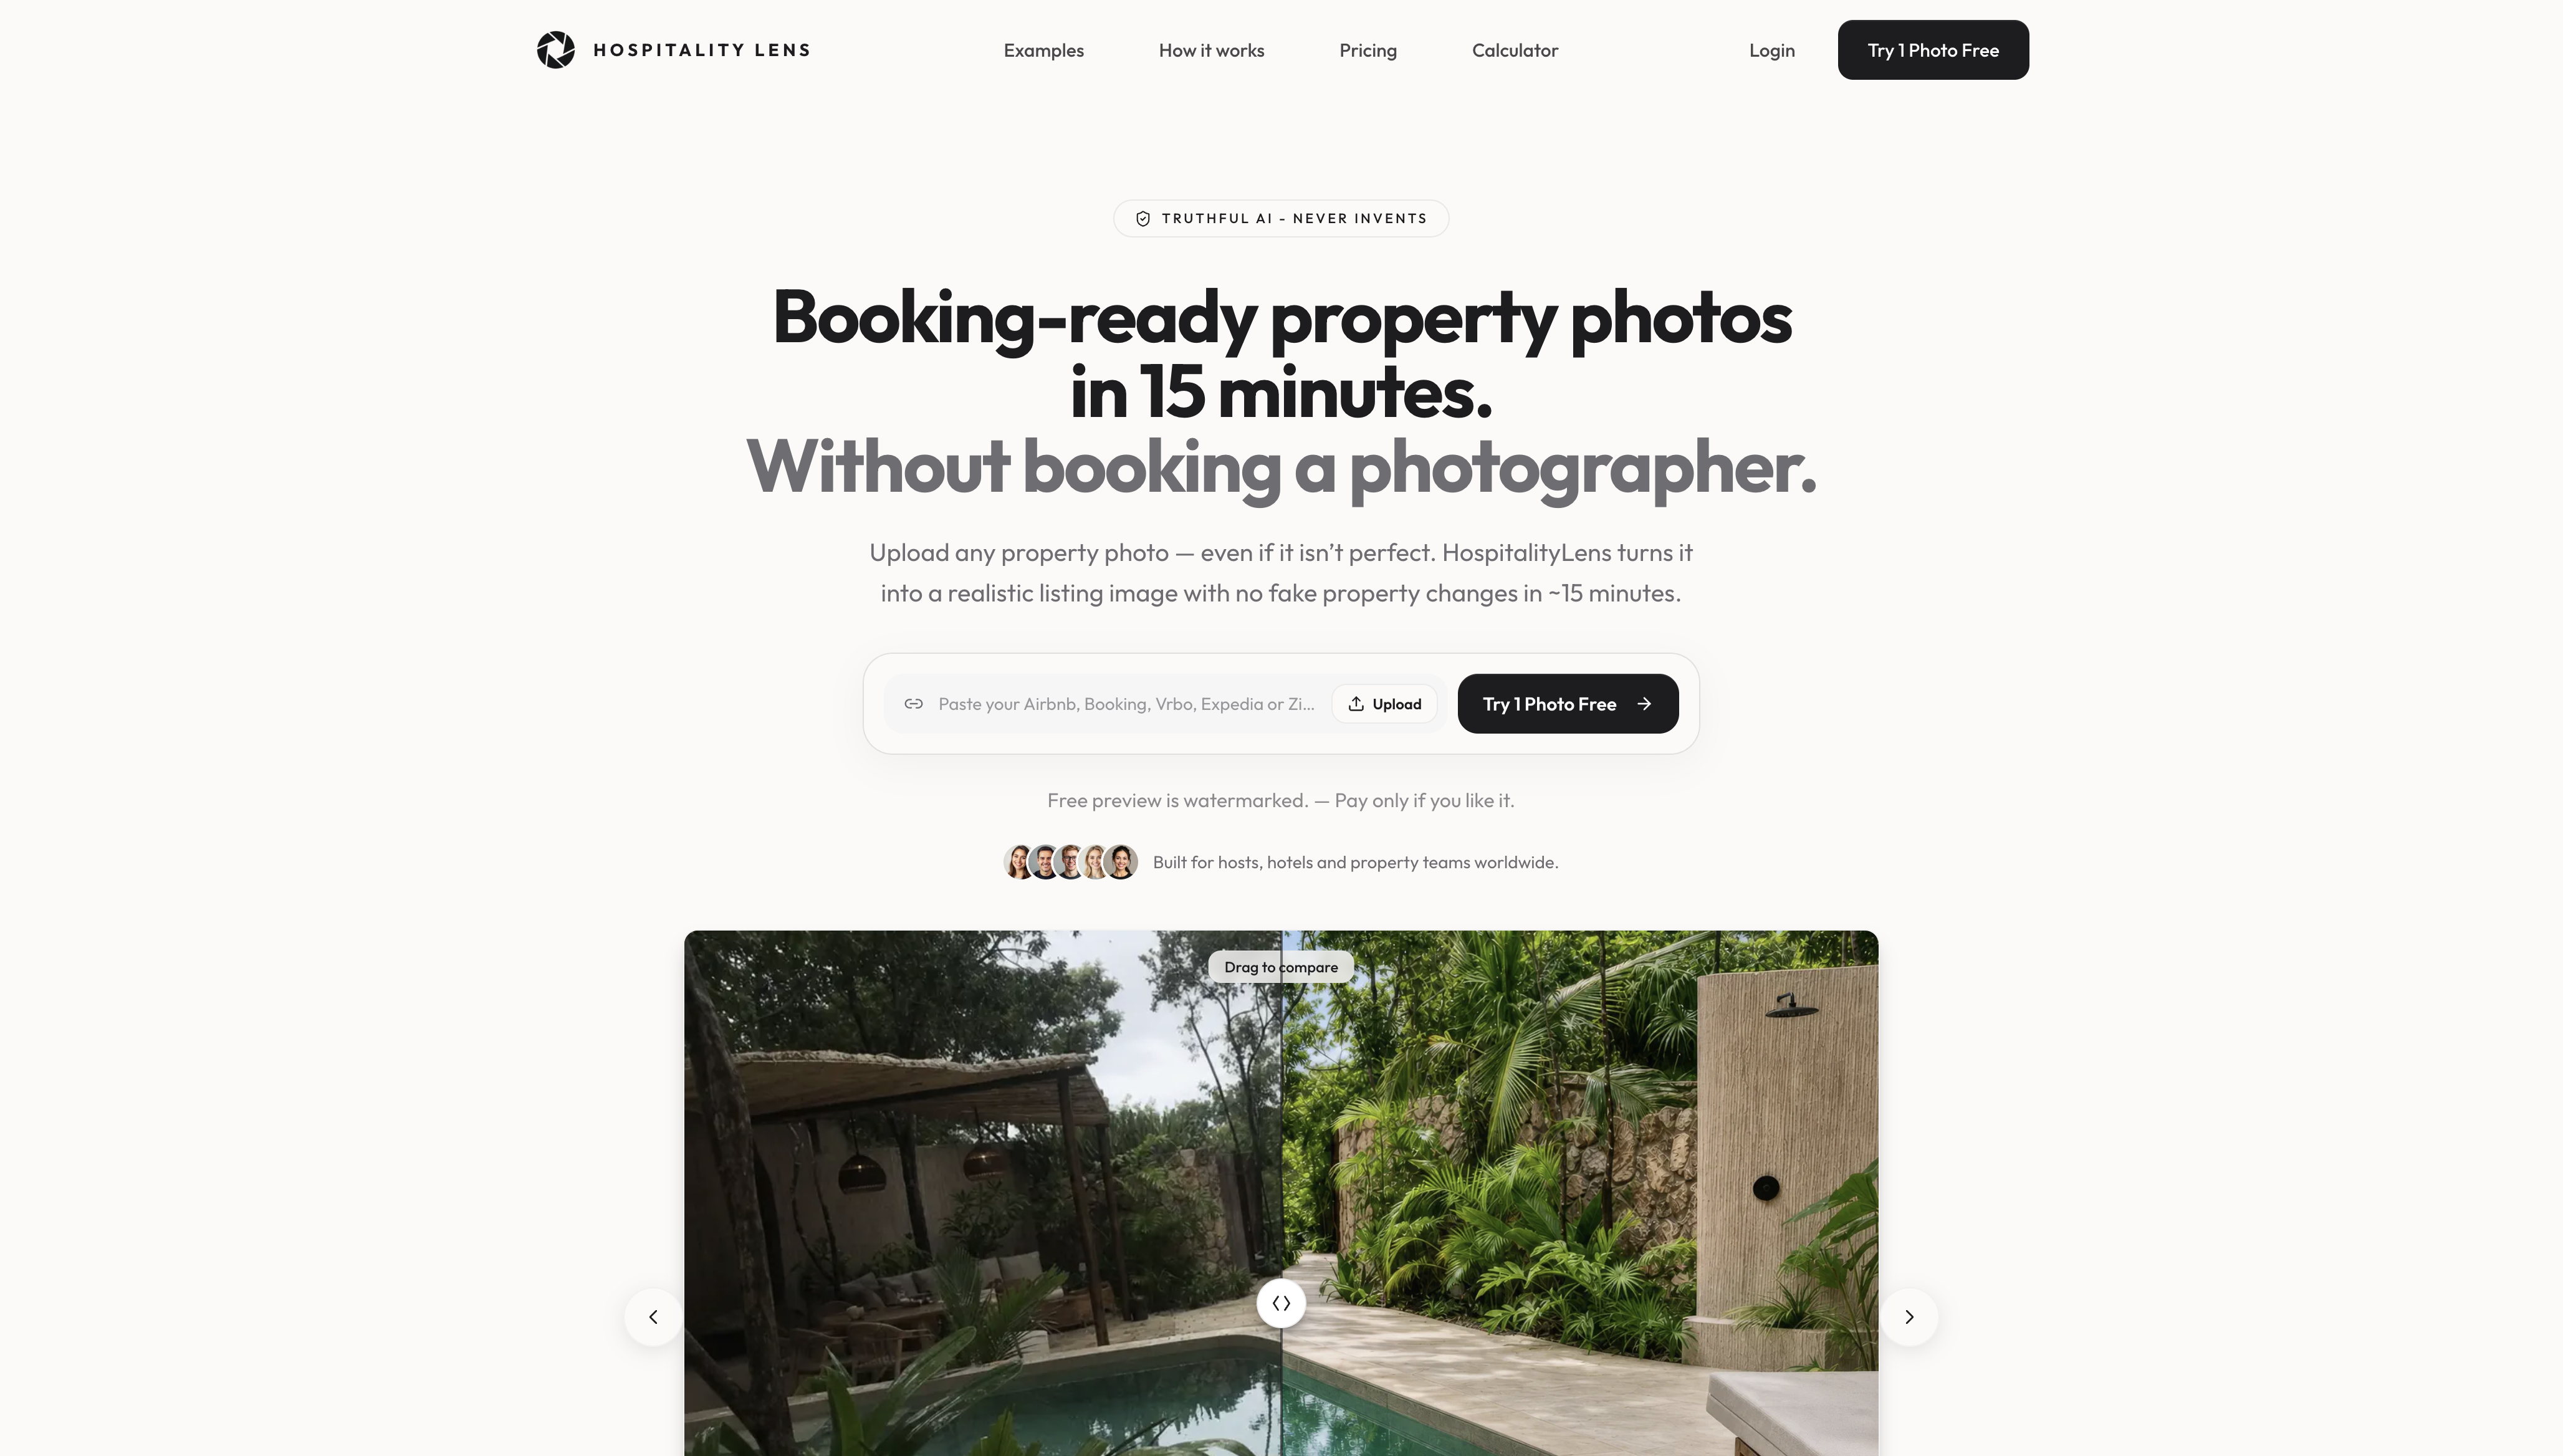
HospitalityLens handles perspective and horizon correction for you, alongside lighting and color correction and clutter cleanup. You upload the dark, crooked, owner-submitted or cleaner-taken photos and get back a preview in about 15 minutes. The free preview is watermarked, there is no obligation, and revisions are included, so you can ask for another pass if a correction does not look right. You can read how it handles straightening room photos without reshoots for more detail on the room-level cases.
Here is what the tool is working toward, and what you should check on any returned image:
Every door frame and wall corner should be vertical, not almost vertical. The horizon line or any strong horizontal, like a countertop edge or a window sill, should be level. The room should still look like the same room, with the same proportions. And nothing near the edges should look stretched.
What manual correction involves
If you or a team member edit photos by hand, it helps to know what the process asks of you, because it explains why results vary.
In Lightroom and Camera Raw, a Vertical slider in the Transform panel applies keystone correction. Amateur Photographer’s guide notes that a Guided Upright option, where you draw guides along lines that should be parallel, tends to look more natural than the fully automatic setting. In Photoshop, Perspective Warp and the Lens Correction filter offer similar controls.
The catch is that every one of these tools moves pixels. Correcting verticals can compress the lower part of the image and leave white areas at the edges. You then scale the image up to hide the gap, and a scale of roughly 100 to 105 is typical for architectural work, with the aspect control used to keep proportions natural. That is why the manual route eats time on a large portfolio, and why a service built for it is the more practical choice for a team. Our comparison of HospitalityLens and manual editing lays out the difference.
Do not over-correct
Perfectly straight is not always the right target, and half-straight is never the right target.
HSM University’s architectural photography lesson gives the rule: make lines either truly vertical or obviously and intentionally converging, never in between. A few degrees of accidental convergence reads as a mistake.
There is a counterweight. An overly perfect correction can look odd on tall subjects. Amateur Photographer suggests that a slight, even convergence can make an architectural subject look more natural than a flawless correction. For exteriors with a tall facade, that is worth knowing. For interiors in a rental, where guests expect to see straight door frames and clean corners, straight is the better default.
Watch for these signs of a bad correction
A room that suddenly looks wider or narrower than it is. Furniture that appears stretched or squashed near the bottom of the frame. A floor that seems to tilt even though the walls are straight. A cropped image that cuts off the ceiling or loses a feature the guest should see, like a window or a headboard.
If any of these show up, the original photo probably did not have enough margin. Ask for a revision, or reshoot that one angle.
Resolution: the quiet cost of correcting
Because correction crops into the image, the final file has fewer usable pixels. In one test, an extreme software correction on a 20-megapixel image reduced the usable size to 9.1 megapixels, while a tilt-shift lens captured the same scene at full resolution.
That is an extreme case, and the same writer was surprised at how well the corrected image held up in detail. But it points to a practical habit. Ask the people who take your photos to leave extra room around the subject, so the correction has pixels to spare. Booking platforms and hotel websites display photos at modest sizes, so most phone photos with a modest correction remain well within what a listing needs.
Prevent the problem at the source
Even if you plan to correct everything afterward, better source photos make for better results. The guidance for owners and cleaners who take the photos is short.
Keep the camera level. For architecture, the rule is to keep the sensor parallel to the subject, which usually means not tilting the camera up or down. A built-in level on a phone or camera helps.
Step back when there is room. Moving farther from the subject reduces the difference in scale between the top and bottom of the frame, which weakens the effect.
Hold the phone at a consistent height, around the middle of the wall, and shoot from a doorway or corner rather than leaning in. Then leave margin on every side.
The HSM University lesson adds a catch worth passing on: with a level camera the horizon ends up in the middle of the frame, so the options are to move back, use a wider lens and crop, use a shift lens, or correct in software afterward. For rentals, the last option is the realistic one for most teams. Our guides on photographing small rentals so they feel open and fixing lens distortion cover the related problems of cramped rooms and wide-angle stretching.

Fix it by fixing the photo, not by reshooting
A reshoot solves a tilted photo, but it also brings scheduling, access, a cleaning window and a lost day of bookings. When the room is staged and the light is fine, the only thing wrong is the angle, and the angle is a correctable problem.
| Situation | Best route |
|---|---|
| Owner or cleaner photos with leaning walls, otherwise usable | Correct the existing photos |
| Seasonal refresh of a listing with tilted, dark or cluttered images | Correct and enhance existing photos |
| New property onboarding with a phone walkthrough | Correct and enhance existing photos |
| Flagship property launch | Professional photographer |
| Architectural or exterior work needing a precise look | Professional photographer |
| Photos that miss key angles or are unusable | New shoot |
The last three rows are not a footnote. A professional photographer remains the better option for flagship launches, architectural photography, projects that need new angles, difficult capture conditions, and any case where the original photos are unusable. A tilt-shift lens can shift the view upward while keeping verticals straight, which is the sort of equipment a specialist brings.
For everything above those rows, which is most of a typical portfolio, correcting what you already have is the sensible first move.
What it costs to correct a portfolio
Current HospitalityLens pricing (USD); one-time packs — The Hero: 1 photo for $12; The Refresh: 10 photos for $59; The Property: 25 photos for $129; The Portfolio: 100 photos for $399; monthly subscriptions — THE STARTER: 10 photos/month for $49/month; THE OPERATOR: 25 photos/month for $99/month; THE PORTFOLIO: 100 photos/month for $299/month; one-time pack credits do not expire; monthly subscription credits remain valid for up to 3 months; 2 free revisions per photo on one-time packs; 3 free revisions per photo on monthly subscriptions. See current pricing.
The free preview comes first. You upload a photo, see the corrected version with a watermark, and decide whether to go further. That makes it easy to run your worst owner-submitted listing as the test.
A suggested workflow for 10 or more listings
Start with the listings that underperform. Look through the cover photos and first five images of each, and flag any with visible lean in door frames or corners.
Next, send the flagged photos for correction, and review each one against the signs of over-correction above. Ask for a revision where something looks stretched.
Then apply the same standard across the portfolio. Consistency is half the value: when every listing shows straight walls and level horizons, the brand looks deliberate. Our guide to hospitality image standards for listings is a good reference for what to hold every photo to.
Finally, set a simple instruction for new properties. Give owners and cleaners the three capture rules above, and send what they shoot through correction before it goes live. For hotel teams with several properties, the hotel photo refresh page covers that setup.
Perspective
We built HospitalityLens around a plain idea: a booking-ready photo is a truthful photo, made clearer. Converging verticals are a good example. The room has not changed. The angle of a phone has, and the angle is what we correct.
Teams managing many listings rarely have a photography problem. They have a volume problem: dozens of owner-submitted and cleaner-taken photos that are almost right. Sending a photographer to each property is not always the practical answer, and we say so plainly, because for flagship launches and difficult spaces it is the right one.
For the rest, we think the better path is to keep the real photos, correct the lean, balance the light, clean up the clutter, and leave the property as it is. That is why we preview first, include revisions, and never add rooms, views or amenities.
The HospitalityLens Team
Try a correction on one of your own photos
If you have a listing with tilted walls, upload that photo and see the straightened version in about 15 minutes. The preview is free and watermarked, and you can move to a pack or the monthly plan once you are happy with it. See property photo editing for property managers for how teams use it across a portfolio.
If the preview shows the fix you wanted, The Refresh at $99 one-off or THE OPERATOR at $99 per month are the next steps, both on the pricing page.
FAQ
What causes converging verticals?
The camera is tilted up or down, so its sensor is not parallel to the vertical edges of the subject. Those edges then lean toward each other. Wide-angle lenses make it more noticeable, which is why phone photos of small rooms show it so often.
Can I fix converging verticals after the photo is taken?
Yes. Perspective correction pulls the leaning edges back to vertical, then scales or crops the image to remove the empty space the correction leaves. HospitalityLens does this as part of perspective and horizon correction, and you can try one photo free with a watermarked preview.
Will straightening make my photo look fake?
Not when the lines that should be vertical are made fully vertical. The look that reads as wrong is a partial correction, where lines are neither truly vertical nor clearly intentional. If a returned image looks stretched, request a revision.
Do I lose image quality when I correct verticals?
Some of the frame is cropped, so the final file has fewer pixels than the original. The loss depends on how strong the tilt was. Photos with room around the subject correct more cleanly, so ask owners and cleaners to shoot with space on all sides.
When should I hire a photographer instead?
For flagship property launches, architectural work, shots that need new angles, difficult lighting or capture conditions, and any case where the original photos are unusable. For listing refreshes and owner- or cleaner-taken photos that are otherwise usable, correcting the existing images is usually enough.
Sources
- Perspective and the architectural camera, HSM University PHOT-311
- What are converging verticals, and how can you fix them?, Digital Camera World
- Distortion 101: Lens vs. Perspective, Drew Gray Photography
- Converging verticals: how to correct or take advantage of them, Amateur Photographer
- Get perfect perspective, Amateur Photographer
- Architectural Photography, Part 3: Fixing Converging Verticals, PhotoEphemeris
- How to Photograph Building Exteriors and Correct Converging Vertical Lines, Markus Hagner Photography
- Tilt-shift lens vs perspective correction, neilvn.com
- Using tilt-shift Nikkor lenses for architecture photography, Nikon Rumors