Photography Tips
How to Fix Lens Distortion: A Practical Correction Guide
Master essential techniques for digitally correcting image flaws, ensuring your photos appear crisp and professionally aligned every time.
By Hospitality Lens · · 15 min read
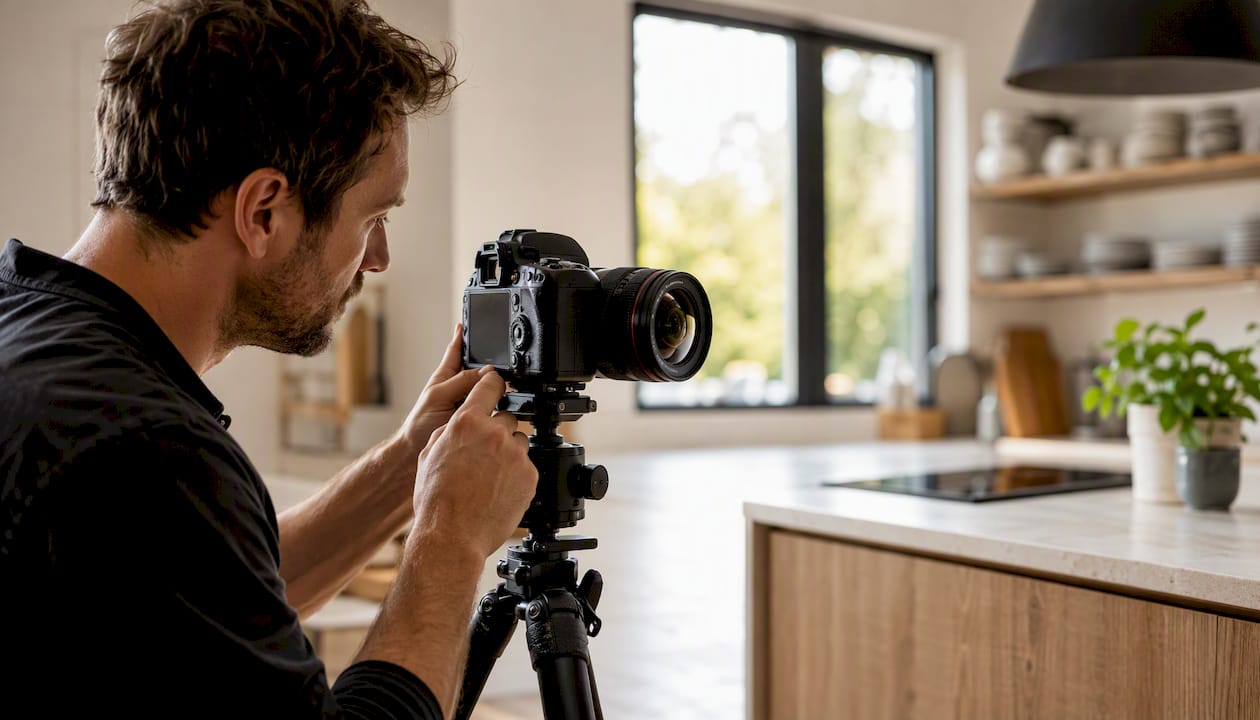
For most photos, start with your editor’s automatic lens profile correction. It handles barrel and pincushion distortion correctly in seconds. If verticals still lean or converge, switch to manual keystone tools. When the photos already exist and a reshoot isn’t practical, a service like HospitalityLens can correct perspective and lighting without sending anyone back to the property – a solution that fits neatly into a hotel check-in process workflow by supporting operational teams with faster photo fixes.
TL;DR:
- Auto lens profile correction works well for common, well-profiled lenses but fails with vintage, third-party, or specialty lenses lacking metadata or matching profiles.
- Manual keystone and perspective corrections require careful incremental adjustments and line-based anchoring to avoid introducing new distortions or softening image edges.
- Proper correction order involves fixing vignetting and chromatic aberration first, followed by distortion, perspective adjustments, and finally cropping to prevent artifact amplification.
- Shooting with the camera parallel to the subject, using level tools, and avoiding tilting significantly reduces the need for post-processing corrections.
- AI-based photo enhancement services like HospitalityLens can fix perspective and lighting issues without reshoots, but heavy geometric correction still impacts image sharpness and resolution.
Table of Contents
What Are the Types of Lens Distortion?
Lens distortion falls into two broad categories, and knowing which one you’re looking at determines your fix. The first is radial distortion, which comes from the lens itself. The second is perspective distortion, which comes from where you stood and how you tilted the camera.
Barrel distortion bows straight lines outward from the center, so a doorframe near the edge of a wide-angle shot bulges like the side of a barrel. Pincushion distortion does the opposite, pinching lines inward toward the middle, and shows up most on telephoto and zoom lenses at longer focal lengths. Mustache distortion (sometimes called complex or wave distortion) combines both: lines bow outward near the center of the frame and curl inward near the edges, creating an S-shaped curve that’s harder to correct with a single slider.
Perspective distortion, or keystoning, has nothing to do with the lens and everything to do with camera position. Tilt a camera upward to fit a tall building into frame and the verticals converge toward the top, an effect wide-angle interior shots reproduce constantly when the camera isn’t held level.
Common scenarios by distortion type:
- Wide-angle interiors (12 to 24mm equivalent): barrel distortion at the edges, especially near door and window frames
- Tilted exterior shots of buildings: converging verticals from keystoning, not the lens
- Zoomed telephoto shots: mild pincushion distortion, usually subtle enough to ignore
- Fisheye or ultra-wide real estate lenses: mustache distortion that resists one-slider fixes
How Do Profile-Based Corrections Work?
Automatic corrections rely on a lens profile, a mathematical map of exactly how a specific lens distorts light at each focal length and aperture. Your camera or lens embeds metadata in the RAW file (camera model, lens model, focal length, aperture), and your editor matches that metadata against a profile database to know precisely how much to remap each pixel.
Lensfun, an open-source profile library used by editors like darktable and RawTherapee, exposes functions such as EnableDistortionCorrection and ApplySubpixelGeometryDistortion that handle this remapping. Adobe Lightroom and Photoshop pull from their own internal profile database, matched the same way, through metadata tags rather than guesswork.
Auto correction is reliable when three things line up: the lens is commercially common, the profile exists in the software’s library, and the distortion is a standard radial pattern.
Where auto profiles typically succeed:
- Major-brand zoom and prime lenses with wide market adoption
- Standard barrel or pincushion distortion at documented focal lengths
- RAW files with intact EXIF metadata
Where auto profiles typically fail:
- Adapted, vintage, or manual-focus lenses with no embedded metadata
- Third-party or niche lenses missing from the profile database
- Extreme mustache distortion, which a single distortion value can’t fully model
- Screenshots or heavily edited JPEGs that stripped the original EXIF data
When a profile mismatch happens, the telltale artifact is a correction that overshoots or undershoots. Straight lines near the frame edges still curve, just less than before, or curve the opposite way. That’s your cue to stop trusting Auto and move to manual sliders.
Statistic in focus: Capture One’s Keystone tool defaults its correction Amount to 100%, which fully straightens verticals. Many working photographers dial that back somewhat because a perfectly vertical building, ironically, can look artificially stretched compared to what the eye expects.
How Do You Manually Correct Keystone and Perspective Distortion?
When auto-correction leaves visible curvature or when a profile simply doesn’t exist for your lens, manual tools give you control auto modes don’t. The workflow is straightforward once you know the order.
- Start with small decimal adjustments on the distortion slider. Move in increments of 1 or 2 rather than jumping straight to 10 or 20. Distortion correction, practitioner guidance consistently notes, is easy to overshoot, and overshooting stretches pixels unevenly near the frame edges.
- Apply keystone or perspective tools next. Most editors let you either set vertical and horizontal guides along known straight lines (doorframes, wall corners) or map four points directly onto a rectangle you know should be square. Capture One’s Keystone tool can auto-detect lines, but you’ll usually get a cleaner result choosing Vertical, Horizontal, or Full mode manually, since Auto sometimes corrects only the vertical axis when both axes need work.
- For mustache distortion, use constraint lines rather than a single slider. Anchor multiple points along a curve instead of relying on one distortion value, since one number can’t undo an S-curve that bends two different directions across the frame.
In Photoshop’s Lens Correction filter (Filter > Lens Correction), the Custom tab gives you separate Vertical and Horizontal Perspective sliders plus a distortion slider, letting you isolate which problem you’re solving instead of fighting both with one tool. Capture One’s Keystone panel, by contrast, bundles vertical, horizontal, skew, and aspect into one guided workflow with live preview, which tends to be faster for straightforward architecture but less precise for mixed distortion types.
Pro Tip: Correct keystone before you touch crop. Cropping first, then straightening, means you’re often left cropping again to remove the stretched corners the correction creates.
What Order of Operations Preserves Image Quality?
Sequence matters more than most editors realize, and getting it backward compounds the very artifacts you’re trying to remove. The order imaging tutorials recommend runs vignetting and chromatic aberration correction first, then geometric distortion, then perspective and cropping last.
The reasoning is mechanical. Vignetting and TCA are color and brightness corrections; they don’t move pixels. Geometric and perspective corrections do move pixels, remapping coordinates across the frame. Run the color fixes after the geometry fixes and you’re correcting brightness and fringing at coordinates that no longer match the original capture, which can amplify rather than fix the problem. Lensfun’s own modifier documentation groups correction stages for exactly this reason, though some tools apply a practical reversed order internally for processing efficiency. Know which your editor does before you assume the theoretical order is what’s happening under the hood.
Every geometric remap requires interpolation, meaning the software calculates new pixel values based on neighboring originals. More correction means more interpolation, and more interpolation means softer edges, particularly at the corners where distortion is most severe.
The fix that costs nothing: shoot slightly wider than you need. Practitioner tips consistently emphasize leaving margin specifically so correction and the resulting crop don’t eat into your subject.
- Correct RAW files when you have the metadata and plan to make significant geometric changes
- Fine-tune in a pixel editor like Photoshop only after geometric correction is locked, for local touch-ups distortion tools can’t reach
What Capture Techniques Reduce the Need for Correction?
The best correction is the one you never have to make. Every degree of keystone you introduce at capture is a degree you’ll fight in post, with a quality cost attached.
- Keep the camera plane parallel to the subject. For interiors and architecture, this single habit eliminates most keystoning before you ever open an editor.
- Use a tripod with a bubble level or a camera’s electronic level. Handheld shots drift a degree or two without you noticing, and that’s enough to create visible convergence on a listing photo.
- Shoot wider than your final composition and step back rather than tilting up. For a tall subject, physical distance corrects perspective that tilting the lens only distorts.
- Favor a longer focal length when distance allows it. Compression from a longer lens reads as more natural on architecture than the exaggerated depth of an ultra-wide shot up close.
- Bracket your composition with two or three slightly different angles per room. One clean frame beats three that all need heavy correction.
Pro Tip: When photographing a property for listing use, treat the horizon and vertical lines in your viewfinder the way a carpenter treats a level. If it’s not straight in camera, no amount of correction fully undoes it without a quality cost. Our photography optimization guide covers on-set setup in more depth.
Can You Build a Custom Distortion Profile?
For lenses missing from standard profile libraries, mostly older manual-focus glass, adapted lenses, and specialty optics, a custom distortion model is the only reliable fix. The standard method uses a test chart: a flat grid of straight lines, photographed dead center and parallel to the lens at each focal length you plan to shoot.
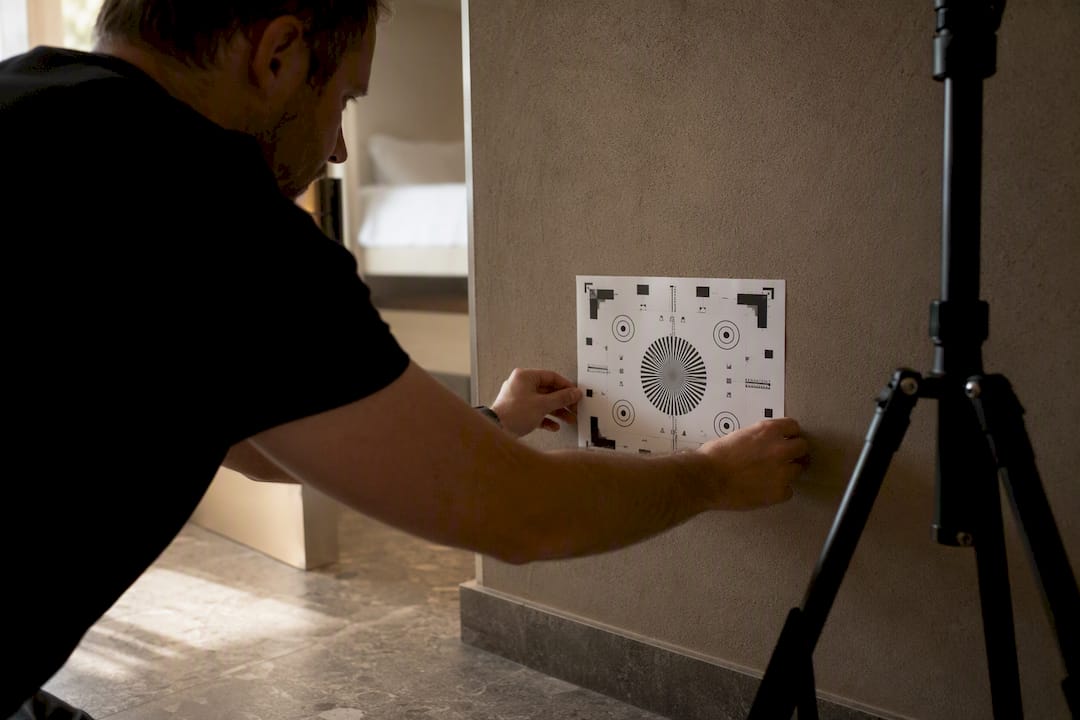
The grid reveals the lens’s actual distortion signature: how far lines bow at the edges versus the center, and whether the pattern is simple barrel or pincushion versus the mixed curve of mustache distortion. Software like PTLens and some Lightroom and Photoshop plug-ins let you build and save a custom profile from that grid, essentially creating your own private entry in a profile library your specific lens never had.
This matters more for still photographers working with vintage or niche glass than for most property and listing work, where common zoom lenses already have profiles built into Lightroom, Capture One, and DxO PhotoLab. But if you’re shooting a portfolio with the same unusual lens across dozens of properties, building one custom profile once saves manually correcting every single image afterward.
Calibration this precise is overkill for a single listing refresh. It earns its time investment only when the same uncorrected lens is going to reappear in your workflow repeatedly, which is exactly the kind of consistency problem that AI enhancement across a portfolio solves differently, and often faster, than a custom optical profile.
Does Correcting Distortion Hurt Image Quality?
Yes, to some degree, every time. Geometric correction remaps pixels to new coordinates, and that remapping relies on interpolation, estimating new pixel values from the originals rather than capturing them directly. The heavier the correction, the more estimation is involved, and the softer your edges and corners tend to get.
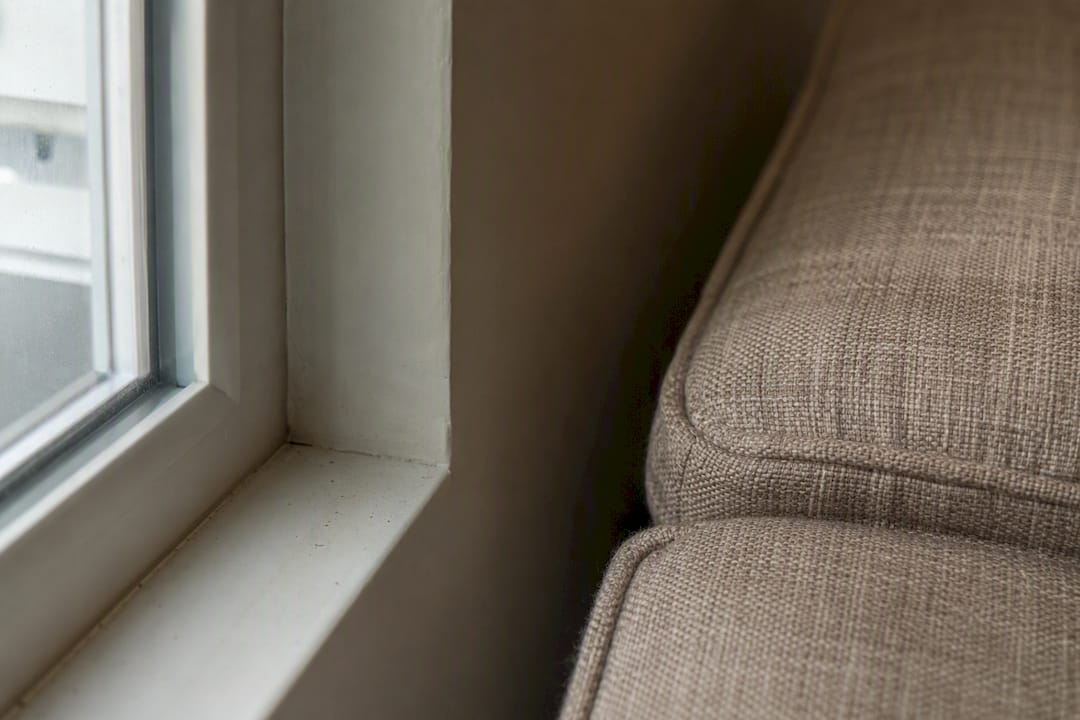
The most common artifacts show up in three places. Corner softening happens because distortion is typically worst at the frame edges, exactly where correction has to do the most stretching or compressing. Resolution loss follows naturally: a corrected image effectively has less real information per pixel near the edges than the center. Cropping loss happens because correcting keystone or heavy barrel distortion pulls the image’s edges inward or outward unevenly, and you crop off the ragged, stretched margins to get back to a clean rectangle.
None of this means correction is a bad trade. Lens designers increasingly accept higher native distortion on purpose because software correction lets them build smaller, lighter, cheaper lenses. Correction isn’t compensating for a flaw so much as completing a design that assumed software would finish the job.
The practical takeaway for property photos: light to moderate correction is close to invisible at listing resolution. Heavy correction, the kind needed to rescue a badly tilted or extremely wide shot, is where quality loss becomes visible, especially in print or full-screen viewing. That’s the threshold where reshooting or professional enhancement starts to beat pushing a slider further.
How Does Distortion Correction Interact With Cropping and Perspective Fixes?
These three corrections aren’t independent; each one changes what the next one has to work with. Fix distortion first and the frame’s edges shift inward or outward unevenly, which changes exactly where your straight reference lines sit before you attempt keystone correction. Get the order backward and you’re aligning perspective guides against lines that are about to move again.
Cropping almost always comes last, and for good reason. Both distortion correction and keystone correction leave irregular, non-rectangular edges once the geometry has been remapped. You can’t crop cleanly to a straight rectangle until both fixes are done, or you’ll cut off content you actually needed, or leave a sliver of warped, blank space along one edge.
This is also where the wider-shot habit from capture pays off. A frame with margin to spare gives you crop room after both corrections without cutting into the subject. A frame shot tight to the composition leaves no slack, and you’re forced to choose between visible warped edges or losing part of the room from the final image.
When Do Automatic Corrections Fall Short?
Automatic profile-based correction is reliable for the common case: a mainstream lens, standard distortion, intact metadata. It falls short in a few predictable situations, and recognizing them early saves time.
Auto struggles with mustache distortion because a single distortion value can’t model a curve that bends two directions across one frame. It fails on lenses without a matching profile, whether that’s a vintage manual lens, a niche third-party optic, or a file that lost its EXIF data somewhere in the editing chain. And auto keystone tools, useful as they are, sometimes correct only the vertical axis by default, leaving horizontal convergence untouched unless you manually select a Full correction mode.
Manual intervention becomes necessary the moment auto correction leaves visible curvature, overcorrects into an unnatural stretch, or simply has no profile to draw from. The tell is usually obvious: straight lines that should be straight, aren’t, even after Auto has run. At that point, decimal-precision slider adjustments and manual keystone mapping aren’t a downgrade from automatic correction. They’re the tool built for the job automatic correction wasn’t designed to handle.
When AI Photo Enhancement Beats a Reshoot
If your listing photos are usable but the verticals lean, the lighting is flat, or the frame’s too cluttered to look booking-ready, a reshoot isn’t always the answer. HospitalityLens fixes perspective and horizon lines, corrects color and lighting, and removes clutter or stray objects, all without inventing rooms, views, or features that aren’t there. It’s genuinely useful for listing refreshes, new-property onboarding, and owner- or cleaner-submitted photos. It’s not the right call for flagship launches, architectural work, or shots that need an angle nobody captured. Every order includes a free watermarked preview and, if you proceed, two revisions on that photo.
— The HospitalityLens Team
Try One Photo Free Before You Commit
Reshoots cost time and a photographer’s day rate; heavy manual correction costs you hours per image chasing sliders. HospitalityLens gives property managers a third option: upload the photo you already have, and get back a corrected, booking-ready version without arranging anyone’s schedule.

Free watermarked preview. Pay only if you like it. No card is required to create the free watermarked preview. See current pricing for unlocks, one-time packs, and subscriptions.
Sources
For deeper technical grounding, the Lensfun modifier reference documents how profile-based remapping actually works under the hood. Capture One’s Keystone support article covers manual and automatic perspective tools in detail, and Cambridge in Colour’s lens correction tutorial explains correction order and interpolation trade-offs clearly for photographers outside the software-engineering side of this topic.
FAQ
What Is Lens Distortion Correction?
It’s the process of digitally remapping pixel coordinates in an image to reverse the bending caused by a lens (barrel, pincushion, or mustache distortion) or by camera angle (perspective and keystoning), restoring straight lines to their true position.
How Do You Get Rid of Lens Distortion?
Enable your editor’s automatic lens profile correction first, since it uses the lens’s known distortion pattern to fix most standard barrel or pincushion distortion instantly; if lines still curve or lean afterward, switch to manual distortion sliders and keystone tools.
Can Lens Distortion in Glasses Be Fixed the Same Way?
No. Distortion in eyeglass lenses is an optical and prescription issue that requires an optometrist, while lens distortion correction in photography is a software process applied to digital images after capture; the two aren’t related despite the shared terminology.
How Can You Correct Lens Distortion Online for Listing Photos?
Photo editors like Lightroom and Capture One handle distortion and keystone correction directly, but if the photos are already usable and a reshoot isn’t practical, a service like HospitalityLens can correct perspective, lighting, and clutter and return a booking-ready image, starting with a free watermarked preview.
Is Manual Correction Always Better Than Automatic?
Not always. Automatic profile correction is faster and reliable for common lenses with standard distortion, and manual correction only becomes necessary when the lens lacks a profile or the distortion pattern, like mustache distortion, is too complex for one automated value to fix.
Recommended