Photography Tips
Lighting Correction in Photos: AI Relighting Made Easy
Achieve stunning, consistently lit photos for your portfolio by leveraging AI relighting or expert services, ensuring every image captivates viewers with natural depth and detail.
By Hospitality Lens · · 12 min read
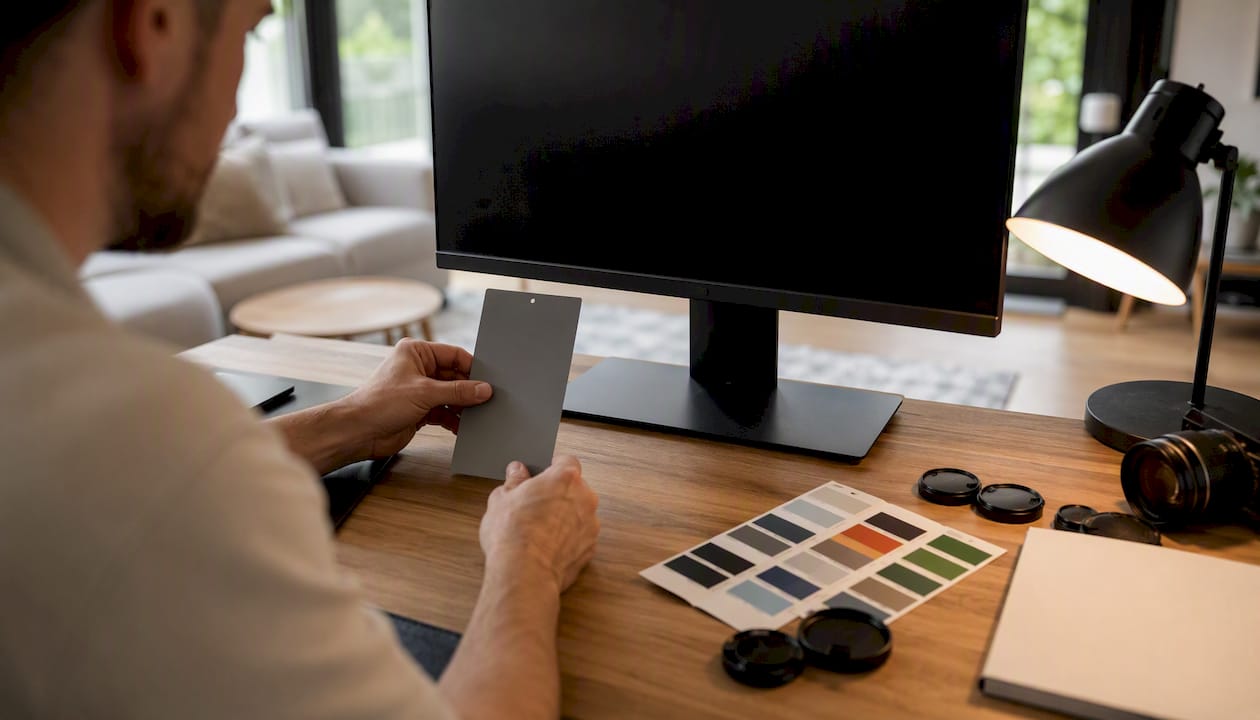
The fastest fix for lighting correction in photos is a 3D-aware AI relight tool for single images, or outsourcing to a property photo enhancement service when you need consistent, booking-ready results across a full portfolio. Two clear paths:
Option A — DIY AI relight (one photo, fast): Upload your highest-quality JPEG, HEIC, or RAW file to a 3D-aware AI relight app. The tool reads depth and shadow structure, then selectively lifts dark areas without flattening texture. Keep your file in sRGB and full resolution before uploading.
Option B — Outsource to HospitalityLens (portfolio scale): Upload your property photos and receive a free watermarked preview before you pay anything. Pack and subscription models handle batch consistency across multiple listings, with corrections that go beyond lighting to include color, perspective, and clutter removal.
Key Takeaways
A 3D-aware AI relight is the most practical tool for single-photo lighting fixes; outsourcing to a specialist service is the better choice when portfolio consistency and color accuracy matter.
Free watermarked preview. Pay only if you like it. No card is required to create the free watermarked preview. See current pricing for unlocks, one-time packs, and subscriptions.
Table of Contents
What does relighting actually mean for your photos?
Relighting is not the same as brightening. Brightening raises the luminance of every pixel uniformly, which tends to wash out shadows, flatten depth, and make a room look overexposed rather than well-lit. Relighting changes how light appears to interact with the three-dimensional forms in a scene: it recovers shadow detail in corners, pulls back blown highlights near windows, and preserves the texture of surfaces like wood floors or upholstered furniture.
The distinction matters most when you’re working with interior property photos. A global brightness push of +1.5 in any editor will make a dark bedroom look gray and flat. A proper relight lifts the shadow under the bed frame while keeping the window view intact.
Modern AI lighting correction tools detect 3D structure automatically and apply selective corrections rather than a flat brightness increase. That’s why the results look natural: the algorithm knows a shadow on a face or a wall corner behaves differently from a blown-out window, and it treats them accordingly.
How to fix lighting in photos: a 5-step workflow
Most AI relight apps and manual editors follow the same basic sequence. Work through these steps in order and you’ll avoid the most common mistakes.
-
Pick the right source file. Use your original RAW if you have it. If not, the highest-quality JPEG or HEIC from your camera or phone. Avoid screenshots or files that have already been compressed twice — each compression cycle removes detail you can’t recover.
-
Run an auto-relight as your first pass. Upload to a 3D-aware AI tool or open in Adobe Lightroom and apply the auto-correction. This gives you a calibrated starting point rather than guessing at slider values. Tools like EditThisPic also let you describe the correction in plain language (“brighten the face and balance the exposure”) for a more targeted first pass.
-
Describe or target your correction. After the auto pass, identify what still needs work: underexposed corners, a backlit subject, a blown window. Apply selective adjustments to those areas rather than moving global sliders.
-
Refine at 100% zoom. Zoom in to check skin tones, wall textures, and fabric detail. Apple Photos offers brilliance, exposure, highlights, and shadows sliders that work well for this refinement pass on Mac. Reduce noise if you’ve pushed shadows significantly.
-
Export with listing-friendly settings. Use the checklist below.
Export checklist:
- Color profile: sRGB
- Format: JPEG at 85–95% quality, or HEIC for Apple platforms
- Long edge: 1600–2048 px for web listings; keep a full-resolution master separately
- File name: descriptive (bedroom-north-window.jpg, not IMG_4821.jpg)
Pro Tip: Check your EXIF data and color profile before uploading to any AI tool. A file tagged as Adobe RGB or ProPhoto RGB will often render with dull, undersaturated colors after processing because most web tools assume sRGB. Convert to sRGB in Lightroom or Apple Photos first.
Not every tool that claims “AI lighting correction” produces the same quality. The features below separate tools that deliver realistic results from those that just push a brightness slider with a smarter label.
| Feature |
Why it matters |
What to look for |
| 3D-aware adjustments |
Preserves depth, texture, and natural shadow shape |
Selective shadow/highlight recovery, not a global slider |
| Shadow and highlight recovery |
Rescues backlit and overexposed areas without losing detail |
Topaz Adjust Lighting v3 shows what model-level improvement looks like |
| Color temperature control |
Corrects mixed-light scenes (warm lamp + cool window) |
White balance slider or Kelvin input |
| Batch processing |
Normalizes exposure across a full property shoot |
Batch mode or folder-level processing |
| File format support |
Preserves quality through the workflow |
RAW, HEIC, and high-quality JPEG input |
| Preview and watermark policy |
Lets you verify results before committing |
Free watermarked preview before purchase |
The jump from Topaz’s v2 to v3 Adjust Lighting model illustrates why model version matters: the newer model recovers more detail from deep shadows and blown highlights while offering color-correction toggles to keep results natural. When evaluating any AI tool, check whether it documents its model version and what improvements it has made.
Privacy is worth a quick check too. Some tools store uploaded files temporarily on their servers. If your photos include recognizable property details or guest-facing spaces, confirm the tool’s data retention policy before uploading.
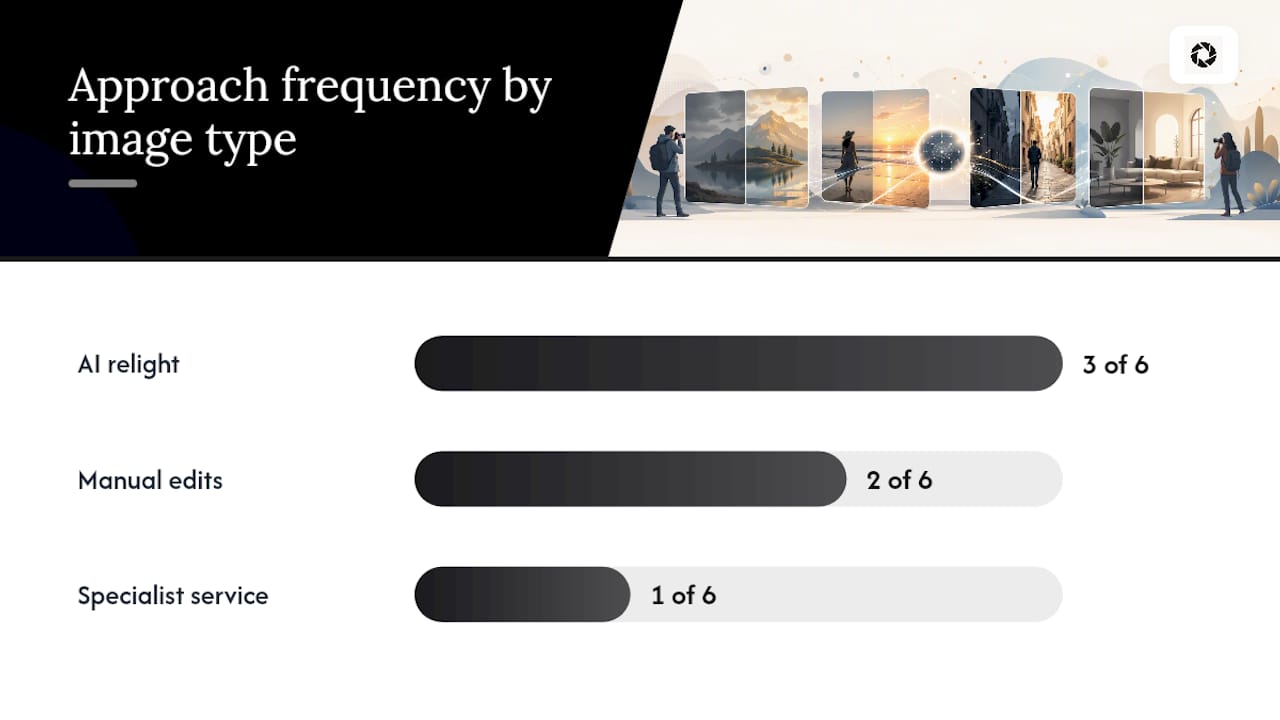
Which approach fits your image type?
Different photo problems call for different solutions. This matrix helps you match the correction method to what you’re actually working with.
| Image type |
Recommended approach |
Why |
| Backlit portrait |
AI relight (3D-aware) |
Selectively lifts face without blowing the background |
| Low-light interior |
AI relight + noise reduction |
Recovers shadow detail; noise reduction prevents grain |
| Product photo (color-critical) |
Manual edit in Lightroom |
Color accuracy requires fine-grained slider control |
| Property/interior portfolio |
Specialist enhancement service |
Batch consistency across rooms and listings |
| Landscape with blown sky |
Manual highlight recovery |
Sky detail needs targeted masking, not global correction |
| Owner-submitted phone photo |
AI relight or outsource |
Depends on volume; one photo = DIY, full set = outsource |
AI relight tools shine on backlit portraits and low-light indoor photos because those problems map directly to what 3D-aware models are trained to fix. Color-critical product photography is where manual editing in a tool like Lightroom tends to outperform one-click AI, because a slight color shift in a product photo can misrepresent the item. For full property portfolios, a specialist service is usually faster and more consistent than editing each photo individually.
How to keep relit photos looking natural
The most common mistake in photo lighting adjustments is overcorrection. A room that looks artificially bright reads as suspicious to a potential guest, not inviting.
Do:
- Prioritize selective shadow recovery over global exposure lifts
- Check texture at 100% zoom before exporting
- Keep exposure adjustments modest (a +0.5 to +0.8 lift is usually enough for a dark interior)
- Match white balance across all photos in a set so rooms feel consistent
- Pair shadow recovery with light noise reduction when pushing dark areas
Don’t:
- Apply a global brightness push of +2.0 or more; it flattens depth and looks processed
- Use relighting to suggest light sources, views, or features that don’t exist in the property
- Rely entirely on auto-presets for listing images without a manual review pass
- Skip the 100% zoom check; artifacts and color shifts hide at thumbnail size
A practical sequence that works well for most interior photos: run auto-relight first, then reduce highlights by 10–15 points, raise shadows modestly, fine-tune color temperature toward neutral or slightly warm, and apply noise reduction last. That order preserves the natural interaction of light with surfaces rather than stacking corrections that fight each other.
When should you outsource photo lighting corrections?
Some situations make DIY editing the wrong tool for the job. If any of these apply to you, a specialist service is worth considering.

You have more than five or six photos that all need consistent treatment. Manual editing one photo at a time produces subtle color and exposure variations that make a listing feel inconsistent, even when each individual photo looks fine. A service applies the same correction logic across the whole set.
You need strict color and property accuracy. Listing platforms like Airbnb and Vrbo hold hosts to honest representation standards. A specialist service that focuses on truthful improvement rather than creative staging keeps you on the right side of those policies.
You don’t have time to edit individually. Property managers onboarding a new listing or refreshing a seasonal property often need photos turned around quickly. Batch processing through a service is faster than editing each file yourself.
Pricing for specialist services typically follows one of three models: per-photo orders, one-time volume packs, or monthly subscriptions for teams with recurring needs. Volume packs reduce the per-photo cost significantly compared to single-photo orders. Monthly subscriptions suit teams that regularly onboard new properties or refresh underperforming listings.
Pro Tip: Always request a free preview or test on a single photo before committing to a full batch. A watermarked preview lets you verify color accuracy, shadow handling, and overall style before you pay for the complete set.
A practical perspective on relighting for listings
The gap between “fixed” and “ready”
Most property managers who try DIY lighting fixes end up with photos that look corrected but not quite listing-ready. The difference is usually consistency: one photo is warm, the next is cool, the third has a slightly different exposure. Individually each looks fine. Together they signal that the listing wasn’t prepared carefully, and that impression transfers to the guest’s sense of the property.
The honest recommendation for property managers: use a 3D-aware AI relight for a single urgent photo fix. For anything that touches a full listing or a portfolio, the consistency argument for a specialist service is strong enough that the time savings alone justify it, before you even factor in the quality difference.
Better listing photos without a new photoshoot
Dark, crooked, or flat property photos don’t always need a photographer. HospitalityLens corrects lighting, color, perspective, and clutter on the photos you already have, turning owner-submitted or phone-taken images into booking-ready listing photos without a reshoot.

Free watermarked preview. Pay only if you like it. No card is required to create the free watermarked preview. See current pricing for unlocks, one-time packs, and subscriptions.
Try one photo free and see the before/after for your own listing.
Sources
FAQ
What is the difference between relighting and brightening a photo?
Brightening raises the luminance of every pixel uniformly, which often flattens depth and washes out detail. Relighting selectively changes how light interacts with the three-dimensional forms in a scene, recovering shadow detail and preserving texture at the same time.
Upload your original RAW file when available, or the highest-quality JPEG or HEIC you have. Convert to sRGB before uploading to most web-based AI tools, since files tagged as Adobe RGB can render with dull colors after processing.
How do I avoid an over-processed look after relighting?
Matching white balance across all photos in a set also prevents the inconsistent, processed look.
When does it make sense to outsource lighting corrections?
When you have five or more photos that need consistent treatment, when color accuracy is critical for listing accuracy, or when you simply don’t have time to edit individually. A service like HospitalityLens handles batch corrections with consistent exposure and color across a full property set.
Does HospitalityLens invent lighting or features that aren’t in the original photo?
No. HospitalityLens improves what’s already there: lighting, color, perspective, and clutter. It does not add light sources, views, rooms, or amenities that don’t exist in the original image.
Recommended