Photography Tips
One Free Preview Fixes Dark Room Photos for Property Managers
Effortlessly brighten your dark listing photos to attract more bookings and showcase properties at their best, even without a reshoot.
By Hospitality Lens · · 12 min read
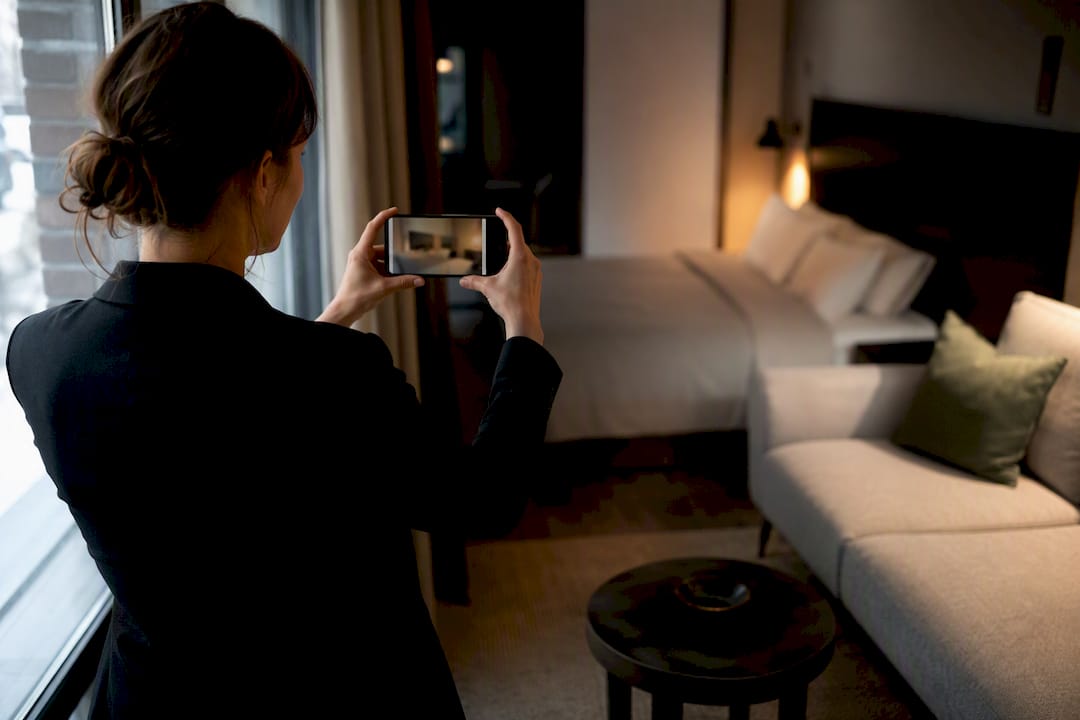
The fastest way to fix dark room photos is to capture a RAW or bracketed exposure on a stabilized camera, then correct shadows and white balance in editing rather than pushing one global brightness slider. Shoot steady, expose for the highlights, and open the shadows afterward. If you’re managing several listings and can’t get back to the property, running the image through a photo enhancement service can help you get a booking-ready photo without the reshoot.
TL;DR:
- Shooting in RAW and bracketing exposures significantly increases the chances of capturing usable shadow detail and prevents noise in dark room photos.
- Proper lighting, including layered sources and matching bulb temperatures, enhances room brightness and depth before the shot, reducing reliance on editing.
- Clear composition and styling, such as avoiding dark objects in the foreground and using mirrors or bright accents, improve how bright and inviting a space appears in photos.
- Editing should focus on local shadow recovery and color correction rather than global brightness adjustments, maintaining natural contrast and highlight details.
- For quick fixes across multiple listings, photo enhancement services offer trial options and bulk plans, streamlining the process without needing full reshoots or extensive editing.
HospitalityLens
Refresh Dark Listing Photos Faster
Upload an existing property photo and get a realistic, booking-ready enhancement without arranging a new photoshoot.
Try one photo freeTable of Contents
Camera and Phone Quick Fixes Before You Edit
Most dark room photos are fixable before you ever touch an editing app, if the capture itself gives you enough to work with. A photo that’s underexposed but clean will always edit better than one that’s been artificially boosted at 6,400 ISO.
Here’s the sequence that actually matters, in order:
- Shoot RAW, not JPEG. RAW files hold far more shadow and highlight detail, which gives you real latitude to fix exposure and white balance later without the blotchy banding that JPEG compression leaves behind.
- Use exposure compensation or bracket the shot. If a window would blow out at a “correct” exposure for the room, dial down exposure compensation or take three bracketed frames (underexposed, correct, overexposed) so you can blend or choose later.
- Stabilize everything. A tripod, a wall, or even a stack of books lets you shoot at a lower ISO with a longer shutter speed instead of cranking sensitivity and adding noise. A remote trigger or a two-second timer removes the shake your finger causes on the shutter button.
- Set white balance deliberately. Don’t leave it on auto in a room lit by a mix of tungsten lamps and daylight from a window; pick a neutral reference point, or shoot RAW so you can dial it in during editing instead of fighting a baked-in color cast.
- Keep verticals straight and avoid extreme wide angles. A lens that’s too wide exaggerates converging lines and stretches shadows into odd shapes, which makes a dim room look even less inviting. Use gridlines in your camera or phone app and square up walls and door frames before you shoot.
Pro Tip: If your phone’s camera app has an HDR or “Night” mode, test it against a manual bracketed exposure. HDR modes sometimes flatten the natural light falling through a window, which can look less realistic than a well-exposed manual shot.
Lighting Strategies That Make Rooms Photograph Brighter
Editing can only recover so much. If the room itself is genuinely underlit, the smarter fix happens before the shutter clicks. Layered lighting that combines ambient, task, and accent sources consistently beats a single overhead fixture for reducing harsh shadows and adding depth to a space. A lone ceiling light flattens a room into one flat wash of contrast; three smaller sources at different heights create the kind of dimension a camera actually rewards.
A few adjustments make the biggest difference without any renovation:
- Add at least one lamp at seating or eye level so light isn’t only falling straight down from above.
- Match bulb color temperature across every fixture in the frame. Mixing warm 2700K bulbs with cool 5000K daylight bulbs creates a two-tone cast that’s hard to correct evenly in post.
- Choose high-CRI LED bulbs. A low color rendering index makes wood tones and skin tones look slightly wrong even when the exposure is technically correct.
- Bounce light off mirrors or light-colored walls to fill shadowed corners instead of pointing every fixture directly at the subject.
- Bring in portable LED panels or floor uplighters for a quick fill without rewiring anything. Designers frequently recommend exactly this kind of temporary, multi-source setup for rooms that read dark in photos but aren’t dark in person.
- Use dimmers so you can match the room’s brightness to the time of day you’re shooting, rather than blasting full brightness at 4 p.m. and getting a harsh, flat look.
Pro Tip: Walk the room with your phone’s flashlight app before you shoot. Wherever you see a shadow pool that a lamp could fill, that’s exactly where to place your portable light.
Styling and Composition to Read as Brighter in Photos
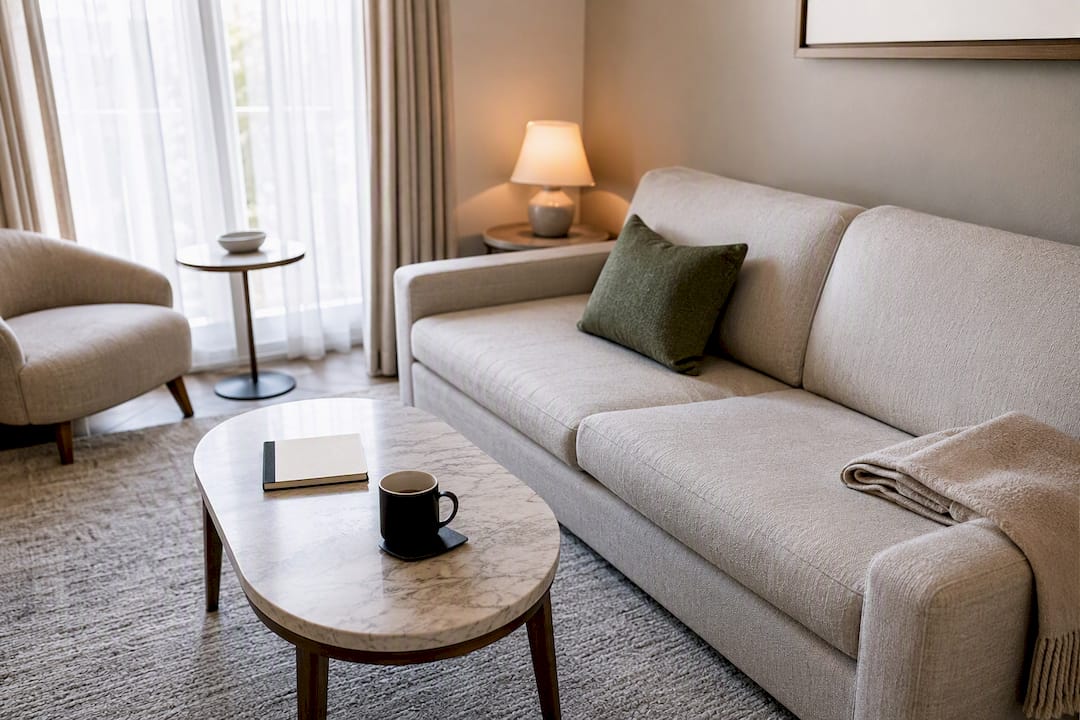
A room can be technically well-lit and still photograph dark if the styling works against you. Small, dark objects in the foreground add visual weight that reads as gloom even when the exposure is fine.
Start by clearing anything dark sitting close to the lens. A black side table or a pile of dark shoes near the frame’s edge pulls the eye toward shadow before it ever reaches the brighter parts of the room.
- Swap dark cushions, throws, and rugs for lighter textiles where you can, without stripping the room of texture or personality.
- Frame the shot toward the window or main light source when the composition allows it, and keep verticals straight so the eye reads the space as intentional rather than tilted.
- Position one or two mirrors to bounce light into the frame, but check what they’re reflecting first. A mirror aimed at a dark hallway or closet just relocates the shadow instead of fixing it, a point interior stylists flag often when advising on Light Reflectance Value and surface choice.
- Add one bright accent, whether it’s a piece of art, a pale pillow, or a plant in a light pot, to give the eye a clear point of contrast against the room’s mid-tones.
Simple swaps like lighter rugs and reflective hardware genuinely change how bright a space reads in a photo, and none of them require a repaint or renovation.
A Short, Reliable Editing Workflow (Camera Raw or Phone Apps)
Once you have a well-captured file, the edit itself should take minutes, not an hour of slider guesswork. The goal is to open shadow detail and correct color without ever touching a single global brightness slider, which is the single most common mistake amateur editors make.
- Set white balance first. Do this before touching exposure. Correcting color on a photo that’s still too dark to judge accurately just means redoing the white balance later.
- Raise overall exposure conservatively. A small global lift, then let shadow and local tools do the heavier work. Adobe’s own guidance on brightening dark photos recommends starting with Levels or Curves and using shadow recovery rather than a blunt brightness slider, because a global boost crushes contrast and makes the image look washed out and gray.
- Open shadows selectively. Use the Shadows and Blacks sliders, or a local dodge brush, to lift dark corners and furniture without touching the parts of the frame that are already exposed correctly.
- Protect the windows. This is where most dark-room edits fail. Pulling shadows up without a highlight mask or exposure blend clips window detail into pure white, which is the single fastest way to make a listing photo look fake. Use a graduated filter over the window area, or a separate exposure layer masked to just that region, to keep the outside view visible.
- Neutralize mixed-lighting casts. Use the HSL panel or local color-temperature adjustments to pull yellow tungsten casts out of one lamp’s pool of light while leaving daylight-balanced areas untouched. Check wood floors and any visible skin tones; both shift color fastest and reveal an uneven edit quickest.
- Watch your histogram, not your screen brightness. A monitor set too dark or too bright will lie to you. The histogram tells you objectively whether you’ve clipped highlights or crushed shadows, regardless of how the image looks on your display.
- Sharpen last, then export. Apply sharpening after all tonal work is finished, export a web-sized JPEG for the listing, and keep the original edited file as an uncompressed master in case you need to re-export later.
The habit that separates a natural-looking edit from an obviously processed one is restraint at every single step, not one clever trick.
When to Reshoot, Hire a Pro, or Use an AI Enhancement Service
Reshoot when you can still access the property and better light, angles, or staging would meaningfully change the result. Hire a professional photographer for flagship listings or architectural work where lighting setup and lens choice matter most. When you’re working from usable phone photos or existing listings and need fast, consistent fixes across a portfolio, HospitalityLens offers a free, watermarked preview before you commit to anything.
Most advice on fixing dark photos treats every image as a solo art project, worth an hour of careful RAW editing. That works fine for one photo. It falls apart the moment you’re managing 40 listings across three platforms and a new property gets added every other week.
The real skill isn’t mastering every slider in a RAW editor. It’s knowing which photos are worth that hour and which ones just need a fast, consistent, honest fix so the listing goes live today instead of next week. A single dark hallway shot on a flagship villa deserves the full workflow above. A batch of owner-submitted kitchen photos across a dozen apartments does not, and pretending otherwise is how photo backlogs pile up.
HospitalityLens exists for that second category: real photos, real rooms, corrected honestly, at a pace that matches how rental portfolios actually grow.
— The HospitalityLens Team
Try One Photo Free: A Faster Fix for Listing Photos
If you’ve made it through the capture and editing steps above and still have a stack of dim, unusable listing photos, there are faster options than relearning Curves for every one of them. Some services let you try one photo free, with a watermarked preview so you can see the lighting and color correction before spending anything. Pricing and credit policies vary by provider.

For teams juggling more than a handful of properties, some services offer pack bundles and subscription options that provide multiple revisions and potentially lower per-photo costs for operators refreshing listings regularly. Browse the booking-ready example gallery to see the kind of correction you can expect, and if a property genuinely needs a full reshoot instead, the property photographer directory is the better next stop. Start with your one free photo and judge the result yourself.
Sources
For deeper technical detail, see Adobe’s guidance on brightening dark photos and Livingetc’s lighting design advice on layered light and bulb temperature. Hospitality teams managing broader operations may also find this hotel check-in workflow guide useful alongside photo updates.
FAQ
Why do my phone photos look darker than the room actually is?
Phone cameras often meter for the brightest part of the frame, usually a window, which underexposes the rest of the room. Switching to manual exposure compensation or tapping to expose on a shadowed area before shooting fixes most of this at capture.
Should I prioritize fixing shadows or protecting blown-out windows?
Protect the windows first. A photo with slightly dark shadows still reads as a real room, while a photo with a blown-out window looks broken and immediately signals a bad edit.
AI enhancement tools can lift shadows, correct color casts, and preserve window detail quickly, which works well for bulk listing photos, but a photographer’s manual edit still gives finer control for a single high-stakes shot like a flagship listing hero image.
How do I fix a yellow or orange color cast from indoor lamps?
Use your editor’s white balance or HSL tools to pull warmth out of the lamp-lit areas specifically, rather than adjusting the whole image, since daylight-lit areas near a window don’t have the same cast and shouldn’t be corrected the same way.
What’s the single biggest mistake people make editing dark room photos?
Pushing one global brightness or exposure slider too far. It crushes contrast, flattens the image, and often blows out any window in the frame, which is why shadow-specific tools and local adjustments work better than a blanket fix.
Recommended