Short-Term Rentals
Listing Photo Intake: A Process for Property Managers
Streamline your onboarding workflow with a repeatable system to collect, verify, and organize photos so every rental launches booking-ready.
By Hospitality Lens · · 15 min read

A good listing photo intake process answers four questions for every property before anyone edits a single image: what was photographed, who took it, whether it is usable, and where it lives. If you manage more than a handful of listings, that process matters more than any editing tool, because messy intake is where slow onboarding and mismatched listings begin.
This guide shows you how to collect photos from owners, cleaners and co-hosts, check them against platform rules, organize them by property, room and date, and decide when a new shoot is genuinely needed.
HospitalityLens
Make Usable Photos Listing-Ready
HospitalityLens enhances existing property photos with truthful lighting, color, and perspective corrections, helping teams refresh listings without arranging a new photoshoot.
Try one photoTL;DR
- Intake means collecting, checking, labeling and filing photos before editing. Treat it as a repeatable checklist, not a favor you ask owners for.
- Use a room-by-room shot list so nothing is missing: every guest-usable room and area, shot from several angles, plus sleeping arrangements and special features.
- Check each image against the platform: Airbnb suggests at least 1,200 by 800 pixels, and Vrbo requires at least six unique photos.
- File originals untouched, name files by property, room and date, and keep edited versions separate.
- If phone or existing photos are usable, enhancement can replace a reshoot. If they are not, book a photographer.
Table of Contents
What listing photo intake actually covers
Intake is the stretch between “a photo exists” and “a photo is ready to publish.” It has four steps: collect, check, organize, then enhance or reshoot.
Most teams skip straight to the last step. An owner texts twelve phone pictures, a cleaner adds a few more, and someone starts editing whatever arrived. Two weeks later nobody knows which bedroom photo is current or whether the living room was ever shot in daylight.
A calm, written intake process fixes that. It also respects the people sending photos. Owners and cleaners are not photographers, and they should not have to guess what you need.
Build a room-by-room shot list
Start with a list you send before anyone picks up a phone. Airbnb’s photo guide recommends planning a room-by-room list of each room and guest-usable area, photographing each from multiple perspectives, and noting notable features, amenities and accessibility information. It also advises tidying and decluttering before shooting.
Turn that into a template your team reuses. For each property, the list should name every bedroom, bathroom, living area, kitchen, dining space, outdoor area and any shared space guests can use. Add a line for sleeping arrangements, because guests look for exactly how many beds and what kind.
Airbnb’s listing refresh guide, updated March 4, 2024, says a refreshed listing should include current images of every room and shared space, several shots per room, sleeping arrangements, outdoor areas, special features and accessibility features. That is a sound standard for intake on any platform, since a gap you notice now is a gap you will not have to chase later.
What to ask for per room
Keep the instruction short enough that a cleaner can follow it in the doorway. Ask for one wide shot from the corner, one mid-range shot of the main feature (the bed, the sofa, the island), and one close-up of something guests care about, such as a coffee station or a shower.
This mix mirrors Airbnb’s advice to combine wide, mid-range and close-up images. Ask for horizontal orientation, and ask people to turn on the camera gridlines so the phone stays level. Both come straight from the same Airbnb guide, and both prevent the crooked, tall, cropped shots that are hardest to rescue.
Light and timing instructions
Tell senders when to shoot. Airbnb recommends soft natural light, shooting interiors during the best daylight, opening blinds, turning flash off, and adding lamps only when natural light falls short. Exteriors look best at golden hour.
Put one sentence on your request form: “Shoot in daylight, blinds open, flash off.” It costs nothing and removes the most common reason a photo arrives too dark.
Check whether the photos you received are usable
Not every photo that arrives deserves editing time. A fast triage keeps your queue honest. Review each image on four points: technical, coverage, accuracy and condition.
Technical checks
Airbnb recommends at least 1,200 by 800 pixels and says larger files are better, up to about 10 megabytes. Check the actual file, not a screenshot or a messaging-app copy, since chat apps often compress images heavily. Ask senders to share the original through a link or upload form rather than a text thread.
For Vrbo, review its photo guidelines, which cover photo count, uniqueness, format, dimensions, orientation, sharpness and lighting, and list image types and overlays that may be rejected. Read the current page when you set up your process, since platform rules change.
Coverage checks
Vrbo’s current guidelines require at least six unique published photos. Image quality can influence how people evaluate a listing, but there is no universal performance uplift that applies to every property. Measure clicks, inquiries, bookings, or sales on the individual listing. For multi-unit Vrbo properties, the guidelines name six required categories: one building exterior, one interior or lobby, three guest rooms and one bathroom.
So your intake sheet should flag a property that is short, not just a photo that is weak. A listing with eleven strong images and no bathroom is not ready.
Accuracy and condition checks
This is where your judgment matters most. Does the photo show the room as guests will find it today? A new sofa, a repainted wall or a removed deck chair means the image is out of date, however pretty it is.
Then look at condition: dark exposure, tilted verticals, a cluttered counter, a person in a mirror, a trash can in the corner. These are the problems enhancement handles well. Missing angles, blocked rooms, severe blur or a space that is simply not presentable are different. Those need a reshoot or a return visit.
A simple status for each image keeps decisions clear: ready, needs enhancement, needs retake. Anything uncertain waits until someone answers the question. Publishing a doubtful image to save a day is rarely worth it.
Organize photos by property, room and date
Organization is what separates a team that can refresh a portfolio in a week from one that spends the week hunting for files.
A folder and file name pattern
Use one folder per property, with two subfolders: originals and edited. Never overwrite an original. If an edit goes wrong, or a platform asks about image accuracy, you want the untouched source.
Name every file the same way: property code, room, sequence number, capture date. For example, PC-204_kitchen_02_2026-11. Anyone on your team can then find the second kitchen shot for property PC-204 without opening it. Add who took it (owner, cleaner, co-host, photographer) in a spreadsheet column, since source affects how closely you review it.
Use your management software
Many property management systems already handle part of this. OwnerRez’s photo documentation explains that you can upload in the property’s Listing Content > Photos area, reorder images by drag-and-drop in grid view, and batch-edit captions and metadata in list view. It also describes detection of visually similar uploads, a side-by-side duplicate comparison, and the option to replace a lower-quality copy with a higher-quality one while keeping the original.
If your software does something similar, use it for the live set and keep your folder system as the archive. Hostfully’s multi-unit guide likewise recommends drag-and-drop reordering, mapping photos to rooms or unit types, and bulk photo actions across similar listings. That is especially useful for buildings where units share a layout.
Teams that also run event or retreat-style stays can look at how a retreat listing management platform structures program, accommodation and pricing details next to photos. It is a useful model for keeping images tied to what each space is for.
Track refresh dates
Add a “last shot” date and a “next review” date to every property row. Seasonal properties usually warrant a review before peak season. Others can sit on a yearly cycle, or earlier when something changes: new furniture, a renovation, a new hot tub, or a stretch of weak conversions.
Our vacation rental photo refresh checklist walks through what to look at on each review, and our rental image workflow guide covers how to hand work between team members.
Use this as the technical block of your intake sheet. Check the official pages for the current version before you finalize your own template.
| Check |
Airbnb |
Vrbo |
| Size |
At least 1,200 by 800 pixels; larger files are better, up to about 10 MB |
Dimensions and format rules on its guidelines page |
| Orientation |
Horizontal, level camera, gridlines on |
Orientation rules on its guidelines page |
| Coverage |
At least one photo of every room, several shots per room, sleeping arrangements, outdoor areas, special features |
At least six unique published photos |
| Consequence of gaps |
Incomplete photo tour |
Under six for more than 30 days can mean indefinite suspension |
| Review step |
Check the auto-created photo tour, reorder, add descriptions, preview |
Avoid image types or overlays it may reject |
After the photos are in order, captions help guests understand what they are seeing. See our guide to Airbnb photo captions for what to write.
When existing photos are enough, and when they are not
Honesty matters here, for you and for your guests.
Airbnb says most cameras, including smartphones, can produce compelling listing photos. If the intake review shows that a room is correctly framed, truthfully presented and only held back by dim light, a slight tilt, or visible clutter, you do not need a new shoot. That covers many owner-submitted and cleaner-taken sets.
A professional photographer is the better choice in other cases. Book one for a flagship launch, architectural work, a property that needs new angles, difficult capture conditions such as a dark basement or a view that needs special exposure, or any set where the originals are unusable. Airbnb itself notes that professional photography is available through it in select cities.

A useful rule: if the problem is how the photo was captured, enhancement can often help. If the problem is what was captured, or not captured, reshoot.
Our property photographer directory can help when intake tells you a shoot is the right call.
Our view on intake
We built HospitalityLens around a simple belief: most listing photo problems are intake problems. A dark bedroom, a crooked hallway or a cluttered counter is rarely a reason to start from zero. It is usually a reason to improve what already exists, honestly.
That is why we focus on truthful enhancement: lighting and color correction, perspective and horizon correction, clutter cleanup, and removing people or stray objects. We do not invent rooms, views, architectural features or amenities, because a guest who arrives to a different property than the one they booked is a problem no photo can fix.
For teams with many listings, we think the biggest gain comes from consistency. When owner, cleaner and co-host photos pass through one intake routine and one enhancement step, a portfolio starts to look like it belongs to one operator. We also say plainly that for flagship launches and architectural work, a professional photographer is still the right choice.
The HospitalityLens Team
From intake to enhancement
Once your photos are labeled and sorted into “needs enhancement,” the next step is quick. Upload the originals, note any clutter you want removed, and keep the edited files in their own folder beside the untouched sources.
A good review habit is to compare the original and the edited version at the same crop, then look at the final export at full size before it goes live. Check that the room still looks like the room: same furniture, same view, same finishes. Our standardization guide and photo standards guide go deeper on keeping a portfolio consistent.
How HospitalityLens fits into your intake process
HospitalityLens is an AI property photo enhancement service for managers with usable phone or existing listing photos. You upload the originals and get a free watermarked preview, which is designed to arrive in about 15 minutes, so you can see the result before you pay.
Current HospitalityLens pricing (USD); one-time packs — The Hero: 1 photo for $12; The Refresh: 10 photos for $59; The Property: 25 photos for $129; The Portfolio: 100 photos for $399; monthly subscriptions — THE STARTER: 10 photos/month for $49/month; THE OPERATOR: 25 photos/month for $99/month; THE PORTFOLIO: 100 photos/month for $299/month; one-time pack credits do not expire; monthly subscription credits remain valid for up to 3 months; 2 free revisions per photo on one-time packs; 3 free revisions per photo on monthly subscriptions. See current pricing.
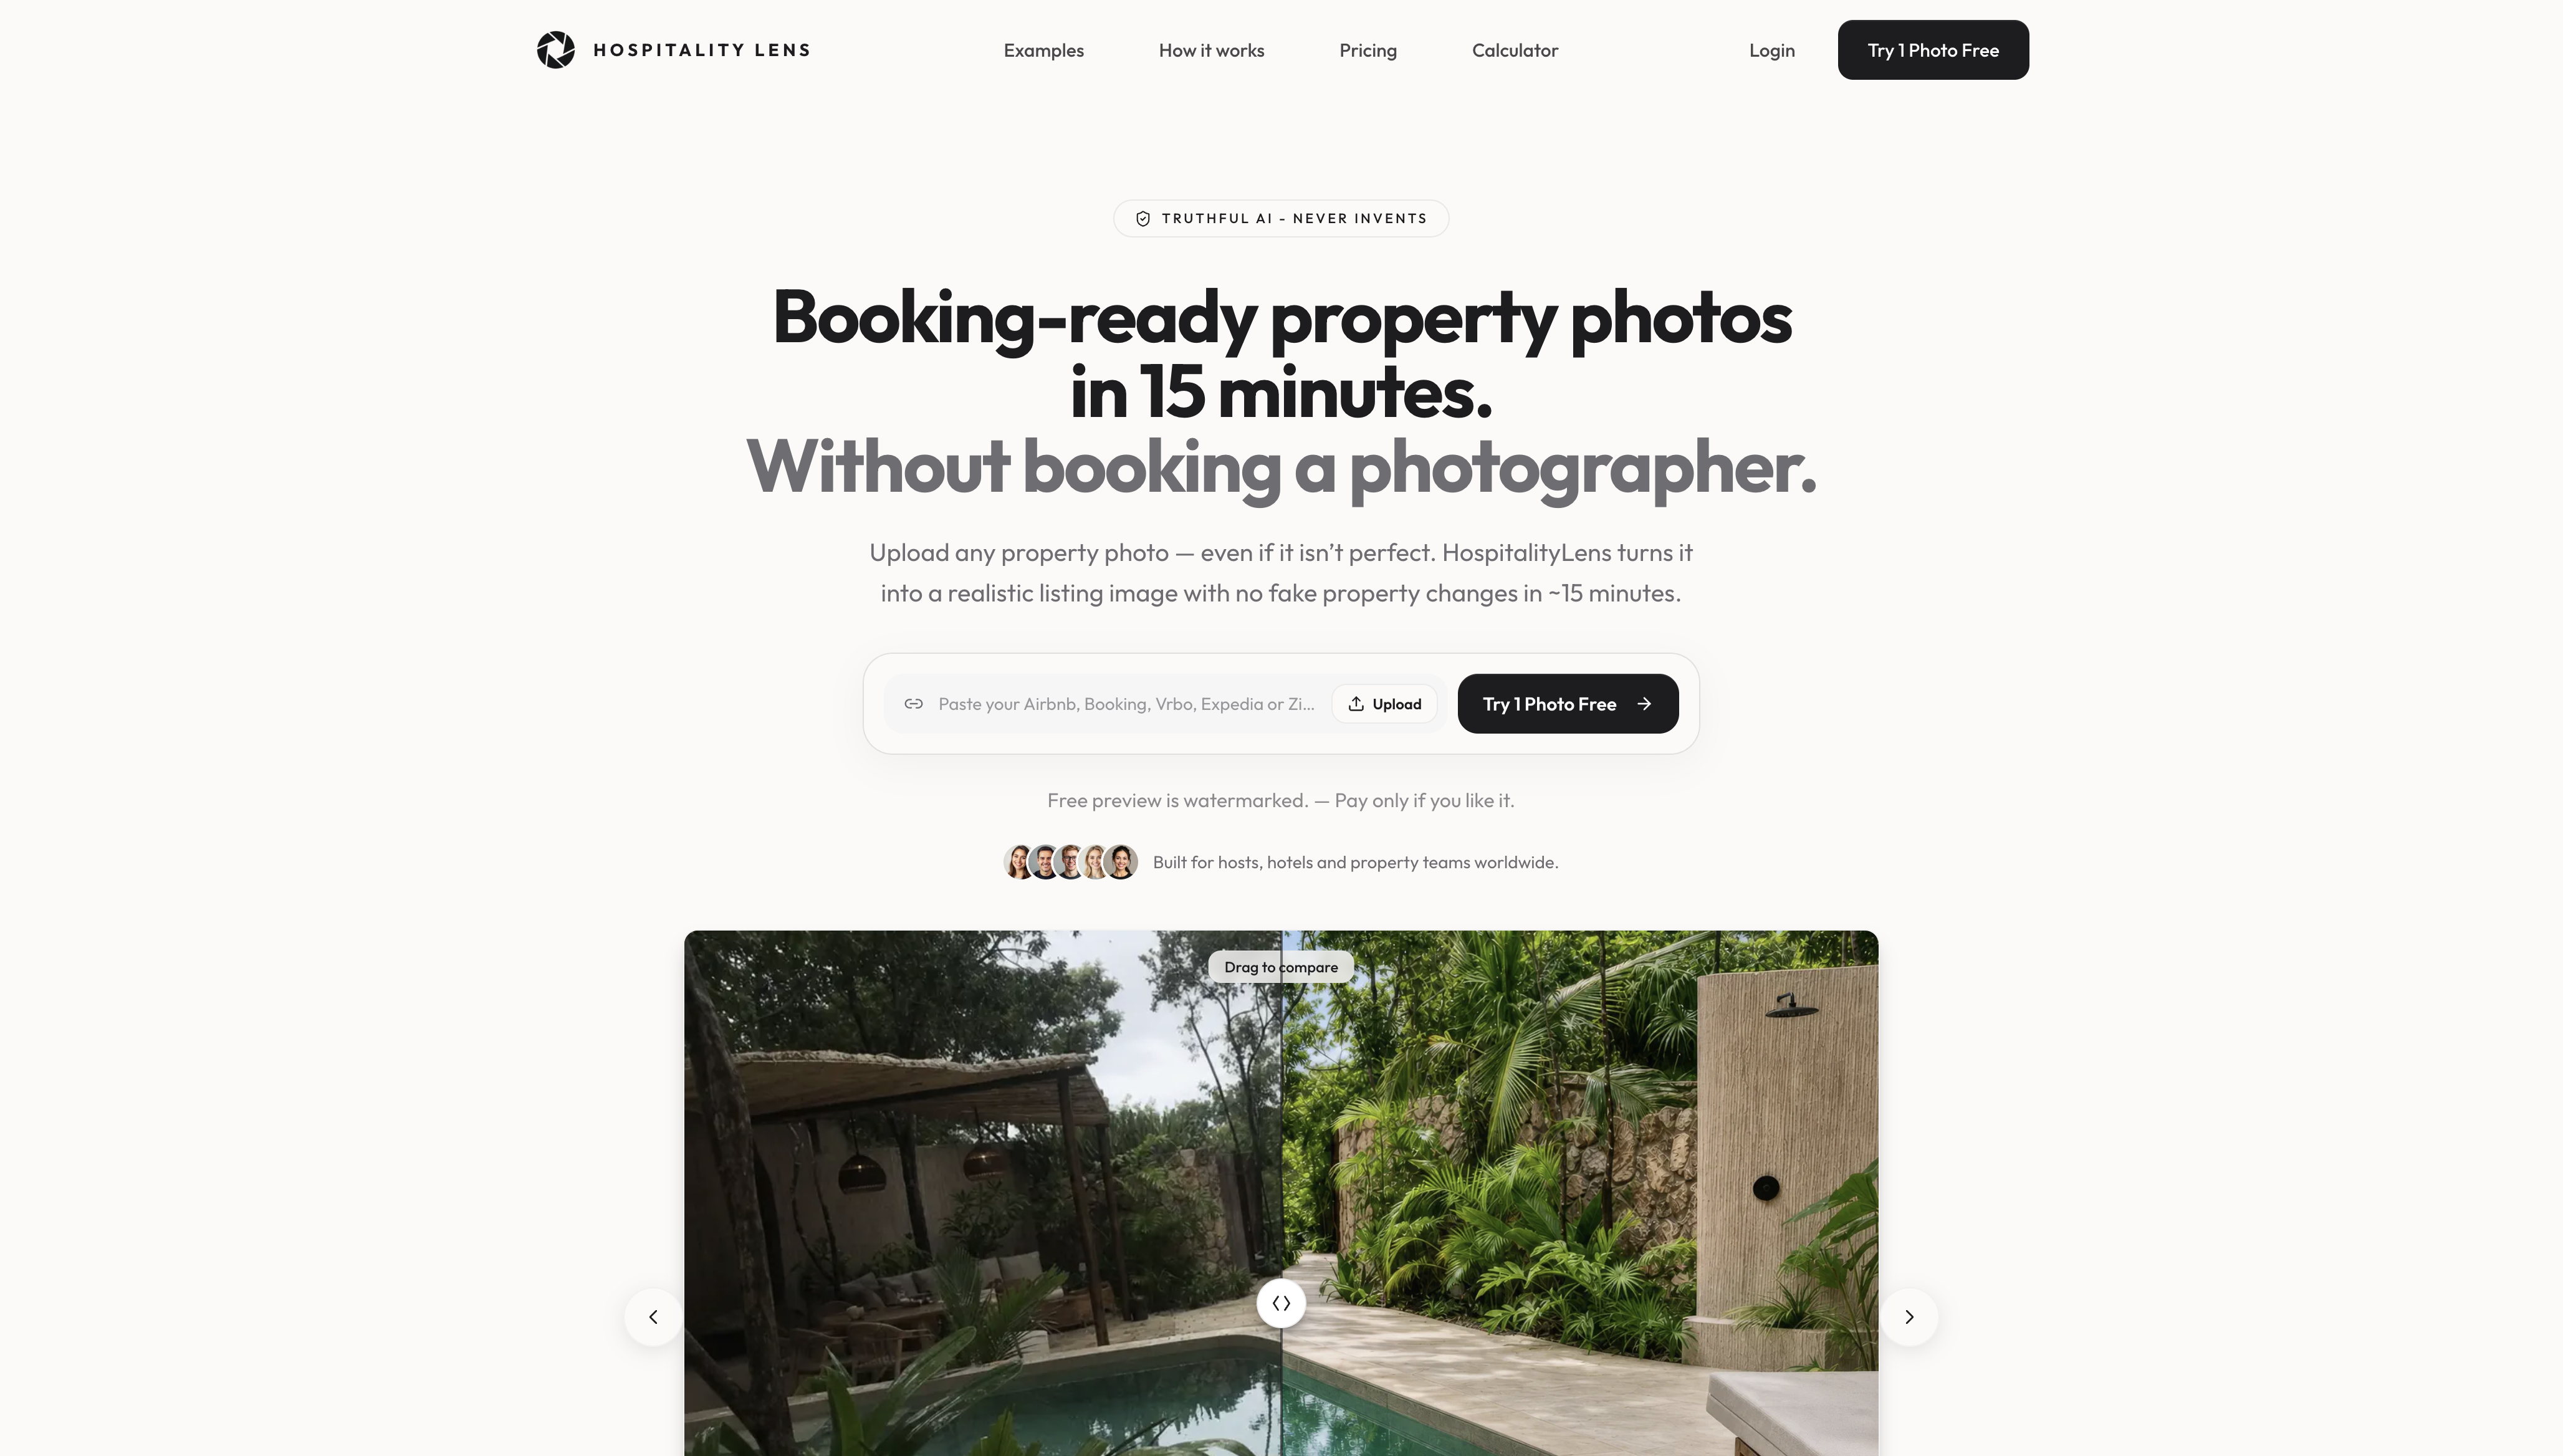
The simplest start is to take the weakest photo from your next onboarding and try one photo free. The preview is watermarked, and there is no obligation. If you manage a larger portfolio, our property manager page explains how the service works for multiple listings, and our onboarding workflow example shows where it sits in a real process.
A sample intake routine you can copy
Here is the routine in plain sequence, so you can adapt it this week.
First, when a new property signs on, send the owner or cleaner the room-by-room shot list with three short rules: daylight, blinds open, flash off, camera held level and horizontal. Ask for originals through an upload link.
Second, on receipt, create the property folder and log each file with source and date. Rename files with your pattern. Do not edit yet.
Third, run the triage. Check size against the platform minimums, check coverage against your shot list and the platform’s count rules, and mark each image ready, needs enhancement or needs retake. Hold anything unsure.
Fourth, send the “needs enhancement” set for editing and request retakes for the rest with specific notes, such as “second bedroom, from the doorway, window side lit.” Specific requests get better results than “please retake.”
Fifth, review edits against the originals at the same crop and at full size. Confirm the room is still truthful. Then upload, reorder, add captions and preview the listing before it publishes, as Airbnb’s refresh guide suggests.
Sixth, set the next review date. This last step is the one teams forget, and it is what keeps photos from slowly drifting away from the property.
For listing-level optimization beyond intake, our image optimization guide and co-host photo workflow guide pick up where this one stops.

FAQ
What is a listing photo intake process?
It is the routine you follow between receiving photos and publishing them: collecting originals, checking them against platform rules and your shot list, labeling them, and filing them by property, room and date. A written process means any team member can onboard a listing the same way.
How should I organize listing photos across many properties?
Use one folder per property with separate originals and edited subfolders, and name files by property code, room, sequence and date. Keep a spreadsheet with source and next review date. Many property management systems also let you reorder photos and edit captions in bulk.
How many photos does a listing need?
It depends on the platform. Image quality can influence how people evaluate a listing, but there is no universal performance uplift that applies to every property. Measure clicks, inquiries, bookings, or sales on the individual listing. Airbnb’s refresh guide asks for at least one photo of every room, with multiple shots per room. Check each platform’s current guidelines.
Can I use owner-submitted or cleaner-taken photos?
Often yes, if they are current, truthful, level and large enough. Airbnb says most cameras, including smartphones, can produce compelling photos. If the issue is lighting, tilt or clutter, enhancement can help. If angles are missing or the space is unusable, plan a reshoot.
Does HospitalityLens change the property in my photos?
No. We correct lighting and color, straighten perspective and horizons, clean up clutter and remove people or stray objects while preserving the real property. We do not invent rooms, views, features or amenities. The free preview is watermarked, so you can review it first.
Sources
Recommended