Real Estate
Property Listing Image Optimization Process: 2026 Guide
Enhance your property listings with expert image optimization to boost visibility, attract more bookings, and significantly increase revenue.
By Hospitality Lens · · 11 min read

TL;DR:
- Proper image optimization boosts property listing visibility and speeds up guest bookings. Maintaining current, well-optimized photos through regular updates enhances search rankings and guest trust. Ethical edits and consistent workflows ensure photos accurately represent properties and avoid misrepresentation.
The property listing image optimization process is the structured method of preparing, resizing, compressing, and enhancing photos to improve performance across real estate and short-term rental platforms. Done well, it directly affects how often your listing appears in search results and how quickly guests or buyers decide to book. Properties using professional-quality photos see revenue increases of up to 15%, according to HospitalityLens. That number reflects a simple truth: the listing photo is emotional before it is rational. Guests decide within seconds, and your images either earn that decision or lose it.

What are the technical standards for the property listing image optimization process?
The technical foundation of real estate image optimization starts with format, resolution, and file size. Get these wrong, and even a beautifully composed photo will load slowly, display poorly, or get rejected by the platform.
Image format is your first decision. JPEG remains the standard for most listing portals, but WebP is gaining ground fast. WebP reduces file sizes by an average of 47.5% compared to JPEG compression. That reduction means faster page loads and lower bounce rates, which directly supports your SEO. TIFF files are appropriate for print materials but are too large for web uploads.
Resolution and file size have a clear target. The ideal listing resolution is approximately 2048×1365 pixels in JPEG format, keeping files under 2MB. Most major portals, including MLS systems and Airbnb, accept images within this range without quality loss. Uploading larger files does not improve display quality on most screens. It only slows loading.
Metadata and EXIF data are often overlooked. Every photo your camera takes embeds location data, device information, and timestamps. Stripping EXIF data before upload protects your privacy and reduces file size slightly. Tools like ExifTool or built-in export settings in Adobe Lightroom handle this automatically.
For editing, you have two main paths. Professional real estate photo editing services charge $25–$75 per image with a 1–3 day turnaround. AI-powered tools deliver comparable quality at $0.20–$0.50 per edit with near-instant results. For hosts managing multiple listings or frequent updates, the cost and time difference is significant.
Pro Tip: Set up a batch processing pipeline using an API-based compressor to convert and resize your entire photo library in one pass. Automated workflows can chain compression and WebP conversion together, saving bandwidth and improving CDN delivery for every listing update.
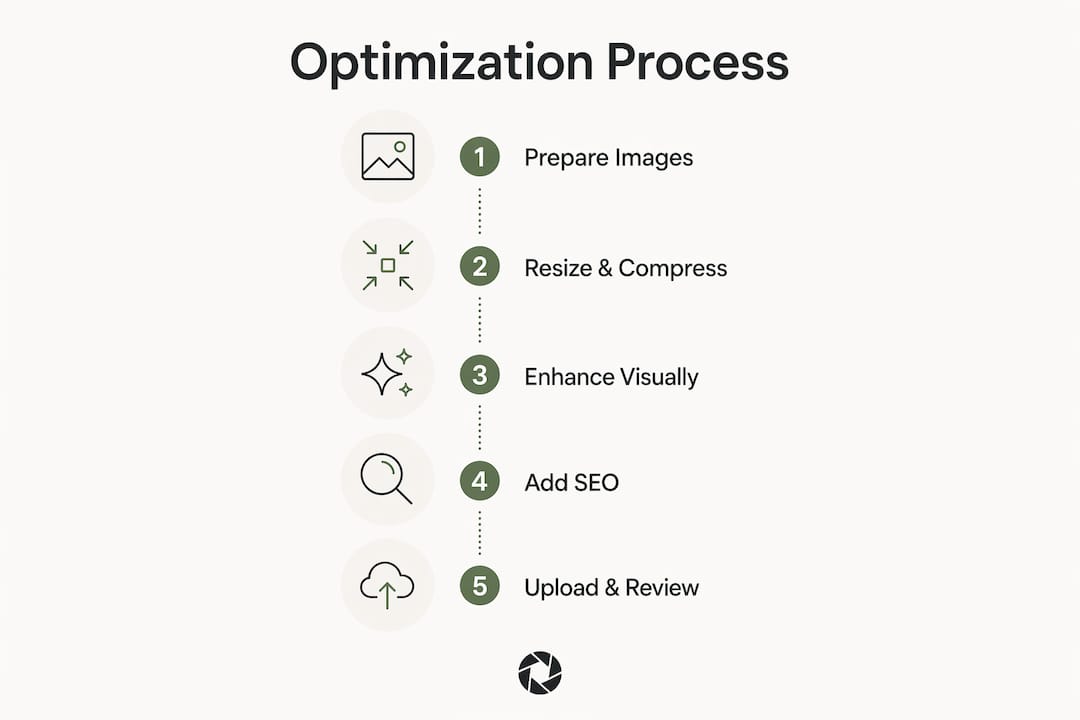
Technical quality gets your images onto the platform. SEO gets them found. These are two separate problems, and most hosts only solve the first one.
Image SEO best practices start with file naming. A file named “IMG_4823.jpg” tells search engines nothing. A file named “3-bedroom-beachfront-villa-miami-living-room.jpg” tells them exactly what the photo shows. Use descriptive, hyphenated file names that reflect the property type, location, and room.
Alt text follows the same logic. Write alt tags that describe what a visually impaired user would need to understand the image. “Bright open-plan kitchen with quartz countertops and ocean view” outperforms “kitchen photo” in every search context. Keep alt text under 125 characters and avoid keyword stuffing.
Image sitemaps and structured data markup extend your reach further. Adding an image sitemap tells Google which photos belong to which listing page. Schema markup using ImageObject properties helps search engines understand the context of each photo. Both steps are standard practice for property websites that want higher search visibility.
Platform compatibility requires checking each portal’s specific upload rules. MLS systems, Airbnb, Vrbo, and Booking.com each have different dimension minimums, file size caps, and format preferences. Uploading a photo that meets one platform’s specs does not guarantee it meets another’s. Build a simple reference sheet for each platform you use and check it before every upload cycle.
Mobile performance is the final layer. Unoptimized images slow loading, frustrate users, and hurt SEO rankings. Implement lazy loading so images below the fold only load when a user scrolls to them. Use responsive image serving with srcset attributes to deliver the right image size for each screen. Most modern website builders and listing platforms handle this automatically, but it is worth verifying.
What are best practices for visual enhancement and ethical image editing?
Visual enhancement is where listing photos go from acceptable to booking-ready. The goal is not perfection. The goal is an accurate, appealing representation of what guests will actually experience.
The hero photo and image sequencing
The hero photo is the single most important image in your listing. It is the first decision point. Marketing experts rank it as the most critical image for conversions in both rental and sales listings. It should show the property’s standout feature, whether that is a panoramic view, a well-designed living room, or a private pool, with strong natural light and a wide composition.
Photo sequencing matters almost as much as the hero image itself. Proper sequencing starting with the hero image, followed by exterior shots, living spaces, kitchen, and bedrooms, can boost conversion rates by 6–10%. Think of it as a tour. You are guiding the guest through the property in the order that builds the strongest emotional case for booking.
Allowed edits vs. edits that require disclosure
The line between enhancement and misrepresentation is clear once you know where it sits.
Exposure correction, white balance adjustment, and sky replacement are generally accepted without disclosure requirements. Virtual staging, which means digitally adding furniture to an empty room, requires explicit disclosure under the NAR Code of Ethics and most MLS rules. The same applies to any edit that removes a permanent feature of the property or adds one that does not exist.
Virtual staging must be disclosed in listing descriptions and photo captions. Edits that alter the physical reality of a property, such as removing a power line or adding a pool, violate NAR guidelines and MLS rules in most regions. Transparency builds trust with buyers and guests, and it protects you from complaints or legal exposure after a booking.
AI tools now handle sky replacement, lighting balance, and object removal with impressive speed. The technology is not the problem. The problem is using it without judgment. A brightened sky is fine. A fabricated ocean view is not.
Pro Tip: Before publishing any AI-enhanced photo, compare it side by side with the original. If a guest standing in that room would not recognize the scene, the edit has gone too far. Realistic appearances build guest trust and reduce post-stay complaints.
How to implement a repeatable workflow for ongoing image updates
A one-time optimization effort loses value the moment you reprice, renovate, or move to a new platform. The hosts and agents who consistently outperform their competition treat image optimization as a recurring process, not a single task.
Here is a repeatable workflow that works for both individual hosts and property management teams:
- Import and audit. Pull all current listing photos into a single folder. Flag any image that is blurry, poorly lit, crooked, or outdated.
- Edit and enhance. Apply consistent color correction, exposure adjustment, and cropping across the full set. Use AI tools for speed on large batches.
- Resize and compress. Export all images at 2048×1365 pixels, under 2MB, in JPEG or WebP format. Strip EXIF data during export.
- Rename and tag. Apply descriptive file names and prepare alt text for each image before upload.
- Upload and verify. Upload to each platform and confirm that images display correctly on both desktop and mobile.
- Schedule a review. Set a calendar reminder to re-audit photos every 90 days or after any property change.
The table below shows common triggers for re-optimization and the recommended response for each.
| Trigger |
Recommended action |
| Seasonal decor change |
Reshoot affected rooms and update hero photo if needed |
| Renovation or new furniture |
Full reshoot of updated spaces; re-sequence photo order |
| Platform algorithm update |
Review platform specs and re-export to new requirements |
| Drop in click-through rate |
Audit hero photo and first three images; test alternatives |
| New listing platform added |
Export optimized set in platform-specific format and dimensions |
Batch processing tools and API-based compressors reduce the time cost of steps 3 and 4 significantly. For hosts managing five or more listings, automation is not optional. It is the only way to maintain consistent quality without spending hours on every update cycle.
Key Takeaways
The property listing image optimization process combines technical standards, SEO practices, ethical editing, and a repeatable workflow to produce photos that perform consistently across every platform.
| Point |
Details |
| Format and resolution matter |
Use JPEG or WebP at 2048×1365 pixels and keep files under 2MB for best platform compatibility. |
| SEO starts with file names |
Descriptive file names, alt text, and image sitemaps directly improve search engine discovery. |
| Hero photo drives conversions |
Place your strongest, best-lit image first; proper sequencing can boost conversions by 6–10%. |
| Disclose virtual staging |
NAR and MLS guidelines require disclosure of any digitally staged or structurally altered images. |
| Build a repeatable workflow |
Schedule image audits every 90 days and re-optimize after any property change or platform update. |
What I’ve learned from watching hosts get this wrong
Most hosts I talk to treat their listing photos as a one-time task. They shoot once, upload once, and move on. Then they wonder why their click-through rate drops six months later when the photos look dated or the platform’s display algorithm changes.
The hosts who consistently fill their calendars treat image quality the way a retailer treats a storefront window. They refresh it. They test it. They pay attention to what the first image communicates before a single word is read.
The ethical side of this is something I feel strongly about. AI enhancement tools are genuinely useful. I have seen them correct flat lighting, balance exposure, and make a modest property look clean and inviting without misrepresenting anything. But I have also seen hosts use them to fabricate views, remove neighboring buildings, and stage rooms that bear no resemblance to the actual space. That approach always backfires. Guests arrive, feel deceived, and leave negative reviews that no amount of photo editing can undo.
The standard I recommend is simple: if you would be comfortable showing a guest the original photo alongside the enhanced version, the edit is fine. If you would not, pull it back. Authenticity is not a limitation. It is the foundation of repeat bookings and strong reviews.
Keep learning as the tools evolve. WebP was a niche format two years ago. It is now the preferred format for most high-traffic listing platforms. The technical standards will keep shifting, and the hosts who stay current will keep the advantage.
— Greg
How HospitalityLens fits into your image optimization workflow
Preparing listing photos to a professional standard used to mean scheduling a photographer, waiting days for edits, and paying per image. HospitalityLens changes that timeline to 15 minutes.
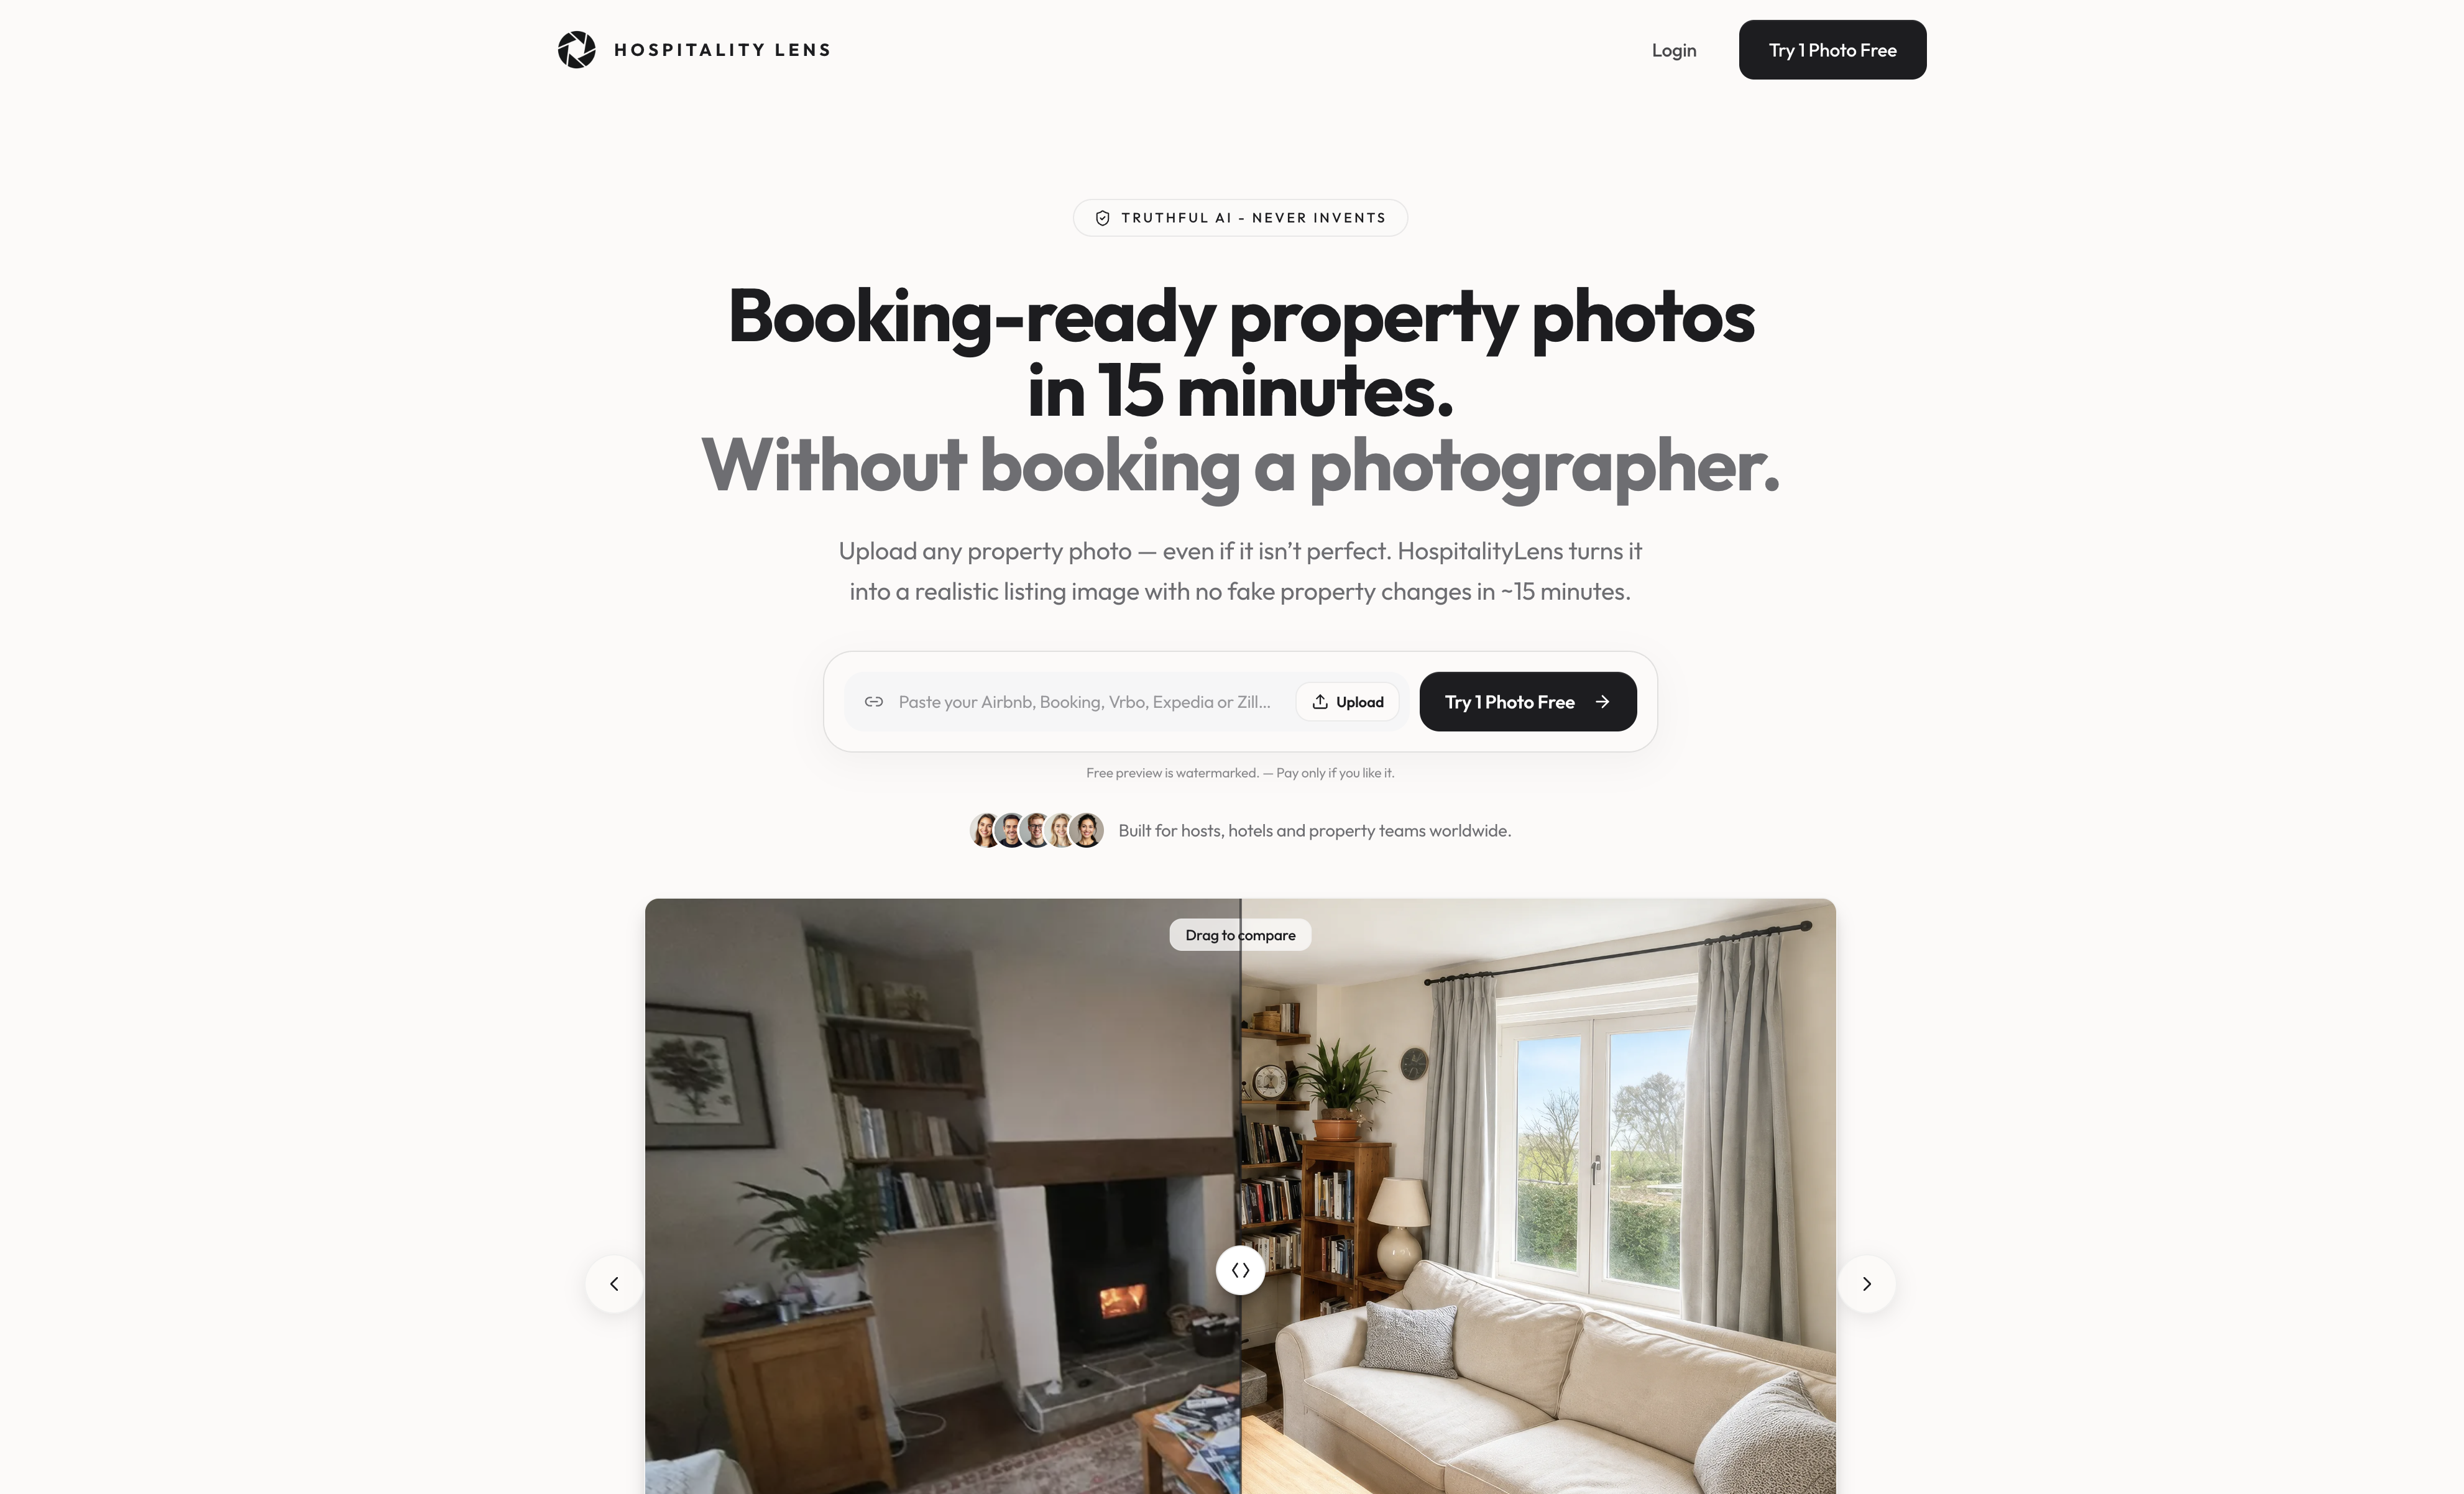
You upload any photo, regardless of its current quality, and HospitalityLens enhances it using AI without altering the property itself. The result is a booking-ready image that meets platform standards and reflects your space honestly. There are no hidden fees, commercial use is included, and every enhancement comes with a 100% satisfaction guarantee. You can try one photo free to see the difference before committing to anything. For hosts and property managers who want to see real before-and-after results, the HospitalityLens examples page shows exactly what the process produces.
FAQ
What is the ideal image size for property listings?
The recommended resolution is approximately 2048×1365 pixels in JPEG format, with files kept under 2MB. This satisfies the upload requirements of most major portals, including MLS systems and Airbnb.
WebP reduces file sizes by an average of 47.5% compared to JPEG, which improves page load speed and reduces bounce rates. Most major listing platforms and browsers now support WebP natively.
Do I need to disclose virtual staging in listing photos?
The NAR Code of Ethics and most MLS rules require disclosure when photos include virtual staging or any edit that alters the physical reality of the property. Sky replacement and exposure correction generally do not require disclosure.
How often should I re-optimize my listing photos?
Audit your listing photos every 90 days and after any property change, renovation, or platform algorithm update. Keeping images current maintains click-through rates and platform compliance.
What file naming convention improves property photo SEO?
Use descriptive, hyphenated file names that include the property type, location, and room, such as “2-bedroom-condo-scottsdale-kitchen.jpg.” Descriptive names, combined with matching alt text and an image sitemap, improve search engine discovery for your listing.
Recommended