Real Estate
9 Ways to Standardize Rental Property Photos
Transform your rental listings with standardized, professional photos that capture attention and consistently attract more high-quality tenant inquiries and bookings.
By Hospitality Lens · · 10 min read
TL;DR:
- Standardizing rental property photos involves using a fixed shot order, consistent camera settings, and centralized editing workflows. This approach produces uniform, professional images that attract more tenants and increase property revenue.
Standardizing rental property photos means applying a consistent shooting order, fixed camera settings, and a repeatable editing workflow to every listing image you produce. Done right, this practice is called photo standardization in professional real estate photography, and it directly affects how many tenants click, inquire, and book. Properties using professional-quality photos see an average revenue increase of up to 15%, according to HospitalityLens. The methods below give you a clear, repeatable system to reach that result without hiring a photographer for every shoot.
1. Ways to standardize rental property photos: start with a fixed shot order
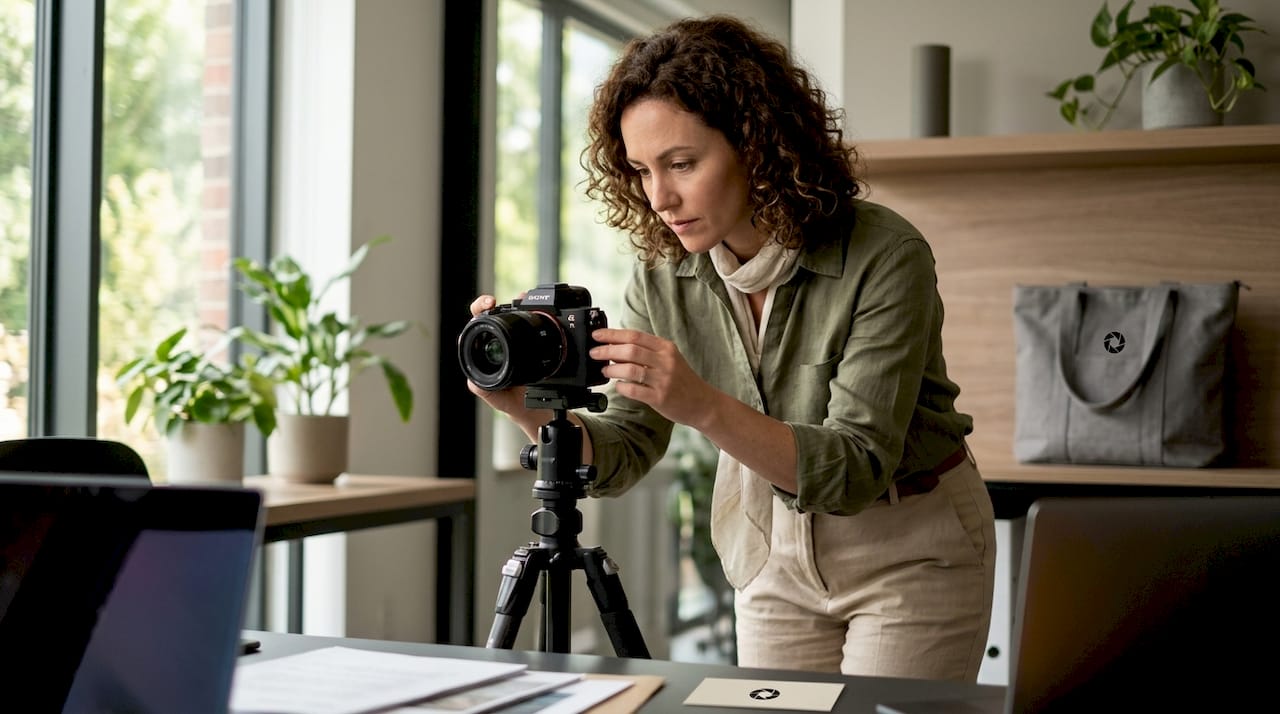
A logical photo sequence creates a virtual walkthrough that mirrors how a tenant would physically tour the property. When photos jump from a bedroom to the exterior and back to the kitchen, tenants lose their sense of the space. That confusion reduces trust and lowers engagement.
The recommended sequence runs: exterior, entry, living room, kitchen, bedrooms, bathrooms, amenities, neighborhood, and floor plans. Each step in this order answers a question the tenant is already asking. The exterior sets expectations. The entry confirms the first impression. The living room and kitchen carry the most emotional weight.
25–35 high-quality photos cover all key areas and give tenants enough visual information to feel confident. Too few photos signal that something is being hidden. Too many without structure create fatigue.
Pro Tip: Place your strongest, brightest photo of the main living area as the hero image. It is the first decision point for any tenant scrolling through listings.
2. Shoot only in landscape orientation
Vertical photos crop awkwardly or add black bars on most rental platforms, reducing listing appeal significantly. This is one of the most common and most avoidable mistakes hosts make. Every photo in your listing should be horizontal, without exception.
Landscape orientation also captures more of the room in a single frame. That wider view makes spaces feel larger and more inviting. Tenants respond to a sense of openness, and orientation is the simplest way to create it.
3. Lock in consistent camera settings
Consistent camera settings are the technical foundation of rental photo consistency. Without them, photos from the same property can look like they were taken in different buildings. Aperture settings between f/8 and f/16 keep the full room in sharp focus, and ISO values between 100 and 400 reduce digital noise in well-lit spaces.
HDR mode is worth using in rooms where windows create strong contrast between bright outdoor light and darker interior walls. It blends multiple exposures into one balanced image. The result looks natural rather than blown out or underexposed.
Pro Tip: Write your standard settings on a small card and keep it in your camera bag. Checking before each shoot takes 30 seconds and prevents hours of correction later.
4. Use natural light and avoid flash
Natural light produces the most trustworthy images. Flash creates harsh shadows, uneven color casts, and a clinical look that makes spaces feel cold. Bright, natural light and decluttered staging increase tenant interest more reliably than any editing filter.
Shoot during the mid-morning hours when sunlight fills rooms without creating extreme shadows. Open all blinds and curtains before shooting. Turn on all interior lights to fill any dark corners, but let natural light do the primary work.
Avoid over-saturation and heavy editing after the shoot. Tenants who arrive at a property that looks different from the photos feel misled. Authenticity builds trust. Trust drives bookings.
5. Frame shots from chest height using the rule of thirds
Shooting from chest height, roughly 4 to 5 feet off the ground, produces the most natural perspective for interior spaces. Photos taken from floor level distort proportions and make ceilings look impossibly high. Photos taken from above make rooms look cramped.
The rule of thirds places the main subject of the frame at one of four intersection points on an imaginary 3x3 grid. Applied to real estate, this means positioning a focal point like a fireplace or kitchen island slightly off-center. The result feels balanced without looking staged.
Keep horizons straight. A crooked horizon in a photo of a bedroom or living room reads as careless. Most cameras and smartphones include a built-in level grid you can enable in settings.
6. Stage every room before shooting
Staging is not about making a space look fake. It is about removing distractions so the room itself becomes the subject. Cluttered spaces and improper lighting deter potential tenants before they read a single word of your listing description.
Remove personal items, excess furniture, and anything that makes the space feel occupied by someone else. Tenants need to picture themselves in the space. A toothbrush on the bathroom counter or a pile of mail on the kitchen table breaks that mental image immediately.
Clean, but not sterile. A single plant, a folded throw blanket, or a bowl of fruit on the counter adds warmth without clutter. These small touches make a room feel livable rather than vacant.
7. Apply a descriptive file naming convention
Descriptive file naming with property ID, unit number, date, and room name makes photo archives searchable and scalable. A file named IMG_2047 tells you nothing. A file named PropID_204_2026-03_LivingRoom_v1.jpg tells you everything.
This matters more as your portfolio grows. Managing photos across five properties is manageable with any system. Managing photos across 50 properties with ad hoc filenames like final_final2 becomes operationally impractical. A strict naming convention enables faster searches, cleaner records, and easier handoffs between team members.
Set the convention before your first shoot and apply it without exceptions. Retrofitting a naming system onto thousands of existing files costs far more time than building the habit from the start.
8. Use batch editing with locked white balance
Batch processing applies the same corrections to every photo in a set automatically. White balance locked to 5,500K for interiors and 6,500K for exteriors keeps color temperature consistent across an entire portfolio. Histogram matching ensures that brightness and contrast levels stay uniform from room to room.
Manual editing of individual photos introduces variation. One editor might brighten a kitchen more than another editor brightens a bedroom. Over time, those small differences accumulate into a portfolio that looks inconsistent. Batch workflows remove that variable entirely.
Automated pipelines also apply local contrast enhancement, lens distortion removal, and color correction without requiring manual input for each image. The time savings are significant, especially for hosts managing multiple properties.
AI metrics like Delta E 2000 measure perceptual color consistency across a photo set. This is not an aesthetic judgment. It is a measurable standard that correlates with reduced days on market for rental listings. Standardization, at its most rigorous level, is a data problem as much as a visual one.
Automated quality control gates detect exposure problems, focus issues, and color drift before photos go live. Centralized AI tools help brokerages maintain uniform photo quality across multiple agents and photographers. Relying on individual judgment alone causes portfolio inconsistency that damages brand perception over time.
Features like virtual staging, day-to-dusk conversion, and automated floor plan vectorization enhance listing appeal and complement a standard photo workflow. HospitalityLens applies AI photo enhancement to any uploaded image, regardless of original quality, and returns booking-ready results in about 15 minutes. That speed matters when you are preparing a listing under time pressure.
Key takeaways
Standardizing rental property photos requires a fixed shot order, consistent camera settings, and centralized editing workflows to produce uniform, professional listings that attract more tenants.
| Point |
Details |
| Fixed shot order |
Follow the exterior-to-floor-plan sequence to create a coherent virtual walkthrough for tenants. |
| Camera settings |
Use f/8–f/16 aperture, ISO 100–400, and landscape orientation for sharp, consistent images. |
| File naming discipline |
Apply a structured naming convention like PropID_Date_Room_Version.jpg from the first shoot. |
| Batch editing |
Lock white balance at 5,500K for interiors and use histogram matching to maintain portfolio-wide consistency. |
| AI quality control |
Use AI tools like HospitalityLens to enforce color standards and catch exposure issues before photos go live. |
What I have learned from watching hosts get photo standardization wrong
Most hosts I have worked with treat photo standardization as a one-time project. They set up a shot list, shoot a great set of photos for one property, and then improvise on the next one. Within six months, their portfolio looks like it was photographed by five different people with five different phones.
The real challenge is not knowing what to do. The real challenge is building a system that runs without you having to think about it every time. That means a written shot list posted somewhere visible, a camera preset saved and labeled, and a batch editing template ready to apply the moment photos come off the camera.
I have also seen hosts obsess over perfection to the point of paralysis. They wait for better light, a better camera, or a professional photographer they cannot afford yet. The listings sit empty in the meantime. A consistent set of well-lit, properly framed photos taken on a smartphone beats a delayed set of professional photos every time. Start with what you have. Apply the system. Improve from there.
The hosts who see the biggest gains from photo consistency are not the ones with the best equipment. They are the ones who treat every listing shoot the same way, every time.
— Greg
How HospitalityLens fits into your photo workflow
Getting your photos to a professional standard does not require a photographer on call or hours of manual editing. HospitalityLens enhances any property photo you upload, regardless of how it was taken, and delivers booking-ready results in about 15 minutes.
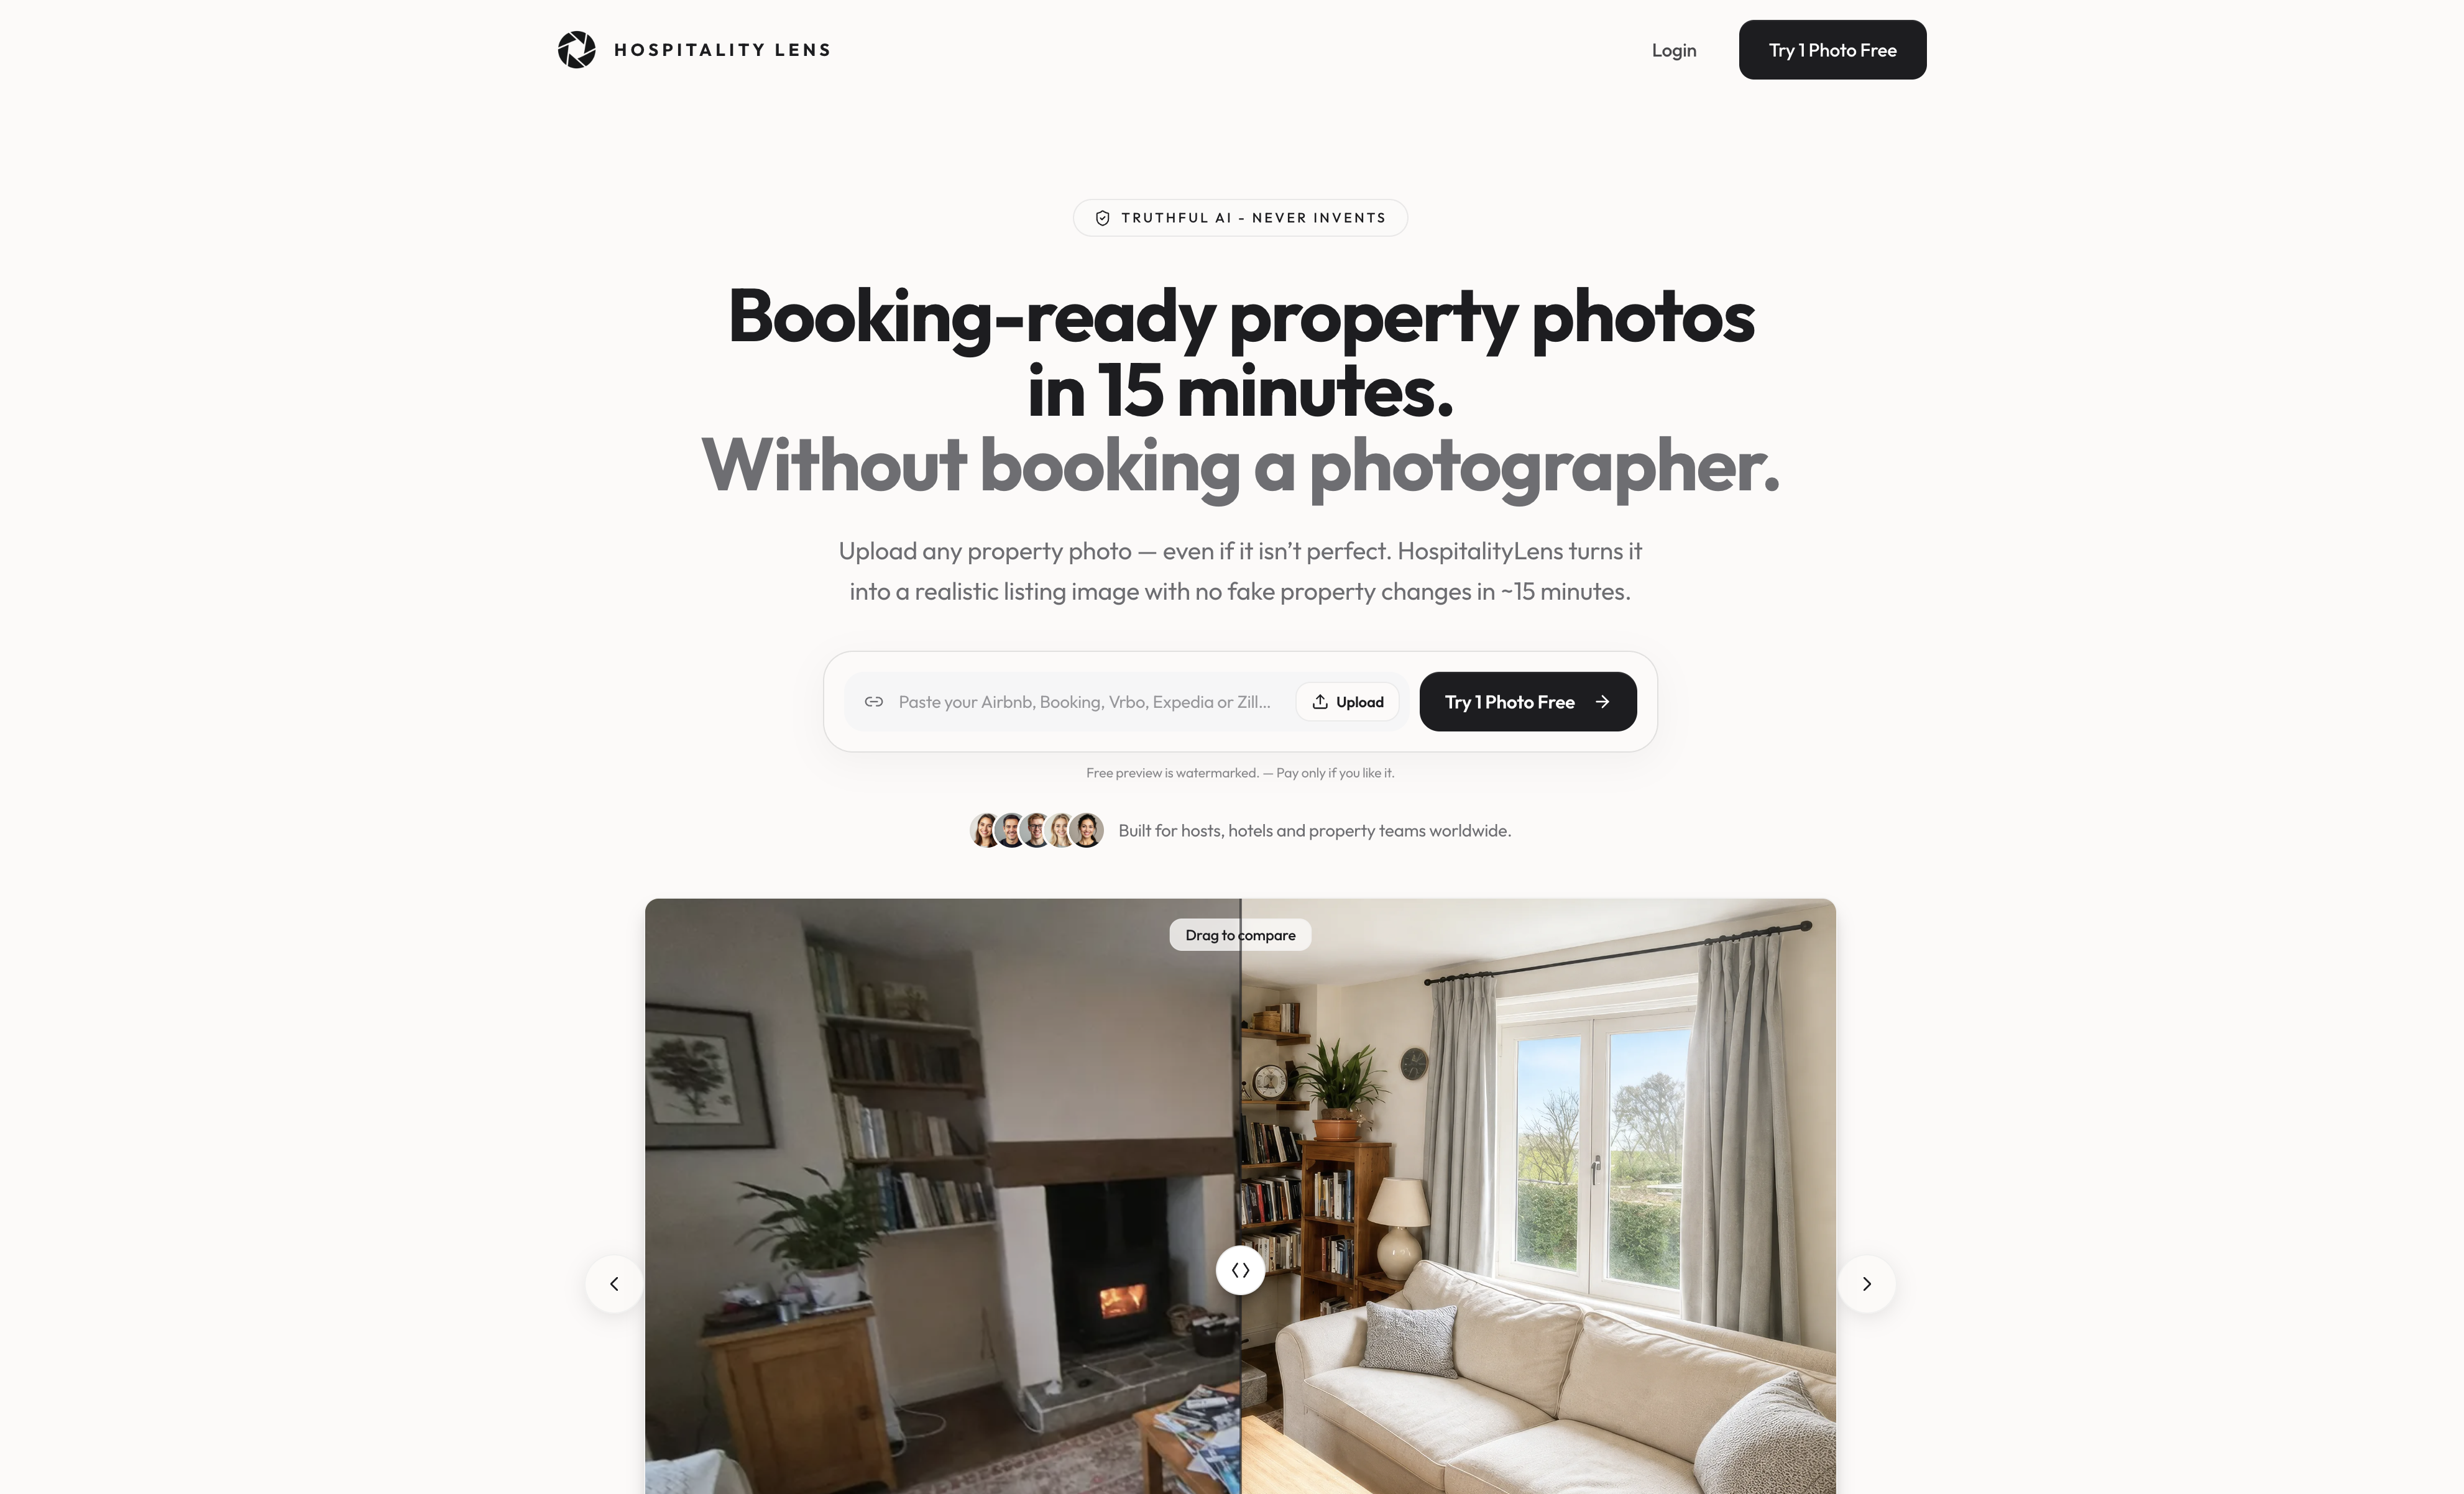
The platform applies AI-driven color correction, exposure balancing, and style consistency across your entire photo set. That means your portfolio looks uniform whether you shot one property or twenty. HospitalityLens offers a 100% refund if you are not satisfied, and all enhanced photos are cleared for commercial use with no hidden fees. You can try one photo free to see the difference before committing to a full workflow change.
FAQ
How many photos should a rental listing include?
25–35 high-quality photos cover all key areas of a rental property and give tenants enough visual information to feel confident. Fewer than 10 photos often signals that something is being concealed.
What camera settings work best for rental property photos?
Set your aperture between f/8 and f/16 and keep ISO between 100 and 400 for sharp, well-lit interior shots. Shoot in landscape orientation on every photo to avoid cropping issues on rental platforms.
Why does white balance matter for rental photo consistency?
White balance determines the color temperature of your images. Locking it to 5,500K for interiors and 6,500K for exteriors keeps all photos in a set looking visually consistent rather than shifting between warm and cool tones.
Use a format that includes property ID, date, room name, and version number, such as PropID_2026-03_Kitchen_v1.jpg. This structure makes photos searchable and manageable as your portfolio grows.
How does AI improve rental photo standardization?
AI tools apply metrics like Delta E 2000 to measure and correct color consistency across a photo set. Platforms like HospitalityLens also automate exposure correction and style audits, reducing the need for manual editing on each individual image.
Recommended