Photography Tips
Short-Term Rental Photo Guide: Attract More Bookings in 2026
Maximize bookings and revenue by mastering essential photography techniques, creating captivating visuals that truly highlight your short-term rental's appeal.
By Hospitality Lens · · 14 min read
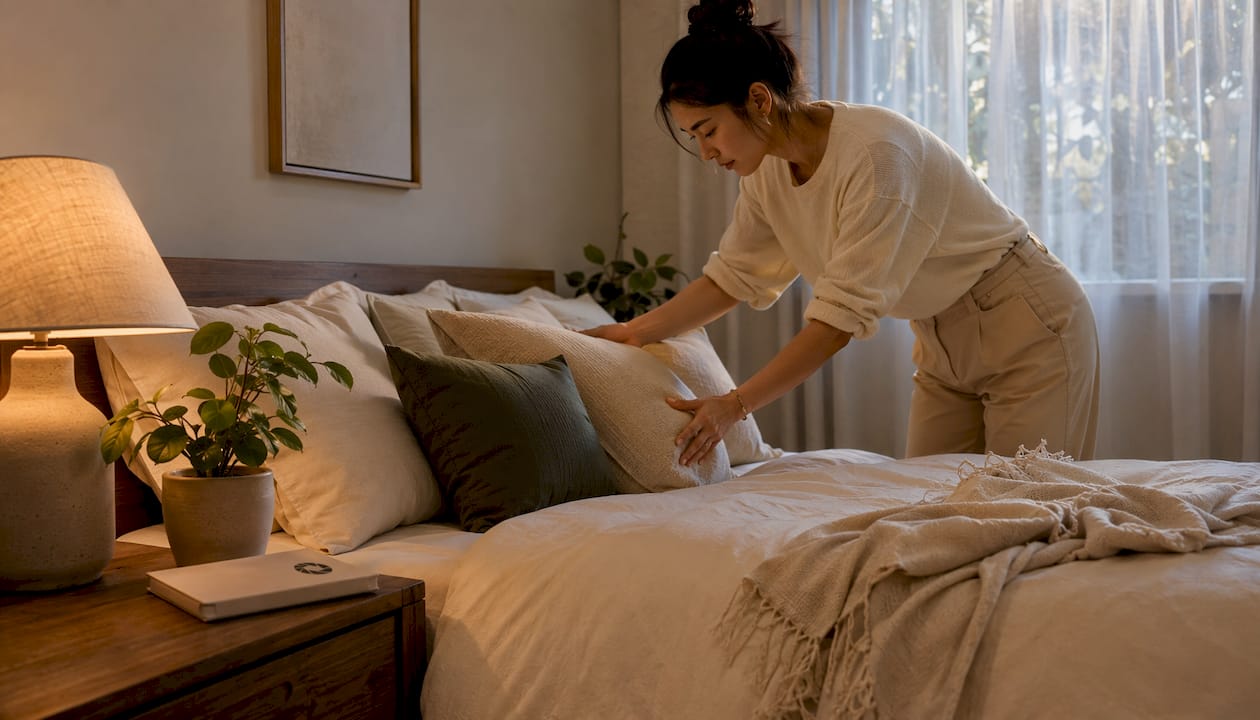
What makes short-term rental photos actually work?
Your cover photo is the single highest-leverage element in your listing. Cover photos drive a majority of search-result clicks, and the decision to book typically closes by early photos in the gallery. Get those first few frames right, and everything else follows.
Here is what the best-performing listings have in common:
- Lead with a hero shot that answers “what does staying here feel like?” in one frame. A pool at golden hour, a living room with a lit fireplace, or a deck with a panoramic view outperform a generic interior every time.
- Shoot with natural light. Overcast days and golden hour (the hour before sunset) produce warm, even light without harsh shadows or blown-out windows.
- Sequence photos like a walkthrough: cover, bedroom, kitchen, bathroom, living areas, outdoor spaces, detail shots, neighborhood.
- Aim for 20–25 images. Guest decisions close by photo 12–15; galleries above 25 tend to flatten booking rates rather than improve them.
- Stage with restraint. Remove 30–50% more clutter than feels necessary, then add one or two lifestyle props per room.
- Refresh photos every 12–18 months, or seasonally swap 8–10 images to reflect current conditions and maintain search ranking.
Fundamental photography rules and lighting techniques
Natural light is not a preference. It is the foundation. Avoid built-in flash entirely; it flattens depth, creates unnatural shadows, and makes rooms look smaller than they are. Overcast days are ideal for interiors because the cloud cover acts as a giant diffuser, producing even, shadow-free light across every surface.
Golden hour works especially well for exterior shots and rooms with large west-facing windows. The warm, angled light adds depth and a sense of warmth that midday sun cannot replicate. For darker rooms, turn on every lamp in the space and keep color temperatures consistent. Mixing a warm lamp with a cool overhead bulb creates an unpleasant color cast that editing can only partially fix.
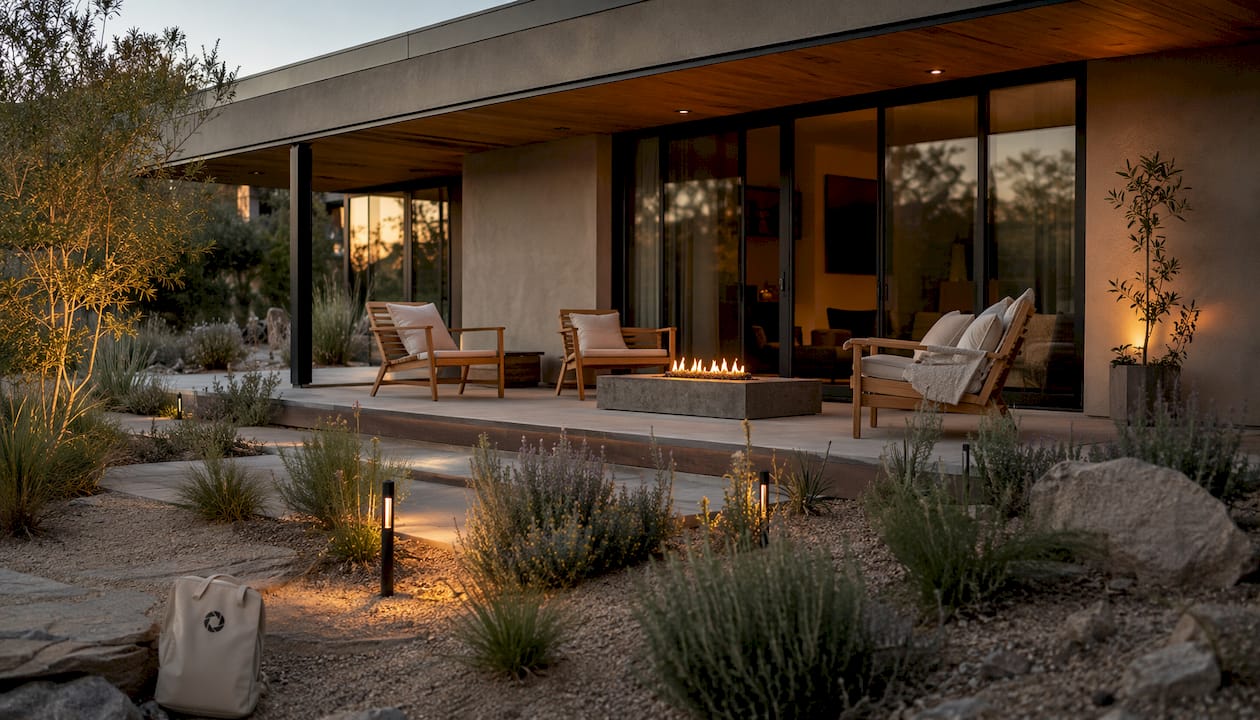
Wide-angle lenses in the 16–24mm equivalent range show rooms accurately and spaciously. Go wider than that and walls start to bow, ceilings curve, and guests arrive to find a space that looks nothing like the photos. That gap between expectation and reality shows up directly in accuracy ratings. Shoot from corners at roughly chest height (4–5 feet) to show two walls, include the ceiling, and give the room a sense of depth.
Common mistakes that quietly kill listings:
- Shooting at midday when window light creates harsh contrast between bright spots and dark interiors
- Leaving personal items, cables, or toiletries in frame
- Mixing light temperatures without correcting in post-processing
- Shooting straight-on from the center of a wall, which flattens the room
- Using zoom on a smartphone, which degrades image quality
Pro Tip: Clean every window before the shoot. Smudged glass reduces the quality of natural light entering the room and shows up clearly in photos, especially in wide shots where windows are prominent.
What to photograph and how to stage each space
Guests book experiences, not rooms. A photo of an empty bedroom tells a guest very little. A photo of a made bed with crisp linens, a bedside lamp glowing, and a paperback on the nightstand tells them they will sleep well. That distinction is what separates a listing that converts from one that gets scrolled past.
Work through your property in this order, and stage each space before you shoot it.
| Room |
Staging tips |
Recommended shots |
| Cover / hero |
Best room or exterior, one lifestyle prop, shot at golden hour |
4–6 variations; select the strongest |
| Living area |
Remove clutter, add a throw or book; light fireplace if available |
2–3 wide shots from corners, 1 detail |
| Bedroom |
Made bed, fresh linens, bedside lamp on, no personal items |
2 wide shots, 1 linen detail |
| Kitchen |
Clear counters, add a coffee setup or bowl of fruit |
2 wide shots, 1 counter detail |
| Bathroom |
Spotless, lid down, fresh towels rolled or folded |
1–2 wide shots, 1 counter detail |
| Outdoor spaces |
Arrange furniture, stage fire pit or dining table |
2–3 wide shots, 1 detail |
| Detail shots |
Coffee setup, welcome basket, smart home features, board games |
3–5 individual shots |
| Neighborhood |
Nearby café, walkable street, scenic view |
2–3 shots |
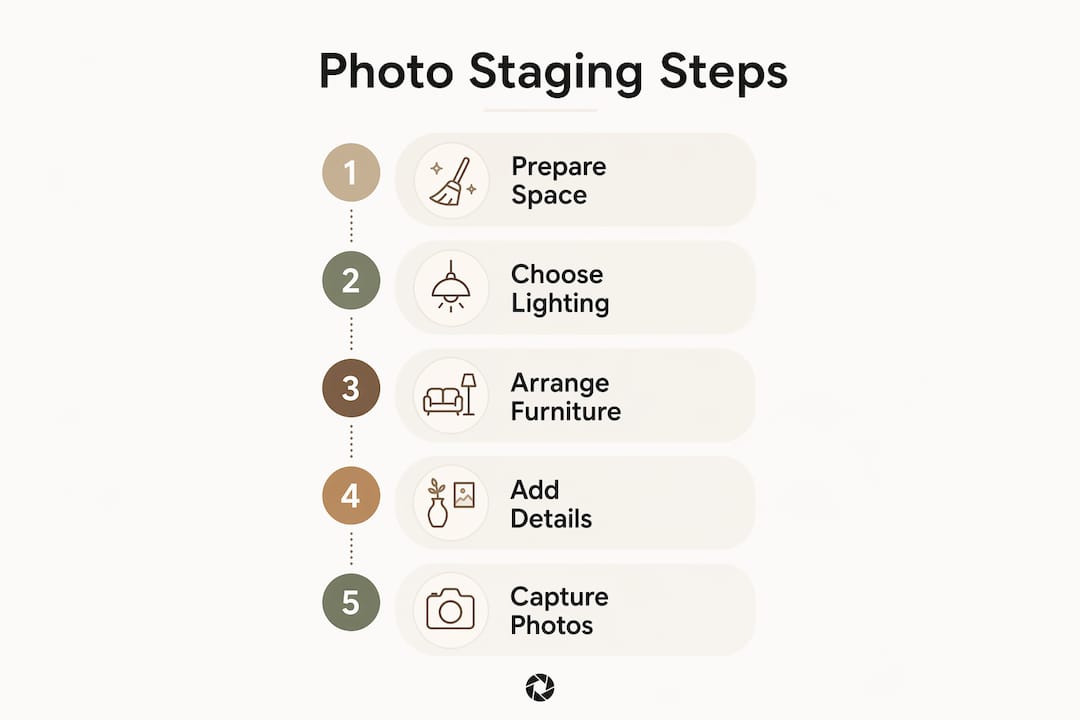
A few staging principles worth internalizing. Clean, but not sterile. Guests want to feel that a real, thoughtful person prepared the space for them, not that they are walking into a showroom. One prop per surface is enough: a French press on the kitchen counter, a folded throw on the sofa arm, slippers by the bedroom door. Three props read as a stage set; one reads as a home.
For outdoor spaces, staging furniture around an imaginary conversation and lighting a fire pit (safely) produces photos that sell the outdoor experience more effectively than any written description. Outdoor spaces are often the deciding factor between two similarly priced properties, so give them more photo real estate than their square footage might suggest.
For hospitality-specific staging ideas, the team at Fōkasu Collective publishes practical guidance on creating content that communicates lifestyle rather than just square footage.
How photo sequencing and timing affect bookings
The order of your photos is a conversion tool. Listings with a logical sequence starting with a hero shot earn longer viewing times and higher second-click rates, which is the strongest predictor of a booking request after the cover.
The sequence that consistently performs best mirrors how a guest would physically tour the property:
- Cover photo (hero shot or exterior)
- Bedroom, to answer “where do I sleep?”
- Kitchen, to answer “can I make coffee?”
- Bathroom, shown early to defuse worry rather than buried at position 18
- Second living area angle or second bedroom
- Detail shots: workspace, coffee setup, balcony
- Building entrance, hallway, neighborhood context
- Amenity proof: washer, dryer, Wi-Fi router
The single most common sequencing mistake is placing the bathroom at position 18 or later. Guests who scroll the first row and see no bathroom assume you are hiding it. The same bathroom in position 4 defuses that concern and keeps them scrolling.
Gallery size follows a clear pattern. The booking-rate curve flattens between 20 and 30 photos, with the biggest jump occurring from 5 to 15 images. Above 25, guests tend to close the carousel before reaching the end. Aim for 22 photos as your target, with a floor of 15 and a ceiling of 25.
Photo refresh timing matters as much as the initial shoot. A practical cadence:
- Cover photo: every 12 months, or after any repaint or furniture swap in the room shown
- Bathroom photos: every 6 months, since grout darkens quickly and photographs badly
- Bedroom photos: every 12 months, or whenever you change linens
- Detail and amenity shots: every 18–24 months
- Neighborhood shots: every 24 months
Hosts who refresh listings quarterly consistently outperform static listings on bookings. Even swapping 8–10 seasonal photos, such as summer garden shots in spring and warm interior fire shots in fall, produces a measurable lift in click-through rate within the first two weeks.
You do not need a professional camera to produce credible listing photos. A recent smartphone with an ultra-wide lens, a tripod, and good natural light timing will cover most properties in lower-competition markets. The tripod matters more than most hosts realize. It keeps framing consistent, prevents blur in lower-light interiors, and forces you to slow down and compose each shot deliberately.
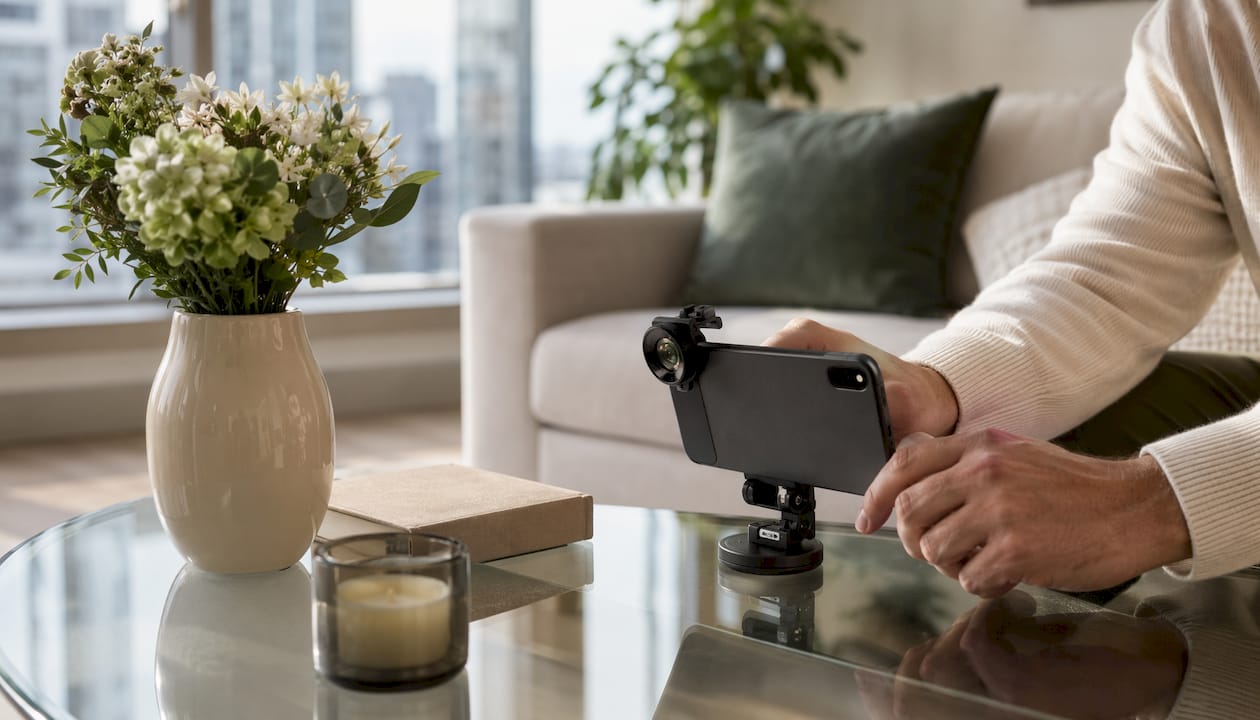
For hosts in competitive markets or managing higher-rate properties, a mirrorless camera with a 16–24mm wide-angle lens and a Bluetooth remote shutter produces noticeably sharper, more controlled results. Shoot in RAW format when possible; it gives you far more latitude in post-processing to recover highlights and shadows without degrading image quality.
Editing should improve clarity, not change reality. The adjustments that matter most:
- White balance correction for natural, consistent color tones across all rooms
- Exposure recovery to lift shadows and reduce blown-out window highlights
- Perspective straightening to correct crooked walls and tilted horizons
- Clutter removal for items that were missed during staging
- People and object removal when a cleaner or personal item ended up in frame
Free tools like Lightroom Mobile and Snapseed handle brightness, contrast, white balance, and straightening well enough for most hosts. For more involved corrections, such as perspective distortion or object removal, desktop applications like Adobe Lightroom Classic or Capture One give you more precise control. The goal in every case is a photo that looks like the property on its best day, not a photo that looks like a different property.
Pro Tip: Virtual Twilight editing converts a standard daylight exterior into an evening scene at a fraction of the cost and scheduling complexity of a real twilight shoot. It is one of the most cost-effective ways to create a distinctive hero cover photo.
Avoid heavy HDR effects, over-saturation, or any edit that removes permanent features of the space. Guests who arrive to find a property that does not match its photos leave accuracy-rating deductions that compound over time. Truthful enhancement builds trust; misrepresentation erodes it.
How HospitalityLens helps you get booking-ready images faster
Professional photo editing raises booking conversion at a rate that amateur photography cannot approach, and it improves search rankings because platforms weight click-through rate as a quality signal. The challenge for most hosts and property managers is that booking a photoshoot takes time, coordination, and budget that does not always fit the pace of managing multiple listings.
HospitalityLens is built for exactly that gap. You upload your existing photos, whether they were taken by a cleaner, a previous owner, or your own phone, and receive professionally enhanced images without scheduling an on-site shoot. The work covers lighting and color correction, perspective straightening, clutter cleanup, and people or object removal, all while preserving what the property actually looks like.
What the service covers:
- Lighting and color correction for dark, flat, or color-cast images
- Perspective and horizon correction for crooked walls and tilted frames
- Clutter cleanup and people or object removal
- Overall visual polish that brings photos to a booking-ready standard
- Commercial usage rights included with every delivery
Current HospitalityLens pricing (USD); one-time packs — The Hero: 1 photo for $12; The Refresh: 10 photos for $59; The Property: 25 photos for $129; The Portfolio: 100 photos for $399; monthly subscriptions — THE STARTER: 10 photos/month for $49/month; THE OPERATOR: 25 photos/month for $99/month; THE PORTFOLIO: 100 photos/month for $299/month; one-time pack credits do not expire; monthly subscription credits remain valid for up to 3 months; 2 free revisions per photo on one-time packs; 3 free revisions per photo on monthly subscriptions. See current pricing.
The core offer is simple: try one photo for free and pay only if you like the result. No photoshoot to coordinate, no minimum commitment, and no gap between what guests see in the listing and what they find at check-in.

Legal and privacy considerations when photographing rental properties
Photography at a rental property is not legally complicated, but a few areas deserve attention before you publish any images.
Neighbor and third-party privacy is the most common issue. Avoid capturing neighboring properties, identifiable vehicles, or people in public areas without their awareness. In dense urban markets, this often means adjusting your angle on outdoor shots to exclude adjacent balconies or windows. If a neighbor’s property is clearly visible and identifiable in your exterior shots, consider whether that creates any reasonable privacy concern before publishing.
Surveillance and security disclosures apply in both directions. If your property has security cameras, most U.S. states and all major booking platforms require you to disclose their presence in the listing. Photographing those cameras as part of your amenity shots is fine and often builds trust, but the disclosure must be in the listing text, not just implied by a photo.
Model releases are not required for listing photos that show empty spaces. If you choose to include lifestyle shots with people in them, you need written consent from anyone identifiable in the image. Most hosts avoid this entirely by keeping people out of the frame, which also tends to produce better-converting photos since empty spaces let guests project themselves into the experience.
Copyright on photos you commission belongs to the photographer by default under U.S. copyright law, unless a written agreement transfers it or grants you a license. Always confirm in writing that you have commercial usage rights covering all the platforms where you list, including Airbnb, Vrbo, Booking.com, and your direct-booking site. HospitalityLens includes commercial usage rights with every delivery, so there is no ambiguity there.
For hosts managing properties across multiple states, local ordinances occasionally restrict exterior photography of private residences in certain contexts. This is rare and typically applies to commercial photography in residential zones, but it is worth a quick check if you are operating in a market with active short-term rental regulation.
Key Takeaways
Strong short-term rental photos require a compelling cover image, logical sequencing, honest staging, and regular refreshes to maintain both guest trust and search ranking.
| Point |
Details |
| Cover photo is the priority |
Cover photos drive a significant majority of search-result clicks; shoot multiple variations and pick the strongest. |
| Sequence mirrors a walkthrough |
Place the bedroom second and bathroom fourth; a bathroom buried past position 15 signals something to hide. |
| Gallery size has a ceiling |
Aim for about 22 photos; the booking-rate curve tends to flatten beyond the mid-20s and can decline with very large galleries. |
| Refresh on a schedule |
Refresh the cover every 12 months, bathrooms every 6 months, and swap 8–10 seasonal photos quarterly. |
| Editing improves, not invents |
Correct lighting, perspective, and clutter; never remove permanent features or misrepresent the space. |
FAQ
How many photos should a short-term rental listing have?
Aim for approximately 20 to 25 photos. Guest decisions typically close by the early to mid-photos, and very large galleries tend to flatten booking rates.
What makes the best cover photo for a rental listing?
The best cover shows the room guests most want to be in, shot at the time of day it looks best, from a slightly low angle that reveals depth, with one subtle lifestyle prop in frame. Cover photos drive a majority of search-result clicks, so this single image carries more weight than any other in the gallery.
Can a smartphone produce good enough rental listing photos?
Yes, with the right setup. A recent smartphone with an ultra-wide lens, a tripod, and natural light timing produces credible results for most properties. The primary risk is not technical quality; it is the difficulty of staging and editing your own space objectively.
How often should rental listing photos be updated?
Refresh the cover photo every 12 months or after any repaint or furniture change. Refreshing photos every 12–18 months maintains listing relevance and search ranking; seasonal swaps of 8–10 images can produce a measurable lift in click-through rate within two weeks.
What editing is acceptable for rental listing photos?
Correct lighting, white balance, perspective, and clutter. Remove people or objects that appeared accidentally in frame. Never remove permanent features, add amenities that do not exist, or apply filters that change how the space actually looks. Truthful enhancement builds guest trust; misrepresentation produces accuracy-rating deductions that compound over time.
Recommended