Photography Tips
HEIC to JPEG for Listings: Convert iPhone Photos the Right Way
Learn how to quickly reformat property images across any device to prevent upload rejections and keep your rental listings looking flawless everywhere.
By Hospitality Lens · · 14 min read

If an upload form rejects your iPhone photos, the fix is to convert them from HEIC to JPEG. Do it in a batch, keep the originals, and check orientation, size and metadata before anything goes public. On a Mac this takes under a minute for a whole folder. On an iPhone you can change one camera setting so new photos arrive as JPEG. On Windows you save each image as JPG, or use a batch tool.
This guide covers the exact steps for each device, the file limits that matter for listings (including Booking.com, Zillow and MLS systems), and how to confirm the converted files display correctly.
HospitalityLens
Make Converted Photos Listing-Ready
HospitalityLens enhances existing property photos with truthful lighting, color, and perspective corrections, without arranging a new photoshoot.
Enhance a property photoTL;DR
- HEIC is the iPhone’s default photo format. Many listing portals and MLS systems do not accept it, so convert to JPEG before uploading.
- Mac: select the files in Finder, right-click, choose Quick Actions, then Convert Image. iPhone: set Camera > Formats > Most Compatible for future photos. Windows: open and save as JPG, or use a batch tool.
- Size limits differ by destination. Booking.com’s API accepts JPEG and PNG up to 50 MB, while some MLS systems cap files at 3 MB.
- Keep the original HEIC files, convert copies, and remove location data before public upload.
- Conversion fixes the format, not the photo. Dark, crooked or cluttered images still need editing.
Table of Contents
Why listing photos need to be JPEG
HEIC is a compact format that iPhones use by default. It saves storage, but plenty of systems do not read it. Listing portals, MLS upload tools, channel managers and older software often reject it or show a blank thumbnail.
The rules are written down by the systems themselves. One Illinois MLS support page states that HEIC files are not accepted for listing photo uploads and walks users through exporting to JPG or PNG. Booking.com’s connectivity documentation says its photo API supports only JPEG and PNG, and it identifies the type from the file’s content, not its extension. That last detail matters: renaming photo.heic to photo.jpg does not work. The file has to be re-encoded.
There is a second reason to convert. A JPEG opens on every recipient’s machine. When cleaners, owners, photographers and co-hosts all send you images, a single shared format removes a whole category of “I can’t open this” messages.
How to convert HEIC to JPEG on each device
Pick the route that matches the device where the photos already sit. Whichever you choose, convert copies and leave the originals alone.
On a Mac
This is the fastest path for a full property shoot. Apple’s support page describes the manual route: open the image in Photos or Preview, then choose File > Export and pick JPEG. That works well for a handful of files.
For a folder, use Finder. Select all the HEIC files, right-click, choose Quick Actions, then Convert Image. Set the format to JPEG, choose Actual Size to keep the resolution, tick Preserve Metadata only if you want it kept, and click Convert. This Finder method is available from macOS Monterey and can handle hundreds of files at once. New JPEG copies appear beside the originals.
On an iPhone or iPad
There are two options, depending on whether the photos already exist.
For photos you have already taken, copy one or more in Photos, then paste them into the Files app. iOS creates JPG copies automatically. For larger batches, a Shortcuts automation (Select Photos, Convert Image set to JPEG, Save to Photo Album) lets you pick any number of images and write JPEGs in one run.
For photos not yet taken, change the camera. Apple explains that Settings > Camera > Formats > Most Compatible makes new photos use JPEG instead of HEIF. Existing HEIC photos stay HEIC, and JPEGs take more storage, so check your free space if you shoot a lot. If you send phones to cleaners or owners for photo collection, asking them to switch this setting is a simple way to avoid the problem entirely.
One more Apple detail helps when you transfer photos by cable. When you import from an attached iPhone, the files may be converted to JPEG automatically, and the Keep Originals option in Photos settings turns that off. If your imports keep changing format, that setting is the reason.
On Windows 10 or 11
Windows does not always open HEIC out of the box. If yours will not, install the free HEIF Image Extensions from the Microsoft Store. Then open the photo in the Photos app, choose Save as, and select JPG. If a file still refuses to open, it may be a Live Photo or burst that includes video, which needs a separate, paid video codec.
Windows has no built-in bulk converter, so saving photos one at a time gets tedious fast. For a full shoot, send the batch through a Mac, an iPhone Shortcut, or a desktop converter that runs locally. Installing codecs only fixes your own computer. The photos remain HEIC, so anyone you forward them to has the same problem. Converting solves it for everyone.
Settings that keep listing photos looking right
Converting is easy. Converting well takes three decisions: orientation, quality and size.
Orientation
HEIC stores rotation as metadata. A weak converter ignores it and gives you sideways photos. The tools above handle it, but check anyway. Zillow notes that when photos display in the wrong direction, the EXIF orientation data is likely missing or incorrect, and it offers a manual rotate button in the listing editor. Better to catch it before upload.
Quality
Our rule of thumb for listing photos is JPEG quality between 85 and 90. Lower than that, smooth areas such as skies, painted walls and window light can show banding. Higher than that, files grow quickly with no visible gain at the sizes guests see. If you must shrink a file, reduce the pixel dimensions first and compress second, because dimension changes usually shrink bright interiors more cleanly than heavy compression.
Size
Do not resize to the smallest limit you can find. Convert at full size, then create smaller versions only for destinations that demand them. A 2000-pixel long edge is a sensible web-friendly size for most listing pages, and it keeps room to crop later.
File limits by destination
Every platform sets its own rules, and they change. Treat this table as a starting point, and confirm in the upload screen you actually use.
| Destination |
Accepted formats |
Size and dimension guidance |
| Booking.com (photo API) |
JPEG, PNG |
300 x 300 px minimum, 14,000 x 14,000 px maximum, 50 MB per file, up to 299 photos per property |
| Zillow |
JPG, GIF, PNG, TIF |
Under 50 MB per photo, 10 MB suggested; at least 330 x 220 px, 1536 x 1152 suggested |
| connectMLS (SmartMLS) |
JPEG |
1920 x 1080 px or larger for best quality, 40 MB per photo, up to 40 photos |
| One Illinois MLS |
JPG or PNG (no HEIC) |
1920 x 1080 px recommended, 3 MB maximum, 24-bit depth |
The sources: Booking.com’s photo API documentation, Zillow’s photo uploading tips (last updated December 2023), connectMLS photo specifications, and the MRED support article.
Two different numbers circulate, and both are real. The 300 x 300 px minimum and 50 MB maximum come from the API that channel managers use. For manual uploads in the Extranet, Beds24’s guide to the platform says the minimum is 1024 x 683 px, with no watermarks, logos or contact details, and that a listing will not go live if it falls short. The safe approach is simple: export at 2000 px on the long edge and you clear both.
A note on the MLS
MLS systems vary widely. One caps files at 3 MB while another allows 40 MB. Check your local system’s help page before you pick a standard export size. If a file fails on an MLS with a bit-depth rule, the same Illinois page suggests reopening it in Paint on Windows and resaving as JPEG.
A repeatable workflow for a property shoot
When you manage more than a few listings, the process matters more than the tool. This sequence keeps things consistent.

First, keep the original HEIC files somewhere safe: Photos, an archive drive, or cloud storage. They hold the most information, and you may want to re-export later.
Second, convert only the photos you will actually use. Cleaner-taken sets often contain forty near-duplicates, and there is no reason to process all of them.
Third, rename files with simple lowercase names such as living-room-01.jpg and kitchen-02.jpg. Platforms often display photos in filename order, and plain ASCII names avoid upload errors.
Fourth, resize only where required. Convert once per property and reuse the same files on every channel, unless a platform forces a smaller size.
Fifth, remove location data before public upload, covered in the next section.
Finally, upload a small sample first. Look at the preview, the order and the display on mobile before pushing the whole set.
Privacy: location data and online converters
A typical iPhone photo carries more than pixels. It can include capture time, device model and GPS coordinates. For a listing at an occupied home or a client’s private driveway, that is information you do not want attached to a public page.
Some good news: converting through a browser canvas or many desktop tools drops EXIF data as a side effect. But that varies by tool, so verify it on one output file rather than assuming. Our guide on stripping GPS from listing photos shows how to check.
Online converters deserve one question before you use them: where do the files go? Some process images entirely inside your browser. Others upload full-resolution copies to a server, and their retention terms vary. For unpublished property photos, favor tools that run locally, such as an open-source browser converter that decodes HEIC with no upload, or the built-in tools on your Mac and iPhone. Also, do not rely on a platform to strip metadata for you. Policies change, and photos you send by message or email may keep their EXIF data.

Check the JPEGs before you publish
Open the converted files and look at them the way a guest would. Check that portrait and landscape images both display upright. Check that details remain sharp and that brightness and color look right. Look at a bright window shot and a dark bedroom in particular, because those show banding first. Confirm dimensions meet the destination’s minimum, the file order is correct, and nothing personal is visible in the frame, such as mail, family photos or a license plate.
Then upload two or three files and inspect the live preview. This takes five minutes and saves a re-upload of fifty photos.
Here is the honest limit of everything above. A JPEG made from a dark, crooked phone photo is a dark, crooked JPEG. Format conversion makes the file usable. It does nothing for the lighting, the tilted horizon, the pile of laundry in the corner or the cleaner’s reflection in the mirror.
If your photos are usable but rough, there is a middle path between uploading them as they are and booking a new shoot. We cover the full sequence in our property listing image optimization process, and our vacation rental image tips show what to fix first.
There are also cases where a photographer is the better choice. Flagship launches, architectural work, new angles and difficult capture conditions all call for one. For a clear view of what professional work brings to a rental, see this piece on the value of professional photography.
Our perspective
We see the same pattern with portfolio teams. A set of owner-submitted or cleaner-taken iPhone photos arrives as HEIC. Someone converts it, uploads it, and the listing goes live looking exactly as dark and tilted as the originals. The format was never the real problem.
Our view is that conversion should be the first step, not the last. Once photos are in a clean JPEG, the useful question is what honest improvement they need: lighting and color correction, straightening, clutter cleanup, or removing a person or object that should not be there. We built HospitalityLens around that sequence for teams who already have usable photos and do not need a new photoshoot.
We also hold a firm line. We improve the real property and do not invent rooms, views, amenities or features. A guest should arrive and recognize the place they booked. That is what makes a listing trustworthy, and trust is what protects your reviews.
For flagship properties, architectural work or situations where the original photos are unusable, a professional photographer remains the right call. For refreshes, onboarding and portfolio consistency, we think a good phone photo and careful enhancement go a long way.
The HospitalityLens Team
From converted JPEG to booking-ready image
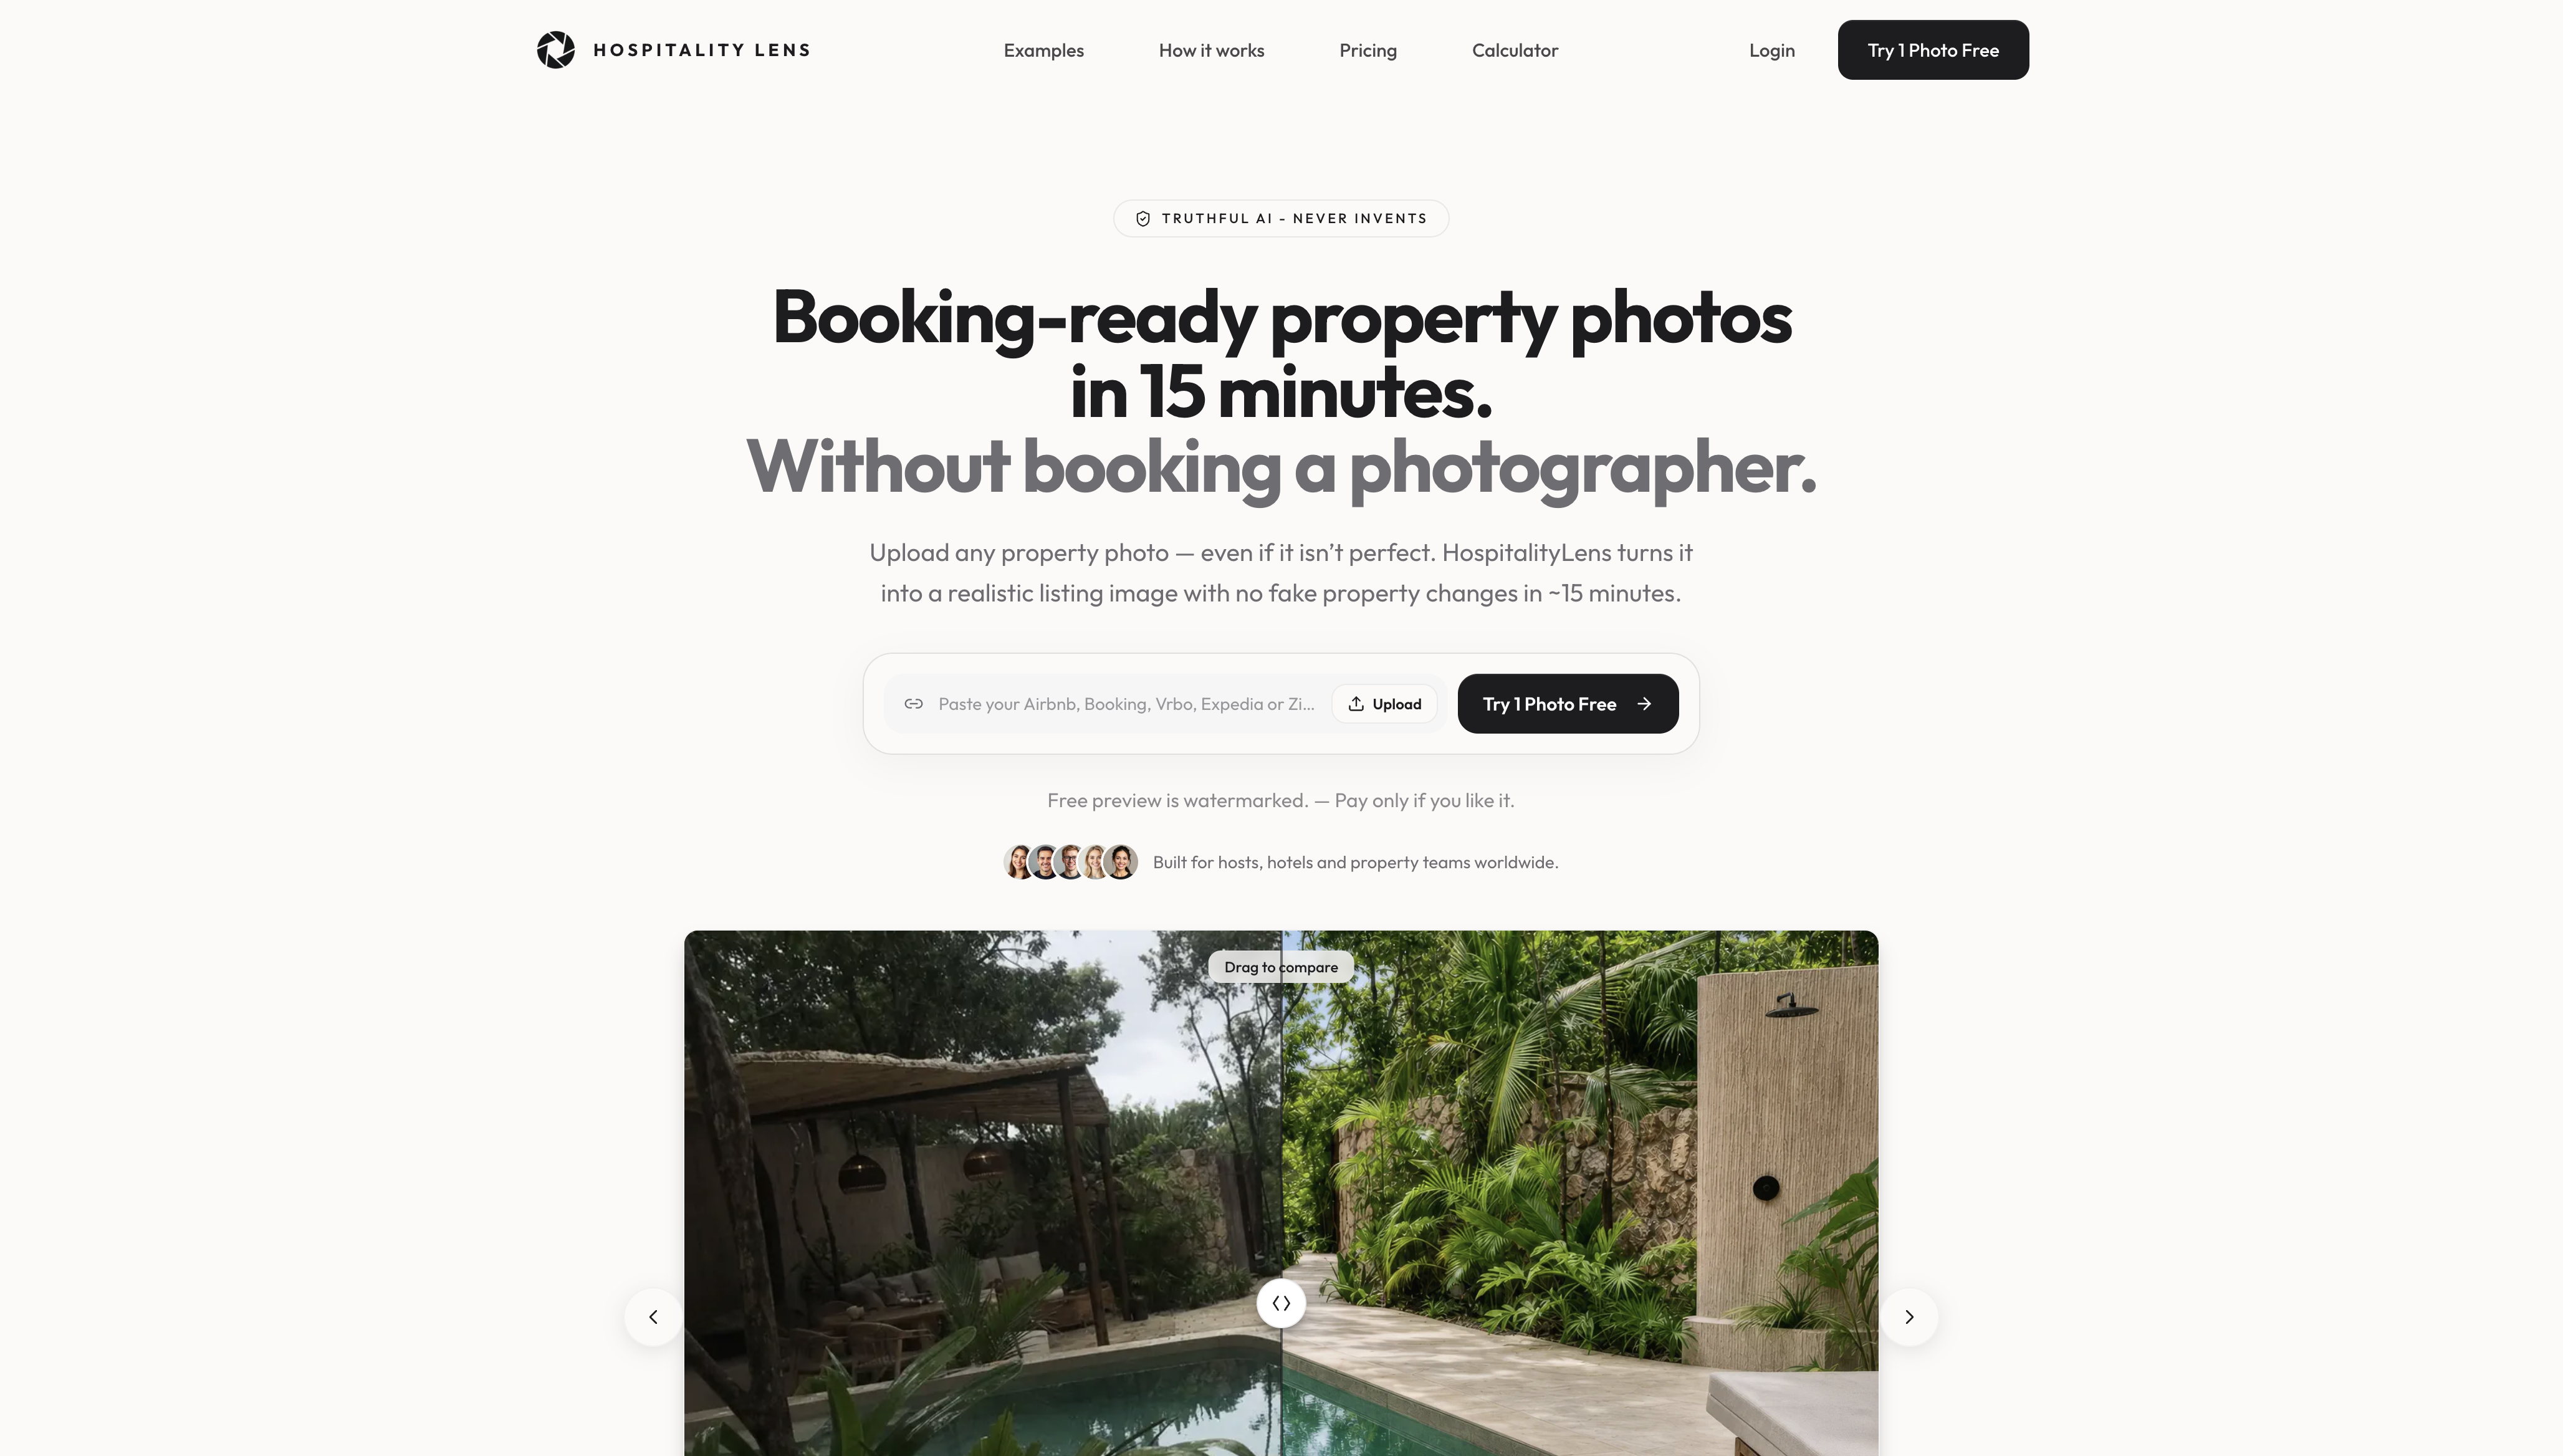
Once your files are JPEG, you can send them to us directly. You upload the photos, and we return a watermarked preview, typically in about 15 minutes, so you can judge the result before you commit. Revisions are included. Try one photo free, and note that the free preview is watermarked.
Current HospitalityLens pricing (USD); one-time packs — The Hero: 1 photo for $12; The Refresh: 10 photos for $59; The Property: 25 photos for $129; The Portfolio: 100 photos for $399; monthly subscriptions — THE STARTER: 10 photos/month for $49/month; THE OPERATOR: 25 photos/month for $99/month; THE PORTFOLIO: 100 photos/month for $299/month; one-time pack credits do not expire; monthly subscription credits remain valid for up to 3 months; 2 free revisions per photo on one-time packs; 3 free revisions per photo on monthly subscriptions. See current pricing.
FAQ
Can I just rename a HEIC file to JPG?
No. Renaming changes the extension but not the contents. Systems such as Booking.com’s photo API identify the type from the file’s content, so a renamed HEIC is still rejected. Re-encode the file through Preview, Finder, Photos or a converter.
Does converting HEIC to JPEG reduce quality?
JPEG is a lossy format, so some information is lost, but at a high quality setting around 85 to 90 the difference is not visible at listing sizes. Convert once from the original HEIC, never from an already compressed JPEG, and keep the originals in case you need to export again.
Should I switch my iPhone camera to JPEG?
If most of your photos go to listings or to people on other systems, yes. Apple’s Most Compatible setting makes new photos JPEG. It does not change existing photos, and JPEGs take more storage than HEICs, so check your free space first.
What image size should I use for Airbnb, Vrbo and Booking.com?
Exporting at 2000 px on the long edge works for most listing pages and meets Booking.com’s documented minimums and maximums. Always confirm the current requirements shown in each platform’s upload screen, because limits change.
Is it safe to use an online HEIC converter for property photos?
It depends on the tool. Choose one that processes files in your browser without uploading them, or use the built-in tools on your Mac or iPhone. Then check one output file to confirm location data is gone before you publish.
Sources
Recommended