Photography Tips
Remove Clutter From Photos: Fast Fixes That Actually Work
Discover fast, AI-powered and professional solutions to instantly clear photo clutter, ensuring your images consistently appear polished and inviting for any purpose.
By Hospitality Lens · · 15 min read

The fastest way to remove clutter from a photo is an AI object-removal tool with a brush or text-prompt workflow. Most single-image edits tend to take a short amount of time, typically under a minute. If you’re prepping listing photos for a rental or property and need results that look booking-ready rather than just “cleaned up,” a done-for-you service like HospitalityLens can be the quicker, more reliable path.
Here’s what to do in the next two minutes. First, open any browser-based AI eraser, upload one photo, and brush over the object you want gone. Second, if that photo is going on a listing and you want it done right the first time, upload the same image to HospitalityLens for a free, watermarked preview before you commit to anything. Both paths use the same underlying idea: inpainting, the technique where software studies the pixels around a removed object and rebuilds what should be there. On-device processing (edits that never leave your phone) and cloud-based generative fill are the two dominant approaches you’ll run into, and which one you pick affects both your privacy and your results.
Key Takeaways
Removing clutter from a photo takes under two minutes with the right AI tool, but booking-ready listing photos need consistency, resolution, and rights clarity that DIY tools rarely guarantee at scale.
Free watermarked preview. Pay only if you like it. No card is required to create the free watermarked preview. See current pricing for unlocks, one-time packs, and subscriptions.
Table of Contents
How Do You Remove Clutter From a Photo Yourself?
Every AI object remover, from Canva’s Magic Eraser to Adobe’s Photo Eraser, follows roughly the same five-step sequence. Learn it once and you can use almost any tool.
- Upload the photo at its original resolution. Don’t screenshot or compress it first.
- Mark the object. Brush over it directly, or type a description of what to remove if the tool supports text prompts (some tools let you describe clutter in plain language instead of masking it by hand).
- Generate. The tool erases the marked area and fills it based on the surrounding pixels.
- Inspect at full zoom. Look for smudging, warped lines, or a color mismatch where the fill meets the original image.
- Touch up and download. Run a second small pass on any leftover artifact, then export.
Pick your marking method based on the object. A brush works best for irregular shapes, a stray charging cable, a pile of shoes, a trash can in the corner. A text prompt tends to work better when the object is small or hard to outline cleanly, like “remove the red mug” in a cluttered kitchen counter shot.
Pro Tip: Set your brush slightly larger than the object itself. A brush that’s too tight leaves a faint outline of whatever you removed, because the tool doesn’t get enough surrounding pixel data to blend the edge convincingly.
A single, simple removal, one object against a plain background, typically takes 30 to 90 seconds start to finish. A cluttered surface with three or four items, or an object sitting against a patterned rug or reflective countertop, can run 3 to 5 minutes because you’ll need multiple passes.
What Makes an Edit Look Natural Instead of Patched?
Good results start before you even open an editing tool. A little prep work upstream saves you time downstream.
- Frame the shot so there’s a clean sample of the background elsewhere in the photo. The AI needs something to copy from, so it can rebuild what’s behind the object it removes.
- Shoot at full resolution. Downscaled photos give the model less pixel data to work with, and the fill quality drops noticeably.
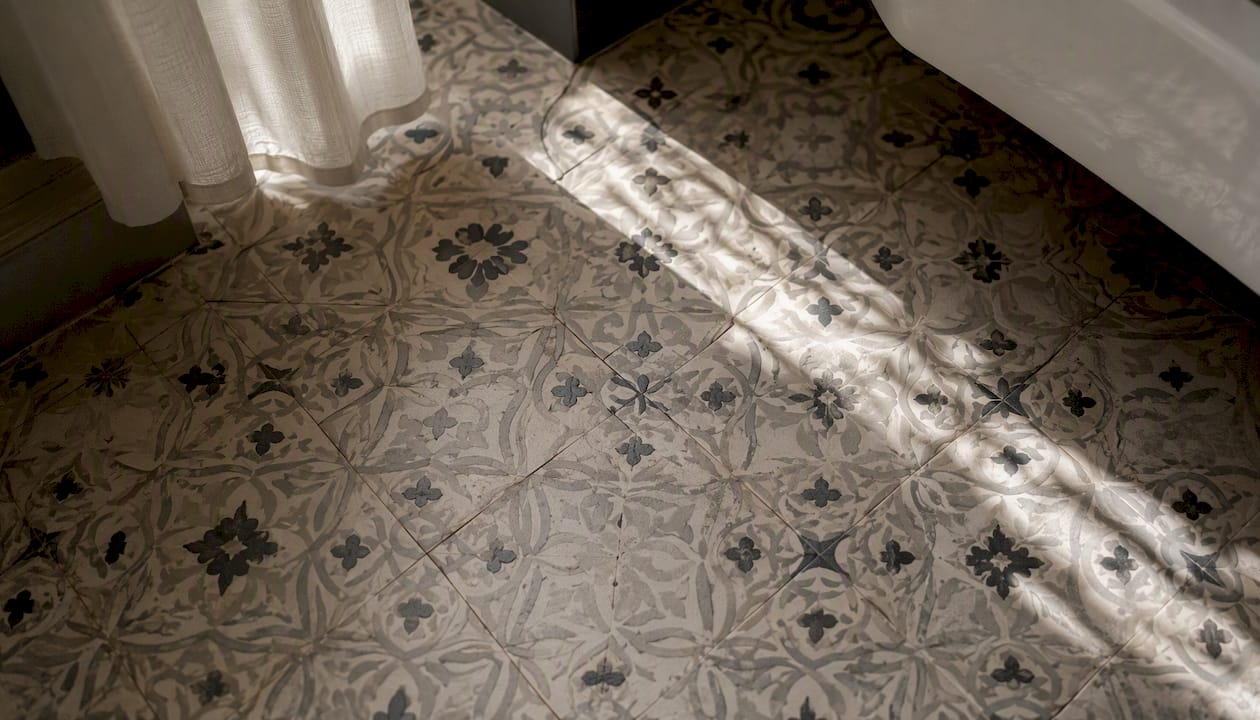
- If clutter sits against something busy, like patterned tile or a bookshelf, take a quick reference shot of that same surface without the clutter, if you can. It gives you something to compare against later.
Once you’re editing, a few habits separate a clean result from an obvious patch job:
- Use a brush size a bit bigger than the object, never smaller.
- Do several small passes instead of one giant erase. Removing five things in one swipe usually produces a smeared, unconvincing patch. Removing them one at a time gives the model a fair shot at each fill.
- Handle shadows and reflections as their own separate pass. If a table lamp casts a shadow, erasing the lamp alone often leaves a shadow floating in midair.
After editing, zoom to 100% and scan the fill area for repeating textures, blurred lines, or a seam where the new pixels don’t quite match the old ones. Comparing before and after side by side catches things a quick glance misses.
Pro Tip: Repeating patterns, hardwood, subway tile, parquet, and reflective surfaces like glass or polished counters are two of the hardest cases for any AI eraser. If a fill looks slightly “off” in a mirror or on a tiled floor, switch to a manual clone or heal tool for that one spot instead of trying another AI pass.
When Does Automatic Clutter Removal Fail?
AI object removers are good at isolated objects on simple backgrounds. They struggle in four predictable situations, and knowing them ahead of time saves you a wasted edit.
- Dense clutter covering most of a patterned surface. If clutter obscures more than a third of a textured background, the model has too little reference to rebuild it accurately.
- Complex reflections. Mirrors, glass shower doors, and glossy countertops confuse most tools because the reflection has to stay logically consistent with the room.
- Large removals that require reconstructing geometry. Taking out a whole piece of furniture, not just an object on top of it, means the tool has to invent floor lines, wall corners, or door frames it never saw.
- Edits that alter a real feature of the property. Removing something structural, a window, a fixture, a built-in shelf, crosses from clutter cleanup into misrepresentation, which matters a lot for a listing photo.
If you’re not sure whether an edit will hold up, try this test: zoom into the area you plan to remove and ask whether a clean version of that same surface appears anywhere else in the frame. If it doesn’t, the AI has nothing to copy from, and the fill is a guess.
When you hit one of these walls, don’t keep hammering the same AI pass. Smaller, sequential edits usually get further than one big attempt. For dense clutter or big structural gaps, a manual clone or heal tool in a desktop editor gives you direct control the automated version can’t. For anything going on a public listing, that’s usually the point to consider a professional retouching service instead of pushing an automated tool past what it’s built for.
Pricing for AI photo cleanup tools tends to follow one of three shapes. A free tier with limits, usually a watermark, a resolution cap, or a monthly edit quota, is the most common entry point across tools like Canva’s Magic Eraser, Cleanup.pictures, and Picsart. A subscription tier removes those limits and unlocks higher-resolution exports. Pay-per-edit or credit packs sit in between, useful if you only need a handful of clean images a month.
Watch for two traps before you commit to any tool. First, check whether the free export is watermarked, and whether removing that watermark requires a separate purchase. Second, check the maximum export resolution on the free tier. A photo that looks fine on your phone screen can be too low-resolution for a listing platform or print use.
Privacy is the other axis worth checking. On-device tools like Tidy process your images locally, meaning nothing uploads to a server, which matters if your photos include identifiable interiors, guests, or documents left on a counter. Cloud-based tools, including most browser-based erasers, upload your image to a server for processing. That generally gets you a more capable model and better results on complex backgrounds, but it also means your photo now exists on someone else’s infrastructure, at least temporarily. Cleanup.pictures from Cloudinary explicitly documents API and batch automation for this reason. It’s built for teams processing many images at once, not just a single cloud edit here and there.
| Method type |
Ease of use |
Output quality |
Batch/API |
Resolution/watermark |
Privacy |
Price model |
| Brush-based online tool |
Easy, click and drag |
Good on simple backgrounds |
Rarely |
Often watermarked free tier |
Cloud upload |
Free tier + paid unlock |
| Text-prompt remover |
Easy, type a description |
Good for small/odd objects |
Limited |
Varies by vendor |
Cloud upload |
Free tier + subscription |
| On-device cleaner |
Easy, automatic scanning |
Best for duplicates, not object removal |
No |
No watermark, local export |
Fully on-device |
Free or one-time |
| Done-for-you service |
Minimal effort, you upload and wait |
High, human-reviewed |
Yes, for bulk portfolios |
Full resolution, no watermark on paid delivery |
Cloud upload, provider-managed |
Per-photo or subscription |
On-device processing limits you to the model built into your phone, which is fine for duplicate cleanup but not for context-aware inpainting. Cloud services trade a small privacy cost for meaningfully better fills, which is why most serious clutter-removal tools run in the cloud rather than locally.
When Should You Hire a Photo Enhancement Service Instead?
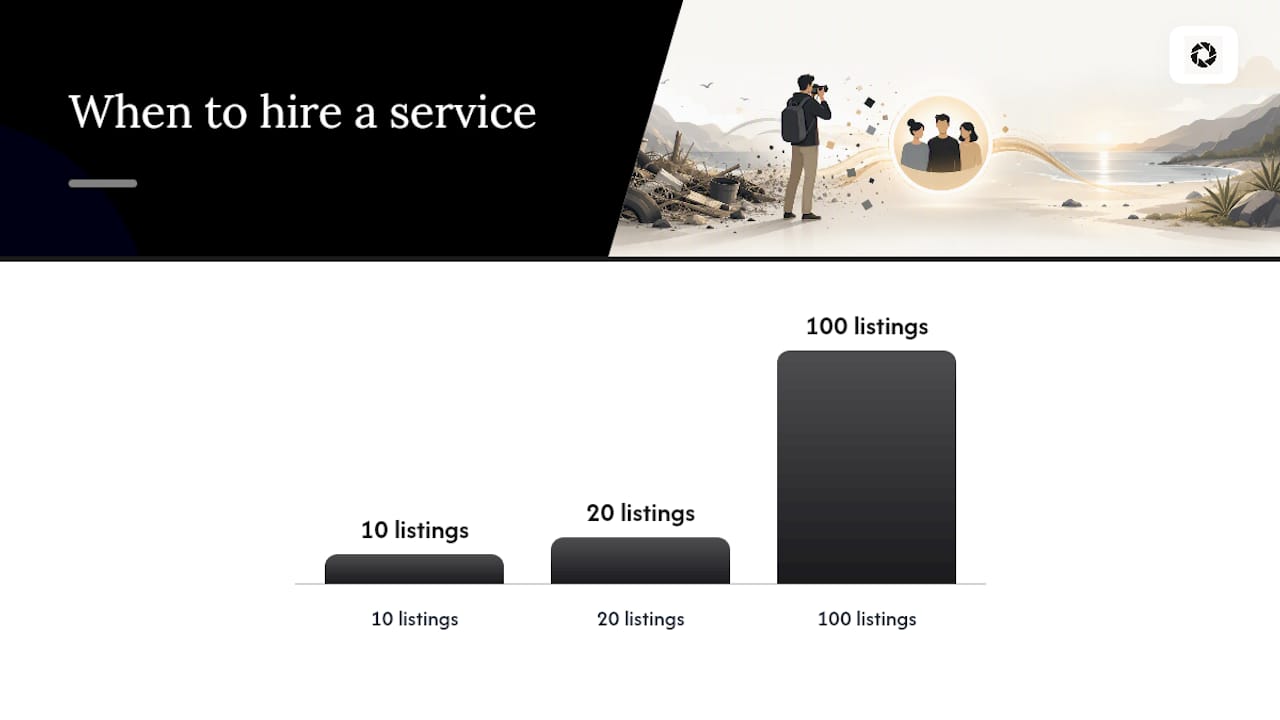
DIY tools make sense for a single photo you’re posting to social media in the next five minutes. They start to break down once volume, consistency, or stakes go up.
A few situations tip the scale toward a service:
- You’re refreshing photos across ten, twenty, or a hundred listings and need the same visual style throughout.
- The photos are going on a booking platform or MLS listing, where a visible artifact or watermark undermines trust before a guest even reads the description.
- You’re removing something large, furniture, a full room’s worth of clutter, or several objects across many images, work that eats far more time per photo than a quick brush pass.
- You need revisions, and you don’t want to re-upload and re-edit the same photo three times in three different apps.
Before you decide, run through a short checklist: how many minutes are you willing to spend per photo, how much does this particular image matter to bookings or sales, how many photos need the same treatment, and do you need a documented revision policy in case the first pass misses something.
Free watermarked preview. Pay only if you like it. No card is required to create the free watermarked preview. See current pricing for unlocks, one-time packs, and subscriptions.
Pro Tip: A professional photographer is still the better call for a flagship property launch, a genuinely new space, or any shot requiring an angle or lighting setup your existing photos don’t have. Enhancement tools improve what’s already captured; they don’t invent angles that were never shot.
What Actually Happens Behind the Scenes
Most modern clutter removers follow the same three-stage process, regardless of brand. First, segmentation identifies exactly which pixels belong to the object you marked, separating it cleanly from the background. Second, context-aware inpainting, sometimes branded as generative fill, studies the pixels surrounding that segment and generates new content to replace it. Third, a blending pass smooths the seam between original and generated pixels so the transition isn’t visible.
The privacy question comes down to where that second stage happens. On-device models run the whole pipeline on your phone’s chip, so nothing leaves the device, but the model is smaller and has less reference data. Cloud models run on much larger infrastructure, so they handle harder backgrounds better, but your photo makes a round trip to a server first.
One detail matters more than people expect: the size and quality of the reference area. A tool fed a small, cluttered, low-resolution sample area guesses. A tool fed a large, clean, high-resolution reference area reconstructs. That’s the real reason two people can run the same photo through the same app and get wildly different results.
A Property Photo Perspective
Picture a typical week for a co-host: a cleaner snaps a photo of the living room on their phone before heading to the next turnover, and the shot includes a laundry basket in the corner and a slightly crooked horizon. That’s the raw material HospitalityLens works with. Our process corrects the lighting and perspective, removes the clutter, and hands back an image that still looks like the actual room, because it is the actual room. We don’t add furniture that isn’t there or generate a view that doesn’t exist.
You keep full rights to the finished image, turnaround is fast enough to fit a same-day listing refresh, and if the first pass misses a detail, the revision rounds are there to fix it. Where we’ll tell you straight: if a property has never been professionally shot and you’re launching it as a flagship listing, book a photographer first. Enhancement works best on photos that already have the bones of a good shot.
Skip the Photoshoot: Get Booking-Ready Photos Today
Brush-based erasers and text-prompt tools handle a single cluttered photo well enough, but property managers juggling multiple listings need more than a one-off fix. HospitalityLens turns rough, phone-shot, or cleaner-submitted photos into consistent, booking-ready images across an entire portfolio, without scheduling a new shoot for every property.

Free watermarked preview. Pay only if you like it. No card is required to create the free watermarked preview. See current pricing for unlocks, one-time packs, and subscriptions.
Sources
FAQ
Is It Free to Remove Clutter From a Photo?
Free watermarked preview. Pay only if you like it. No card is required to create the free watermarked preview. See current pricing for unlocks, one-time packs, and subscriptions.
Can AI Remove Large Objects Without Leaving Artifacts?
Sometimes, but large removals that require rebuilding floor lines, walls, or furniture geometry are the most likely to fail. Smaller, sequential passes or a manual clone/heal tool in a desktop editor usually produce cleaner results than one large AI erase.
Does Removing Clutter From a Listing Photo Count as Misleading?
Removing genuine clutter, like a laundry basket or extension cord, is standard photo cleanup and not misleading. Altering a real feature of the property, a fixture, a window, or a room’s layout, crosses into misrepresentation and should be avoided.
Should I Use an App or Hire a Service for Multiple Listings?
A DIY app works fine for one photo at a time, but a done-for-you service makes more sense once you’re managing several listings that need a consistent look. HospitalityLens is built for that volume, with per-photo packs and subscription tiers designed for property managers refreshing multiple listings at once.
How Long Does a Professional Photo Cleanup Take?
A simple DIY object removal takes 30 to 90 seconds. HospitalityLens delivers a free preview quickly enough to fit a same-day listing refresh, with the finished, watermark-free image available after purchase.
Recommended