Short-Term Rentals
Hosts: Phone First Airbnb Photos, Try One Free Enhancement
Image quality can influence how people evaluate a listing, but there is no universal performance uplift that applies to every property. Measure clicks, inquiries, bookings, or sales on the individual listing.
By Hospitality Lens · · 13 min read
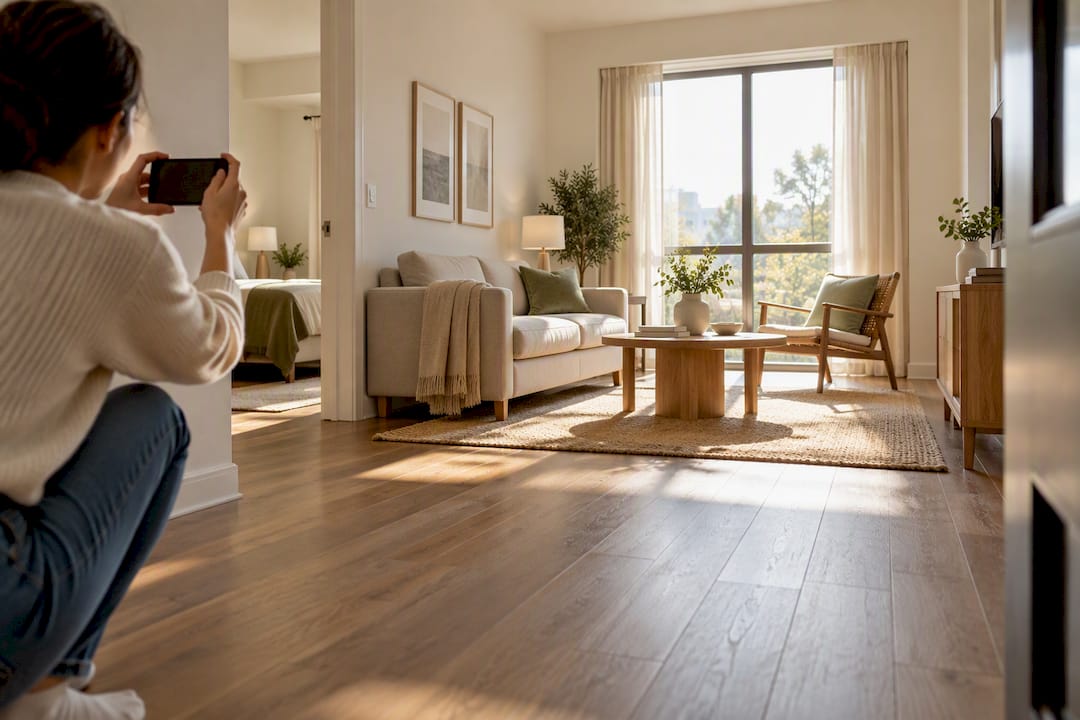
For most Airbnb hosts, a disciplined phone shoot plus platform-focused edits beats hiring a photographer on cost and speed. The main exceptions are luxury listings, architectural properties, and rooms with genuinely difficult lighting, where a DSLR sensor’s light-gathering advantage still shows. Airbnb’s own hosting guidance backs a phone-first approach when it is staged and sequenced correctly. Budget-wise, DIY costs almost nothing beyond your time; a pro session runs into real money.
TL;DR:
- A phone is sufficient for Airbnb photos when the space is small to mid-sized, well-lit, and well-staged, especially for lower-tier listings.
- Professional photography is justified for luxury, architecturally complex, large, or poorly lit properties where high-end equipment offers significant advantages.
- Combining a pro shoot with phone updates allows hosts to maintain visual freshness and cost-effectiveness, provided the edits match the original style.
- Proper preparation, steady framing, and consistent editing with a phone can produce listing photos that perform well, especially when photos are taken in good natural light.
- HospitalityLens offers a budget-friendly way to enhance existing photos, fixing lighting and perspective issues without creating new images or replacing professional shoots when quality is critical.
HospitalityLens
Make Phone Photos Listing Ready
Turn usable phone or existing listing photos into realistic, polished images without arranging a new photoshoot.
Try one photo freeTable of Contents
When Is a Phone Camera Enough for Airbnb Photos?
A phone camera is enough when three things line up: the space is small to mid-sized, the light is generous, and the room is already staged well. Studios, one-bedroom units, and clean, bright interiors are exactly where a modern phone closes most of the gap with a dedicated camera. Add a lower nightly rate tier, and the cost of a pro shoot rarely pays for itself fast enough to matter.
The physics still favor real cameras, though, and it’s worth knowing why. 3mm. Research has examined how imagery affects property and hospitality decisions, but any specific quantitative conclusion should be tied directly to a primary source and its study context.
Pro Tip: Megapixels barely matter once a photo lands on a phone screen. Almost all Airbnb browsing happens on mobile, so a downsized, well-lit 12-megapixel shot often reads as sharper than a poorly lit 48-megapixel one.
Your phone is probably sufficient when:
- The room gets strong natural light for at least a few hours a day
- Surfaces are cleared and the space is genuinely staged, not just tidied
- You’re shooting a studio, one-bedroom, or mid-size unit rather than a sprawling home
- The listing sits in a value or mid-tier price bracket rather than a luxury category
Watch for the limitations that trip up even careful hosts: rooms with two different light sources (a lamp plus a window, for example) confuse a phone’s auto white balance, glass and mirrors create blown-out reflections a phone can’t recover, and long, narrow rooms often need a wider field of view than a standard phone lens provides.
When Should You Hire a Professional Photographer?
Certain situations justify the expense every time. Luxury listings, properties marketed on architectural detail, multi-floor or large-square-footage homes, and rooms with genuinely hard lighting (skylights next to shadowed corners, for instance) are where professional gear earns its keep.
Professionals bring three things a phone cannot fully replicate:
- Controlled lighting and exposure bracketing that balances a bright window against a dim interior in one frame
- True wide-angle lenses with far less barrel distortion than a phone’s ultra-wide mode
- Compositing skill for legitimately difficult scenes, applied to correct exposure and perspective, never to invent features
Expect a typical session to run a few hundred dollars depending on your market and square footage, usually delivered as 20 to 40 edited images within a few days to a week. That’s a reasonable one-time investment for a flagship property. It’s a harder sell for a studio apartment that turns over at a modest nightly rate.
Should You Combine a Pro Shoot With Phone Updates?
Yes, and this hybrid pattern is how a lot of experienced operators actually run their photography budget. You pay once for a professional core gallery, then use phone shots to fill in seasonal changes, new furniture, or a refreshed patio without booking another session every time something shifts.
The trick is keeping phone updates from looking like a mismatched afterthought. Match the color temperature and brightness of your pro photos as closely as you can, and avoid a dramatically different angle or lens width from what the photographer used.
A workable set of rules:
- Refresh the pro gallery every two to three years, or sooner if you renovate.
- Call a photographer back in when you add a genuinely new space (a converted garage, a new deck).
- Use phone shots for minor seasonal changes: new bedding, updated decor, a repainted wall.
Pro Tip: Keep a folder of your pro photographer’s original, unedited files. When you need a phone update later, you can match the white balance and crop against those originals instead of guessing.
How Do You Shoot Airbnb Photos With Just a Phone?
A publishable phone shoot comes down to preparation before you ever pick up the camera. Clear counters, make every bed, open curtains, and add one or two signals of hospitality, like fresh towels or a bowl of fruit, that read as “someone thought about this.”
Once the space is ready, set up your phone correctly:
- Shoot in landscape orientation, always. Airbnb displays hero images horizontally, and portrait shots get cropped awkwardly.
- Turn on the grid overlay so you can level horizons and verticals as you shoot.
- Mount your phone on a simple tripod at roughly chest height, around 4.5 to 5 feet, which mimics how a guest actually sees a room.
- Use the 0.5x ultra-wide lens for full-room shots, but back off it for detail shots where distortion becomes obvious.
- Turn off portrait mode, beauty filters, and any “enhance” toggle. These are built for faces, not furniture, and they warp straight lines.
Shoot bedrooms and living rooms in the morning or late afternoon when light is soft, and avoid shooting directly into a bright window. Stand in a doorway or room corner for your main shot. That angle shows the most usable floor space and avoids the flattened look of a photo taken from the room’s center.
Sequence your shots the way Airbnb’s own hosting guidance recommends: lead with your strongest hero image, then move room by room.
- Hero shot (living room or best feature)
- Bedroom(s)
- Bathroom(s)
- Kitchen
- Standout feature (view, pool, fireplace)
- Exterior and entrance
Aim for 6 to 12 total images per listing. Our guide on photographing small rentals so they feel open covers angle choices that make compact units look larger without distorting the space. A $20 to $40 tripod and a $10 phone clip cover nearly everyone’s gear needs here.
What Editing and Upload Steps Make Phone Photos Listing-Ready?
Keep your edits to a single, consistent pass across every photo in the gallery. Adjust exposure to brighten shadows without blowing out windows, pull down highlights that clip, lift shadows in darker corners, and add a modest vibrance boost so colors look true rather than flat.
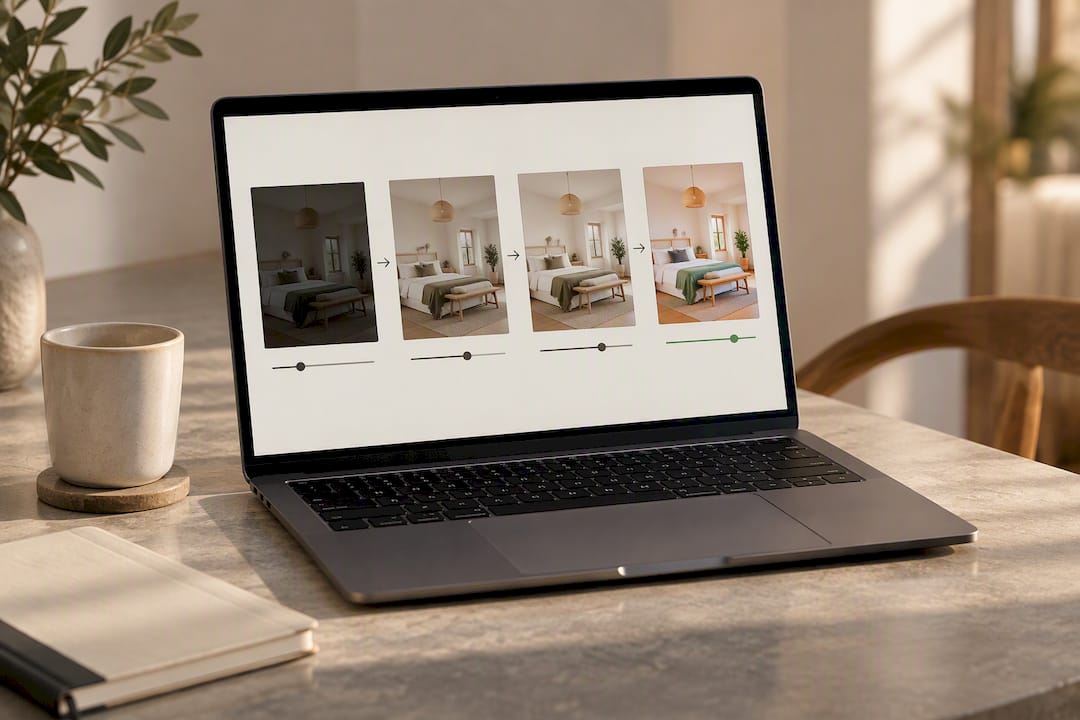
Apply the same settings to every image in a listing. A gallery where each room has a different color cast looks unedited even when every individual shot is fine on its own.
On file handling, a few details matter more than hosts expect:
- Export from HEIC to JPG before uploading. Airbnb accepts JPG reliably; HEIC handling can vary by device and browser.
- Aim for a 16:9 aspect ratio on your hero image, around 1920x1080 pixels, matching the platform’s recommended dimensions.
- Compress to roughly 85% quality. That keeps file size reasonable for fast mobile loading without visible artifacts.
Truthful editing means correcting light, color, and perspective, and removing clutter or people who don’t belong in the frame. It does not mean adding furniture that isn’t there, brightening a view that doesn’t exist, or implying square footage the unit doesn’t have. Keep your original, unedited files backed up before you export platform-specific crops.
Is a Professional Photo Shoot Worth the Cost?
DIY photography costs you time and maybe $30 to $50 in gear you’ll reuse indefinitely. A professional session typically runs a few hundred dollars per property, with turnaround in a few days to a week for edited files.
The honest ROI signal is not “always book a pro” or “never book a pro.Image quality can influence how people evaluate a listing, but there is no universal performance uplift that applies to every property. Measure clicks, inquiries, bookings, or sales on the individual listing. In a saturated market, a stronger gallery is often the cheapest lever a host has for improving conversion, which our guide to increasing listing photo quality covers in more depth.
Ask yourself these questions before deciding:
- Is your property in a crowded market where every listing looks similar?
- Do you already have usable phone photos, or are you starting from zero?
- Is the unit large, architecturally distinctive, or priced at the luxury end?
- Is your space genuinely staged and ready, or does it need real cleanup first?
If you answered yes mostly to the first two, phone-first is the practical call. If the last two dominate, a pro session earns its cost.
What Does a Typical DIY Shoot Day Look Like?
A focused DIY session fits comfortably into two to three hours if you plan the order in advance.
- Spend 30 to 45 minutes staging: clearing surfaces, making beds, opening blinds, setting hospitality touches.
- Shoot for 45 to 60 minutes, allowing roughly 5 to 10 minutes per room including your hero shot and two or three angle variations.
- Do a quick 20 to 30 minute edit pass, applying the same exposure and color adjustments across the full set.
- Export your hero image at 16:9 and the rest at their native aspect ratio, then review on your actual phone screen before uploading.
- Upload, check how the hero displays in the search grid, and swap it if a different shot performs better after a week or two.
That last step matters more than hosts assume. Your best-looking photo in your camera roll isn’t always the one that wins clicks once it’s compressed into a thumbnail.
What HospitalityLens Actually Thinks About This Debate
The honest answer is that gear matters less than most hosts assume, and workflow matters more. A phone in the hands of a host who stages well, shoots at the right time, and edits consistently will usually outperform a rushed or careless professional session. That’s not a knock on photographers. It’s a fact about how much of listing photo quality comes down to preparation rather than equipment.
Where we draw an honest line: AI enhancement, including what we build at HospitalityLens, fixes lighting, color, clutter, and crooked angles. It cannot invent an angle you never captured, add architectural detail that isn’t there, or rescue a photo where the room itself was never properly staged. If your source images are unusable, no amount of processing changes that.
— The HospitalityLens Team
Try One Free Photo Enhancement Before You Book a Pro
If you’ve read this far and realized your phone photos are mostly fine but need real polish, that’s exactly the gap HospitalityLens fills. HospitalityLens is a practical alternative to a full photoshoot when you already have usable phone or listing photos that just need honest correction: fixing lighting, straightening crooked verticals, cleaning up clutter, and removing stray objects or people, without inventing rooms, views, or amenities that aren’t real.

Free watermarked preview. Pay only if you like it. No card is required to create the free watermarked preview. See current pricing for unlocks, one-time packs, and subscriptions.
Sources
This article draws on Airbnb’s own hosting guidance on listing photos, DXOMARK’s sensor and image-quality research, and independent comparisons from Amateur Photographer on smartphone versus dedicated camera performance. For platform-specific export settings, see the Airbnb listing photo workflow guide. For staging tips that carry over to exterior and seasonal shots, AAA Movers’ curb appeal guide is worth a look.
FAQ
What Is the Best Way to Take Photos for Airbnb?
Stage the space first, shoot in landscape orientation with a leveled grid, and lead your gallery with the strongest hero image. Airbnb’s own guidance recommends sequencing photos logically, room by room, and using captions to explain anything the photo doesn’t fully show.
Is It Better to Take Photos With a Camera or a Phone?
For most standard listings, a well-executed phone shoot is enough. A dedicated camera still wins for luxury properties, large or architecturally distinctive homes, and rooms with genuinely difficult lighting, largely because of the sensor size gap DXOMARK documents between phones and cameras.
What Is the 80/20 Rule for Airbnb Hosts?
There’s no single official rule tied specifically to Airbnb photography or hosting. If you’ve seen such a term used, it’s typically a general business heuristic applied loosely to hosting, not a documented Airbnb standard, so treat any specific claim about it with caution.
What Are Red Flags for Airbnb Guests to Watch For?
This is a guest-safety question rather than a photography one, and it falls outside what this article covers. For guest-facing safety guidance, Airbnb’s own trust and safety resources are the right place to check.
Can HospitalityLens Replace a Professional Photo Shoot?
Not entirely. HospitalityLens enhances lighting, color, clutter, and crooked angles in photos you already have, which works well for listing refreshes and onboarding. It can’t create new angles or fix a shoot where the original capture was unusable, which is when a professional photographer is still the better choice.
Recommended