Short-Term Rentals
Professional Listing Images: A Host's Photo Guide
Unlock higher bookings and attract more guests by mastering the art of creating captivating, professional-looking images for your property listing.
By Hospitality Lens · · 11 min read
Professional Listing Images: A Host’s Photo Guide
TL;DR:
- Professional listing photos build trust and boost bookings by accurately showcasing a property’s space and lighting. Proper preparation, equipment, and editing are essential for creating compelling images that meet platform standards and attract guests.
A professional listing photo is defined as any image that accurately represents a property’s space, lighting, and condition in a way that builds immediate trust with a potential guest or buyer. The listing photo is emotional before it is rational. A guest decides whether to click or scroll past in under two seconds, which means your images carry more weight than your description, your price, or your amenity list. Properties using professional photos see revenue increases of up to 15%, and that number reflects a simple truth: better images convert browsers into bookers. This guide to professional looking listing images walks you through every stage, from gear selection to final upload, so your property gets the attention it deserves.
What equipment do you need for professional listing photos?
The right equipment removes the most common barriers to quality: poor exposure, distorted walls, and blurry detail shots. You do not need the most expensive camera on the market. You need the right tools for the job.
Cameras and lenses
A dedicated mirrorless or DSLR camera gives you manual control over exposure, white balance, and bracketed shots. That control matters most when you are managing the contrast between a bright window and a shadowed interior. Manual exposure control lets you overcome the limitations that trip up automatic smartphone modes in high-contrast rooms.
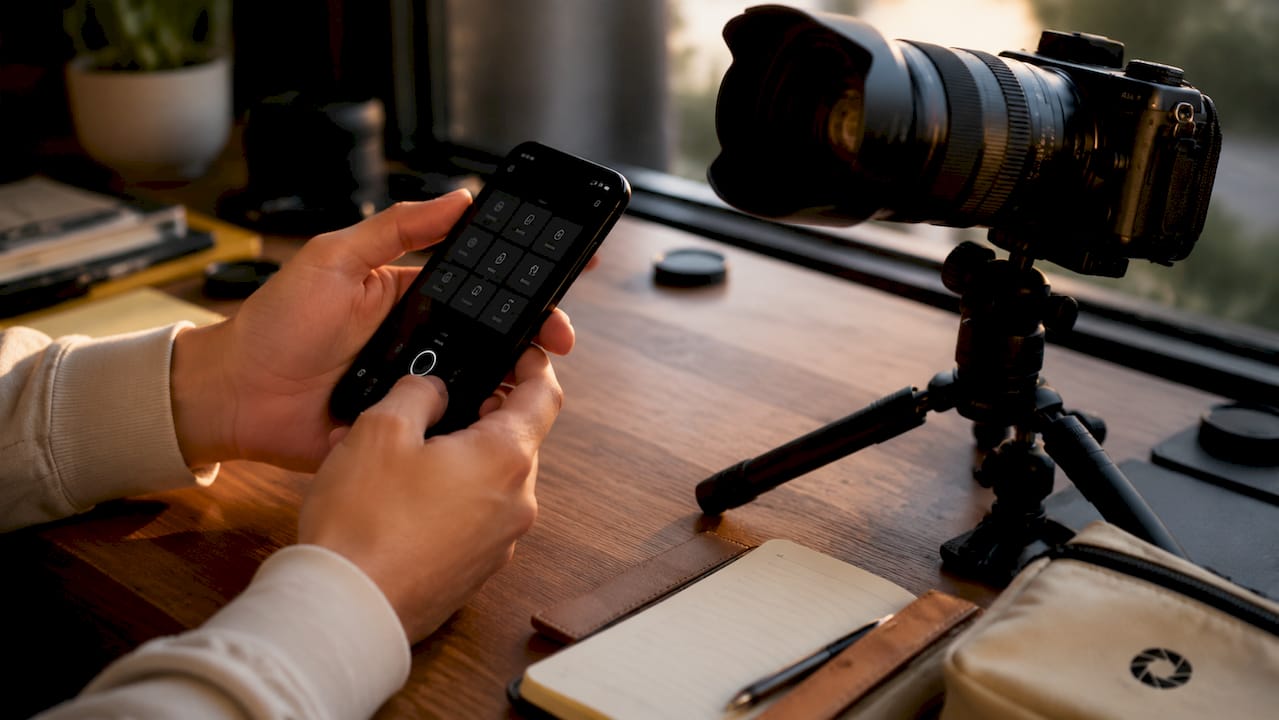
A 16–35mm wide-angle lens is the standard choice for interior shots. It captures the full width of a room without the barrel distortion that fish-eye lenses produce. Straight walls look straight. Rooms look like rooms, not funhouse mirrors.
Smartphones have closed the gap significantly, especially with AI-powered camera apps. AI apps on smartphones can now produce HDR-quality images without separate editing software. If a dedicated camera is not in your budget right now, a current-generation smartphone with a wide-angle mode and a stable tripod will get you further than most hosts expect.
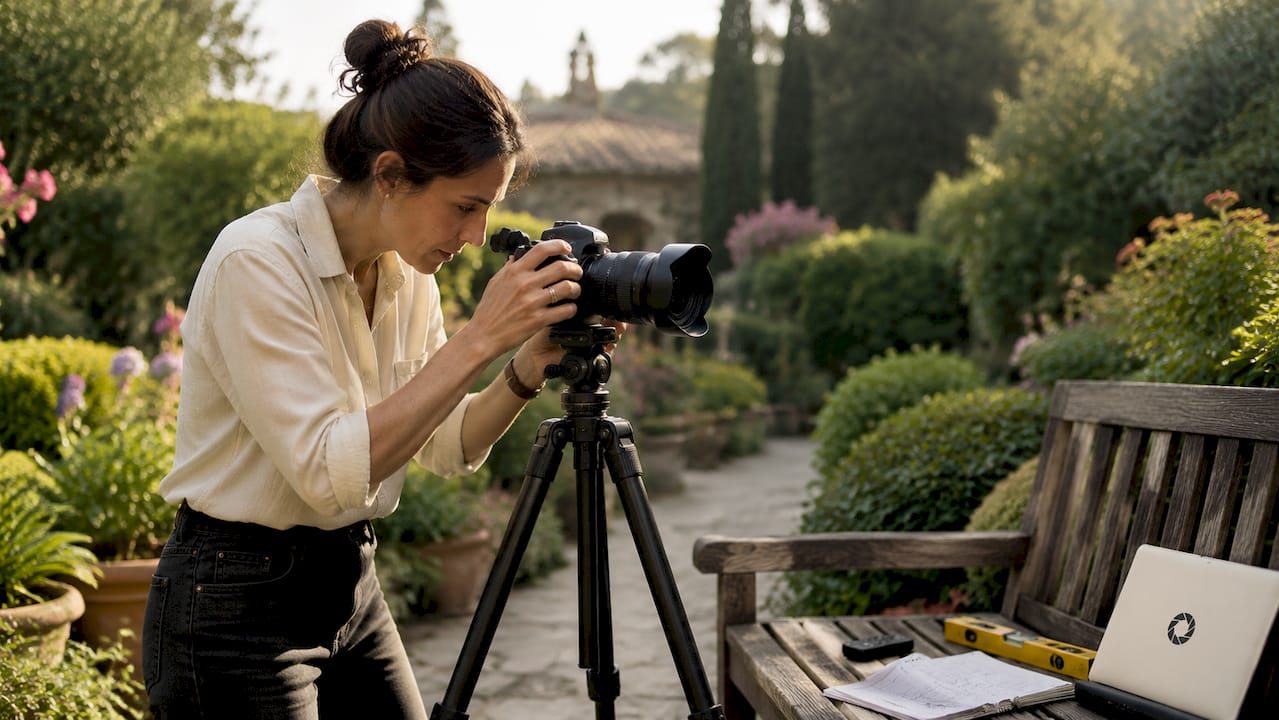
A sturdy tripod is non-negotiable. It eliminates camera shake in low-light rooms and keeps your framing consistent across every shot. A remote shutter release or a two-second timer prevents vibration when you press the button. Portable LED panels or a simple reflector help fill shadows in rooms that face north or have small windows.
Pro Tip: Avoid digital zoom entirely. It degrades sharpness and introduces noise. Use optical zoom or your feet to reframe a shot instead.
How should you prepare and stage your property before shooting?
Preparation is where most hosts underinvest. The camera records everything, including the power strip behind the couch and the half-empty shampoo bottle on the tub ledge. Industry-standard prep time runs about 45 minutes of decluttering and staging before a single shot is taken.
The staging sequence that works
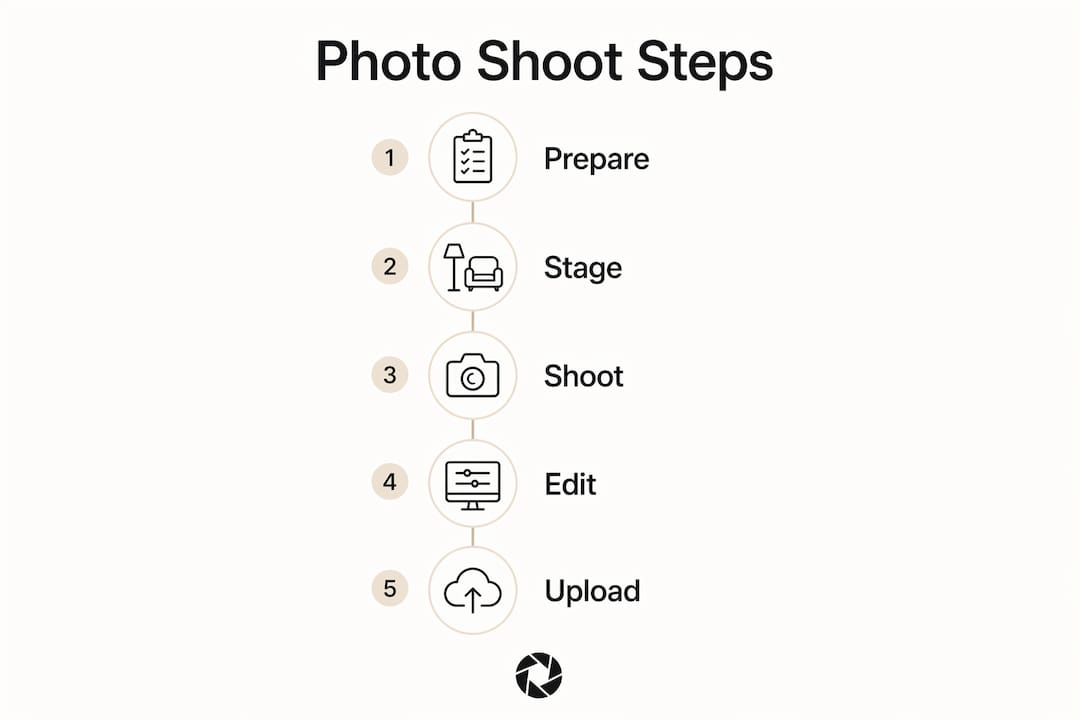
Walk through your property in the same order a guest would. Start at the front door and move inward. Remove anything that does not belong in a hotel room: personal photos, excess furniture, cleaning supplies left in view, and anything on countertops that is not decorative. Clean lines read as spacious on camera, even in a small room.
Neutral colors photograph better than bold ones. A bright red accent wall draws the eye away from the room’s proportions. A white or warm gray wall lets the space breathe. If you cannot repaint, use soft furnishings in neutral tones to balance the frame.
Natural light is your best staging tool. Open every blind and curtain before you shoot. Schedule your session for mid-morning when sunlight is warm but not harsh. Overhead fluorescent lights create a yellow cast that editing can only partially fix, so turn them off and rely on natural light supplemented by your LED panels.
Sequencing your shots for maximum impact
Photo sequence matters as much as photo quality. The standard flow runs: exterior front, exterior back or yard, living room, kitchen, primary bedroom, secondary bedrooms, bathrooms, and then standout features like a fireplace, a view, or a pool. This mirrors how a guest mentally tours a property and keeps them engaged through the gallery.
Aim for 25–30 images per listing. MLS portals and booking platforms prioritize listings with at least that many high-resolution photos in their search rankings. Fewer images signal an incomplete listing. More than 35 images can dilute the strongest shots.
Pro Tip: Shoot each room from the corner that shows the most depth. That single framing choice makes a 200-square-foot room feel significantly larger on screen.
What shooting techniques produce the most professional results?
Technique separates a competent photo from a trustworthy one. Buyers and guests subconsciously judge distorted or misaligned photos as signs of a lower-quality property. The camera does not lie, but it does exaggerate mistakes.
Composition and camera height
Shoot at chest height, roughly 4–5 feet off the ground. This mimics natural human eye level and gives rooms a grounded, realistic feel. Shooting too low makes ceilings disappear. Shooting too high flattens furniture and makes rooms look smaller.
Vertical lines must stay vertical. Tilted walls read as sloppy and unstable. Maintaining perfect vertical alignment preserves spatial accuracy and signals to the viewer that the property is well-maintained. Use your camera’s built-in level grid or correct alignment in post-production.
Build depth into every frame. A strong listing photo has a foreground element, a clear midground subject, and a visible background. Layered composition creates a three-dimensional feel that flat, centered shots cannot achieve. In a living room, that might mean a coffee table in the foreground, the sofa in the midground, and a window or artwork in the background.
Managing light with HDR
HDR photography solves the single biggest interior challenge: the bright window versus the dark room. HDR blending combines 3–5 bracketed exposures to reveal detail in both the shadowed interior and the bright exterior view simultaneously. Without it, you either blow out the windows or underexpose the room.
“HDR blending and AI-driven post-processing are becoming standard practice to ensure photos look natural despite challenging lighting conditions in interiors with bright windows.”
Mix your shot types within each room. One wide shot establishes the space. One medium shot shows the furniture arrangement. One detail shot captures a texture, a fixture, or a feature worth highlighting. That combination gives your gallery variety and keeps viewers engaged longer.
Editing is where raw shots become booking-ready images. The goal is not to make the property look better than it is. The goal is to make it look exactly as good as it is, without the distractions that cameras introduce.
Core editing adjustments
Subtle HDR editing avoids the over-processed, glowing look that signals heavy manipulation to experienced buyers. Adjust exposure, lift shadows slightly, and bring highlights down to recover window detail. Color neutrality matters: whites should look white, not yellow or blue. Correct white balance first, then adjust saturation conservatively.
Vertical correction is a one-click fix in most editing software. Apply it to every image. Crooked walls undermine trust even when viewers cannot articulate why. Virtual staging and sky replacement are legitimate tools for vacant properties or overcast exterior shots, but use them honestly. A blue sky replacement on a gray day is acceptable. Furniture that does not exist in the property is not.
Export images as JPEG at 72–96 DPI for web platforms, or at full resolution for MLS uploads that compress on their end. Consistent file naming and captions with room labels improve search indexing on listing portals. Consistent color and sequencing across your gallery signals professionalism and boosts perceived property value.
Upload in the same order you shot: exterior first, interior rooms in logical flow, special features last. The first image is your cover photo and your single most important asset. Choose the exterior shot or the most impressive interior, whichever is stronger. That image alone determines whether a guest clicks through to read your listing or keeps scrolling.
For hosts managing hotel booking website photos, consistent aspect ratios across all images prevent awkward cropping on platform thumbnails. A 4:3 ratio works well across most major booking platforms.
Key Takeaways
Professional listing photos require preparation, technique, and careful editing. The most effective approach combines correct staging, proper equipment, and consistent post-production to produce images that build trust and drive bookings.
| Point |
Details |
| Prep time matters |
Budget 45 minutes for decluttering and staging before any shot is taken. |
| Lens choice affects trust |
A 16–35mm rectilinear lens prevents distortion and keeps walls looking straight. |
| HDR solves interior lighting |
Blend 3–5 bracketed exposures to balance bright windows with shadowed interiors. |
| Photo count affects ranking |
Upload 25–30 images in logical sequence to improve visibility on booking platforms. |
| Editing should reveal, not invent |
Correct exposure, alignment, and color without making the property look different than it is. |
What I have learned after years of watching hosts get this wrong
Most hosts spend money on the wrong thing first. They upgrade their camera before they learn to stage a room. A $3,000 mirrorless body pointed at a cluttered bedroom with the blinds closed produces worse results than a smartphone aimed at a clean, well-lit space. Equipment amplifies what is already there. If the room is not ready, the camera just records the problem in higher resolution.
The second mistake I see constantly is over-editing. Hosts discover HDR sliders and push them until the sky glows and the grass looks neon. Guests notice. It creates a gap between the photo and the reality, and that gap destroys trust before the guest even arrives. Subtle editing that makes a room look clean and bright is always more effective than dramatic editing that makes it look unreal.
The insight that changed how I think about listing photos is this: the photo is not a sales tool. It is a trust tool. Its job is to show the guest exactly what they are getting, in the best honest light possible. When you approach it that way, the decisions become clearer. You stop asking “how do I make this look amazing?” and start asking “how do I show this accurately and well?” That shift produces better photos and better guest experiences.
AI-powered enhancement tools have genuinely changed what is possible for hosts who are not photographers. They handle the technical corrections automatically, which means you can focus on preparation and composition, the parts that actually require your judgment. For hosts managing listings that attract more clicks, that combination of good prep and AI-assisted editing is the most practical path to professional results without a professional’s budget.
— Greg
How HospitalityLens makes professional photo quality accessible
Getting professional-quality listing images used to mean scheduling a photographer, waiting days for edited files, and paying fees that did not always match the results. HospitalityLens changes that equation.
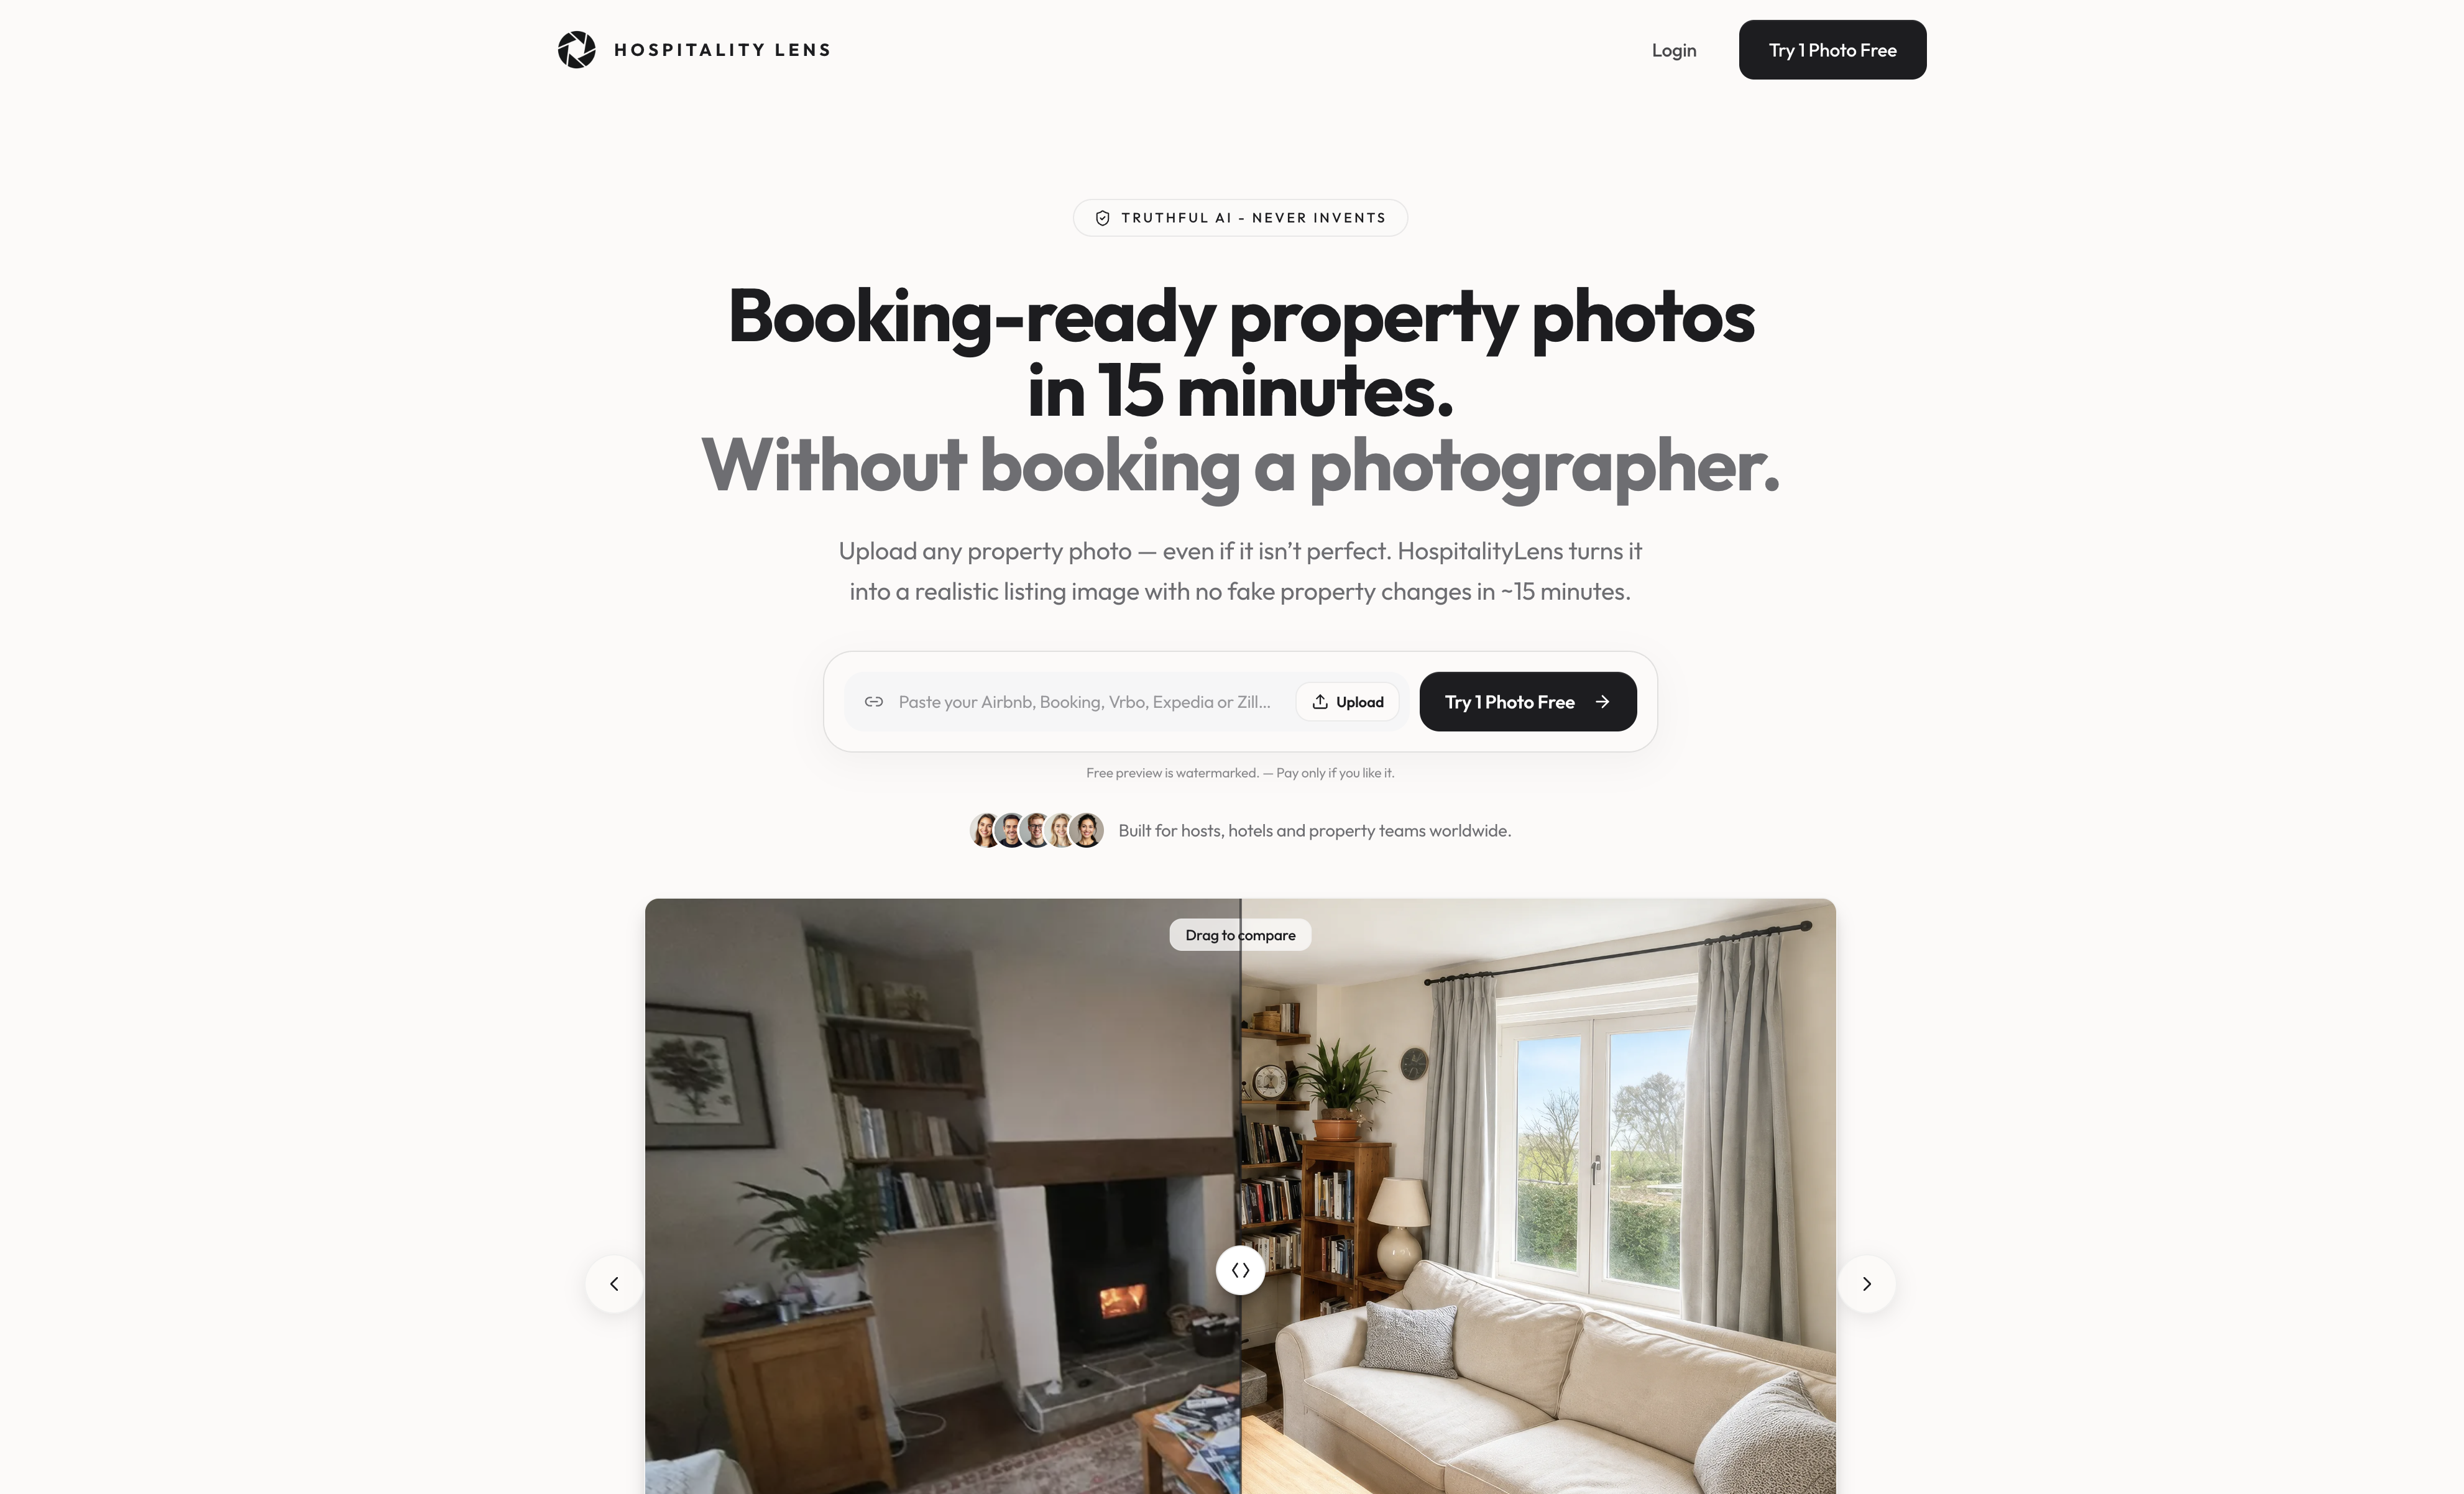
Free watermarked preview. Pay only if you like it. No card is required to create the free watermarked preview. See current pricing for unlocks, one-time packs, and subscriptions.
FAQ
What makes a listing photo look professional?
A professional listing photo has correct vertical alignment, balanced exposure, and a clean, uncluttered frame. Technical accuracy, especially straight walls and natural color, builds immediate trust with potential guests.
How many photos should a listing have?
Listings perform best with 25–30 high-resolution images uploaded in a logical sequence from exterior to interior. Booking platforms and MLS portals rank listings with this photo count higher in search results.
What lens is best for interior real estate photography?
A wide-angle lens in the 16–35mm range is the industry standard for interior shots. It captures full rooms without the barrel distortion that fish-eye lenses produce.
Can a smartphone produce professional listing photos?
Yes, with the right technique and AI-powered camera apps, a current-generation smartphone can produce HDR-quality listing images. A tripod, good natural light, and careful staging matter more than the device itself.
What is HDR photography and why does it matter for listings?
HDR photography blends 3–5 bracketed exposures to balance bright windows with darker interiors in a single image. It reveals detail in both areas simultaneously, which is the most common technical challenge in interior real estate photography.
Recommended