Short-Term Rentals
Airbnb Photo Count: How Many Photos Actually Book More Stays
Maximize your Airbnb bookings by optimizing your photo count, ensuring guests clearly visualize your space and amenities for higher conversion rates.
By Hospitality Lens · · 11 min read
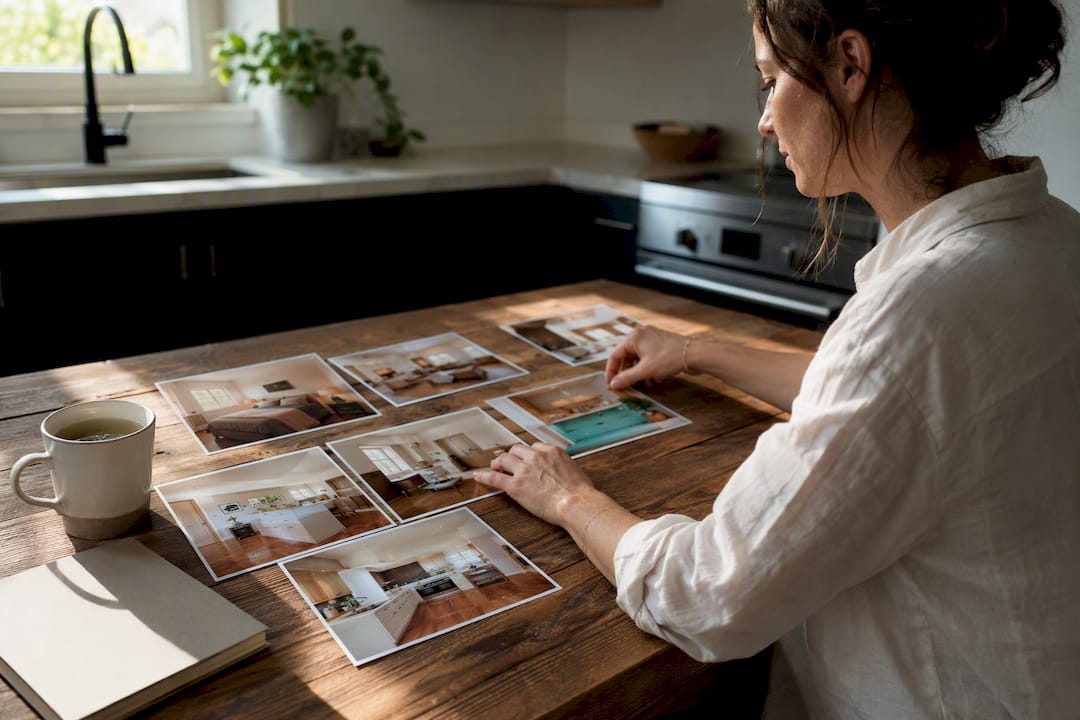
Most listings perform best with 22 to 30 photos, and studios or one-bedrooms can succeed with fewer, closer to 15 to 20. That range works because Airbnb’s interface pushes the first five photos hardest, booking-rate gains flatten out between roughly 20 and 30 images, and beyond that point, extra photos mostly add scrolling, not conversions. Before you touch your gallery, run this quick check:
- Is your cover photo the single strongest shot you own?
- Do the first five photos tell a guest where they’ll sleep, cook, and relax?
- Have you cut filler shots that repeat an angle you already used?
Key Takeaways
Most Airbnb listings book best with 22 to 30 well-sequenced photos, led by a strong cover image and a purposeful first five.
| Point |
Details |
| Target count by size |
15 to 20 photos for studios/1BR, 25 to 35 for 2 to 3BR, and more for larger properties. |
| First five decide clicks |
Order your gallery hero, bedroom, kitchen, bathroom, amenity to match how guests actually decide. |
| Diminishing returns are real |
Booking-rate gains flatten between 20 and 30 photos, so cut duplicates instead of padding the count. |
| Match specs to platform rules |
Shoot landscape at 2048 x 1365 px or larger and keep files under about 30 MB. |
| Choose production method by need |
HospitalityLens enhances usable existing photos fast; a professional shoot still wins for new angles or unusable images. |
Table of Contents
How Many Photos Should You Use for Your Airbnb Listing?
The right count depends on how much space you actually have to show, not on hitting a round number.
Studios and one-bedrooms do well with 15 to 20 photos. There simply aren’t enough distinct rooms to justify more, and padding the gallery with three angles of the same sofa reads as filler.
Two- and three-bedroom properties should aim for 25 to 35 photos. Each additional bedroom and bathroom earns its own coverage, and if you have a patio, pool, or parking area, that’s worth a shot too.
Larger properties with four or more bedrooms and extensive amenities often require a higher number of photos to fully capture the space and features, helping guests understand what they’re booking.
A data-driven review of listing photo performance found the biggest booking-rate jumps happen moving from a handful of photos to about 15, then again up to roughly 22. Past that, the curve flattens, and a smart working target sits near 22 images for most standard listings.
That’s your floor, not your ceiling. Scale up from there based on square footage and amenities, but resist the urge to keep adding “just in case” photos once you’ve covered every room.
What Should You Shoot in Each Room?
Work through your property systematically so no space gets skipped and no space gets over-shot.
- Cover/hero shot: the single best-lit, most inviting image of the property, ideally showing the main living space or a striking exterior view.
- Living area: two wide shots from different corners, plus one detail shot of a comfortable seating spot or a nice design touch.
- Kitchen: one wide shot showing counter space and appliances, one detail shot highlighting anything notable, like a coffee station or wine fridge.
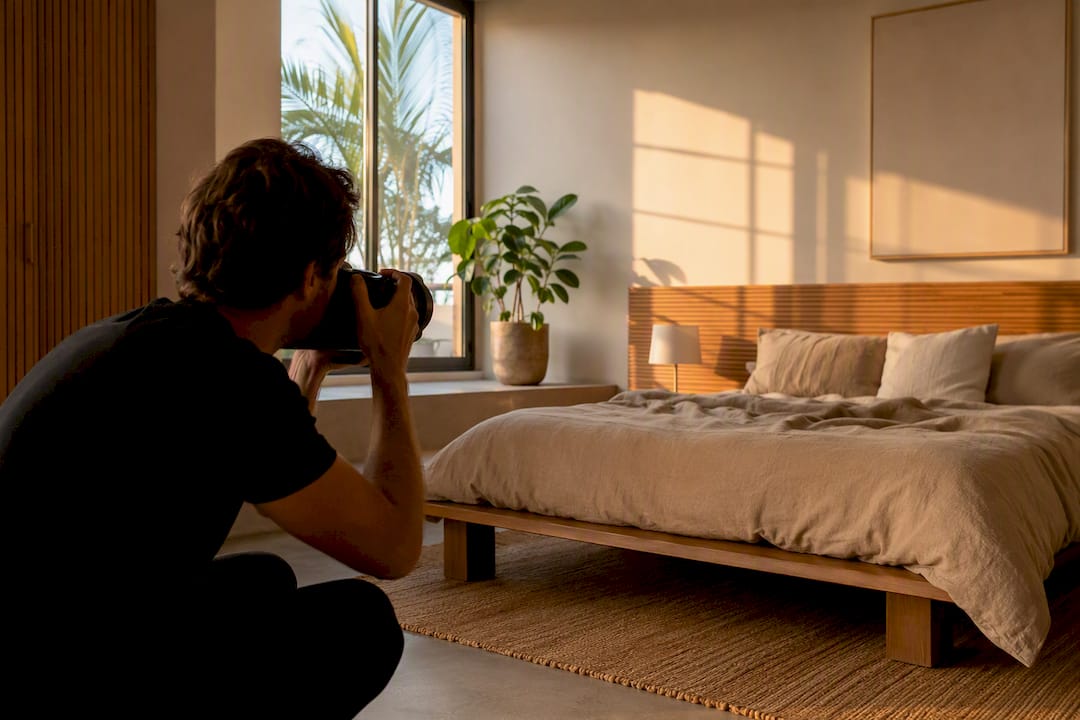
- Bedrooms: one wide shot per bedroom showing the bed made and styled, plus a detail shot if there’s a nice view or reading nook.
- Bathrooms: one clean, well-lit shot per bathroom, taken from an angle that avoids reflections in mirrors.
- Outdoor spaces: wide shots of patios, pools, or yards, taken at the time of day when the space looks best.
- Neighborhood: one or two shots that establish context, like a walkable street or a nearby landmark, if it’s a genuine selling point.
Airbnb’s photo tour feature sorts your images into rooms automatically, but it works far better when every room already has at least one photo before you upload. Before you shoot, spend ten minutes decluttering: clear counters, tuck away cords, and open curtains for natural light. A tidy space photographs faster and needs less editing afterward.
Pro Tip: Shoot each room from the corner opposite the door. It captures more of the space in one frame and avoids the “looking down a hallway” feel that makes rooms look smaller than they are.
Why Photo Order Matters More Than You’d Think
Your gallery isn’t just a collection of images. It’s a sequence a guest scrolls through in seconds, and the order decides whether they keep looking.
Lead with your strongest hero shot, then follow with a bedroom, the kitchen, a bathroom, and one standout amenity. That sequence answers the two questions running through a guest’s mind: where will I sleep, and what will this feel like? Airbnb’s own guidance emphasizes the first five photos as the most prominent in the browsing experience, which means a mediocre third or fourth photo can quietly cost you clicks before a guest ever reads your description.
When picking your cover photo, look for strong natural light, a composition free of clutter, and a shot that hints at the experience of staying there, not just the room itself. You can reorder the first five photos directly from your listing’s cover page, so there’s no reason to leave a weak image in a strong position.
What Technical Specs Should Every Photo Meet?
Airbnb recommends landscape orientation with a minimum resolution of 1024 x 683 pixels, and it prefers files at 2048 x 1365 pixels or larger for sharper display across devices. File sizes up to roughly 10 to 30 MB give you the quality headroom without slowing uploads to a crawl.
Beyond the technical minimums, a few composition habits separate booking-ready photos from amateur ones:
- Shoot during daylight hours and let natural light do the heavy lifting.
- Keep the camera level. A tilted horizon is one of the fastest ways to make a photo look unprofessional.
- Use wide-angle lenses carefully. They can exaggerate room size in ways that disappoint guests on arrival.
- Shoot everything in landscape, since Airbnb’s layout favors it.
Pro Tip: Export photos as JPEG at high quality (not maximum compression) before upload. It keeps file sizes manageable while preserving the detail that separates a crisp listing photo from a muddy one.
When Do Extra Photos Help, and When Do They Hurt?
More photos help until they don’t. Once you’ve covered every room and amenity with purpose, additional images tend to repeat an angle you already have, and that’s where things start working against you.
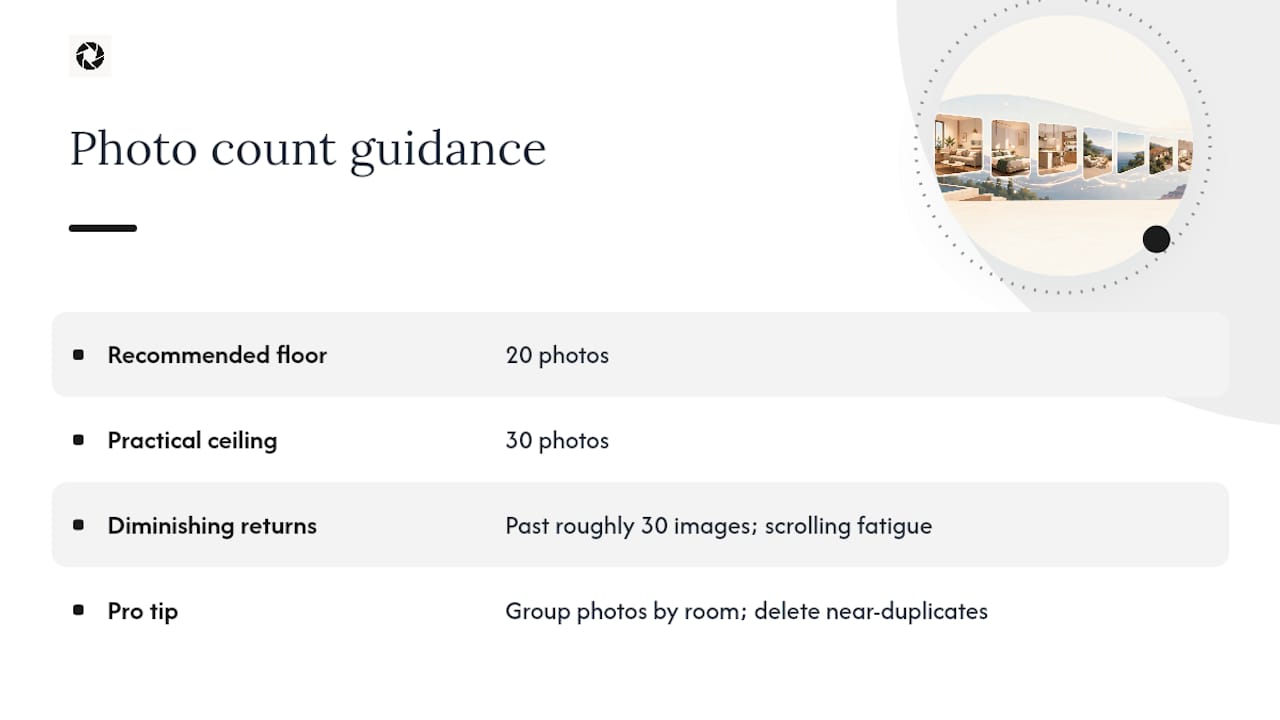
Guides that track listing engagement consistently warn about diminishing returns once galleries push past roughly 30 images, since scrolling fatigue sets in and guests lose patience before reaching your best content. Treat 20 photos as a reasonable floor for most properties and 30 as a practical ceiling unless your square footage genuinely demands more.
Pro Tip: Before uploading, group your photos by room and delete every near-duplicate. If two shots show the same corner of the same bedroom, keep the sharper one and cut the other.
Should You Hire a Photographer, DIY, or Use AI Enhancement?
Each option fits a different situation, and the right call depends on your budget, timeline, and what condition your existing photos are already in.
A professional photoshoot makes sense for flagship launches, architectural properties, or listings where you need entirely new angles. Airbnb’s own Pro Photography Program typically delivers 15 to 25 retouched images with turnaround around one week, priced per session and booked through the platform.
A DIY shoot costs nothing but your time and works well if you already understand basic composition and lighting, though results vary with skill and equipment.
AI photo enhancement fits a specific gap: when you already have usable phone photos, cleaner-taken images, or an outdated listing gallery that just needs correcting, not reshooting. It won’t invent a view that doesn’t exist or add a pool that isn’t there, but it can fix lighting, straighten perspective, and clean up clutter fast.
Pro Tip: A live shoot is still the better call when your photos are unusable, your angles are wrong, or the space itself has changed. Enhancement improves what you have; it doesn’t replace what’s missing.
What We’d Tell a Host Deciding Right Now
Most hosts overthink the count and underthink the order. If your photos are already decent but tired, an enhancement pass on your existing images will move the needle faster than agonizing over whether you need 24 or 28 shots. If your photos are genuinely unusable, dark, crooked, or missing entire rooms, no amount of editing fixes that. Pick one listing, refresh its top five photos this week, and watch what happens before you touch the rest of your portfolio.
Refresh Your Listing Photos Without Booking a New Shoot
If your photos are usable but tired, dark, or crooked, HospitalityLens gets you booking-ready images faster and cheaper than scheduling a new photographer. You upload what you already have, whether it’s owner-submitted shots, cleaner-taken photos, or an outdated gallery, and get back lighting-corrected, straightened, decluttered images that still show the real property.

This isn’t a substitute for a shoot when you need new angles, a room that was never photographed, or architectural work on a flagship property. It’s built for the more common problem: usable photos that just look worse than the space actually does. Pricing runs from single photos to bulk packs and a monthly subscription for teams managing multiple listings, and every order includes revisions so the result matches the real room. Try one photo free through the step-by-step guide to see how it handles your own images, keeping in mind the free preview comes watermarked until you approve the finished version at Hospitalitylens.
Sources
FAQ
How many photos can I put on Airbnb?
Airbnb allows a large number of photos per listing, but performance data suggests the useful range tops out around 30. Beyond that, extra images tend to add scrolling fatigue rather than bookings.
What is the 75-55 rule in Airbnb?
This isn’t an official Airbnb rule or a term backed by Airbnb’s published guidance. If you’ve seen it referenced elsewhere, treat it skeptically and rely on documented guidance like the first-five emphasis and the 22-photo booking-rate target instead.
What does the 80/20 rule mean for Airbnb photos?
There’s no official Airbnb rule like the “80/20 rule” for photos in Airbnb’s own documentation. The more supported principle is that the first five photos carry outsized weight in a guest’s decision, which functions similarly in practice.
What is the 20-60-20 rule in photography?
This isn’t a standard Airbnb or photography industry framework referenced in official guidance. A more reliable structure is the room-by-room checklist: hero shot first, core living spaces next, supporting detail and neighborhood shots last.
Should I hire a photographer or use AI enhancement for my Airbnb photos?
Hire a photographer when you need new angles, unusable photos replaced, or a flagship property documented properly. Use AI enhancement, like HospitalityLens, when your existing photos are usable but need lighting, straightening, or clutter fixes.
Recommended