Photography Tips
Vrbo Photography Tips for Hosts: Get Booking-Ready Photos
Unlock more bookings and higher nightly rates by transforming your Vrbo listing with captivating, professional-quality photos that attract more guests.
By Hospitality Lens · · 18 min read
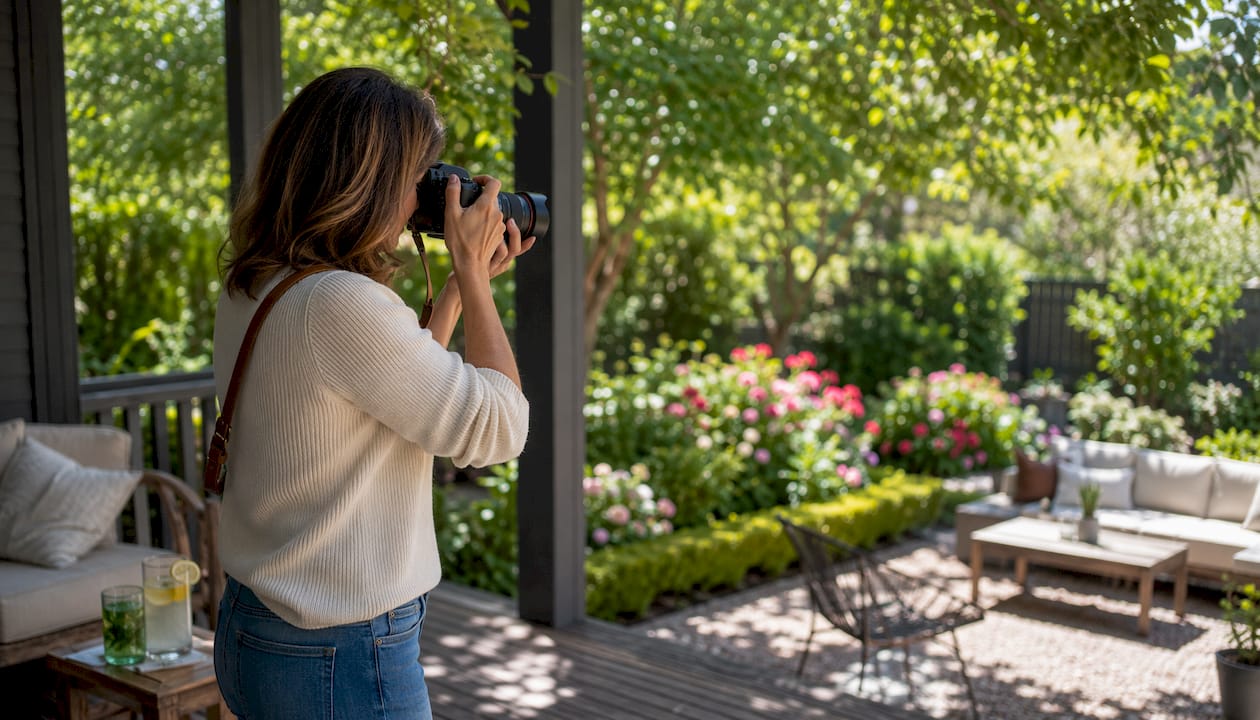
Replace your weakest listing photo first. That single swap, done today, is the highest-leverage action you can take to improve Vrbo clicks. Industry data suggests listings with professional-quality photos book significantly more nights and can command higher nightly rates. The gap between a scrolled-past listing and a clicked one is almost always the cover image.
Before you pick up a camera, run through this quick-start checklist:
- Hero image: Choose the property’s single most distinctive feature (pool, view, deck) as your cover photo, not a generic living room.
- Minimum shots: Aim for a moderate number of photos covering every room, outdoor areas, and key amenities.
- 30-minute staging: Remove personal items, clear countertops, and smooth linens before you shoot anything.
- Upload specs: Save files as JPEG, keep each file under Vrbo’s size limit, and shoot horizontally.
- Lighting window: Shoot interiors 1 hour after sunrise or 2–3 hours before sunset for the warmest, most flattering natural light.
Table of Contents
What are Vrbo’s photo rules and technical specs?
Vrbo’s official photo guidelines and Partner Central listing quality resources are the authoritative references for upload requirements. Here is what matters most:
| Requirement |
Vrbo Guidance |
| File format |
JPEG (JPG) strongly preferred |
| Orientation |
Horizontal (landscape) only |
| Minimum photos |
At least 6 to publish; a moderate number recommended for full coverage |
| Resolution |
High-resolution; avoid blurry or pixelated images |
| Watermarks / overlays |
Not permitted |
| Personal information |
Must not appear in photos |
| Misrepresentation |
Photos must accurately reflect the actual property |
Common rejection reasons fall into a few clear categories:
- Overlays and text: Any graphic, logo, or text burned into the image will be rejected.
- Personal items visible: Family photos, mail, prescription bottles, or identifying documents in frame.
- Low image quality: Blurry, pixelated, or severely underexposed images that do not represent the space clearly.
- Misrepresentation: Photos that show amenities, views, or spaces that do not exist or have been significantly altered.
- Vertical orientation: Portrait-mode photos do not display correctly in Vrbo’s gallery layout.
Vrbo notifies hosts of rejected images through the host tools dashboard and, in some cases, by email. When a photo is flagged, you will see a status indicator in your listing management panel. The fix is usually straightforward: correct the issue and resubmit through the same photo management interface.
Room-by-room shot list: what to photograph and in what order
A 20–30 photo gallery covers every guest decision point without causing scroll fatigue. Very small photo galleries may raise guest suspicion, while very large galleries may cause scroll fatigue. Here is a prioritized shot list you can hand directly to a photographer or follow yourself.
- Exterior hero (wide, full-property view from 15–25 meters; shoot at golden hour)
- Approach and entrance (driveway, front door, any distinctive architectural detail)
- Living room wide (corner or doorway shot showing full seating arrangement and natural light)
- Living room detail (fireplace, art, styled coffee table)
- Kitchen wide (counter run, primary appliances, clear countertops)
- Kitchen detail (coffee maker, quality cookware, stocked fruit bowl)
- Primary bedroom wide (full bed in frame, window and natural light visible)
- Primary bedroom detail (nightstand, view from bed if notable)
- Additional bedrooms (one wide shot each, same approach)
- Primary bathroom (doorway or corner shot; towels folded, toilet lid closed, mirror clean)
- Additional bathrooms (one clear shot each)
- Standout amenity (pool, hot tub, game room, home theater — shoot at golden hour for outdoor water features)
- Outdoor living area (deck, patio, fire pit staged as if guests just stepped outside)
- View shot (the most compelling vantage point; golden hour strongly preferred)
- Local attraction or context (nearby beach, lake, trail, or landmark — no individual storefronts)
- Detail and “tell” shots (5–8 images: quality linens, coffee station, welcome basket, unique architectural features)
Shooting order on-site: Start outside while the light is right, then move indoors room by room from the most public spaces (living, kitchen) to private ones (bedrooms, bathrooms). Finish with detail shots once the main rooms are covered. This order minimizes backtracking and reduces the chance of missing a room.
Pro Tip: The hero image should highlight the property’s single most distinctive visual asset, whether that is a pool, a mountain view, or a rooftop deck. A pretty interior living room rarely wins the click in a competitive search result. Save it for position three or four in the gallery.
Staging, composition, and the 30-minute checklist that increases bookings
A staging session consistently outperforms heavy post-production editing when it comes to booking impact. The reason is simple: editing can brighten a room, but it cannot remove a cluttered countertop or a family photo on the wall. Staging is intentional presentation. You are removing personal traces so guests can mentally move in.
The 30-minute staging checklist
Remove: Personal photos, mail, medications, toiletries, dish drying racks, appliance cords, trash bins, TV remotes, chargers, and any item a guest would not expect to find on arrival.
Add: A folded throw on the sofa, fresh flowers or a simple plant, a stocked fruit bowl in the kitchen, folded towels on the bathroom rail, and symmetrically placed pillows on each bed.
Quick surface fixes: Wipe down all countertops, close all cabinet doors, straighten rugs and cushions, clean mirrors until streak-free, and close the toilet lid in every bathroom.
Composition basics
Shoot from chest height, not from the floor or ceiling. A chest-height perspective feels natural because it mirrors how a guest actually experiences the room. For most rooms, position yourself in the corner or doorway that reveals the maximum square footage.
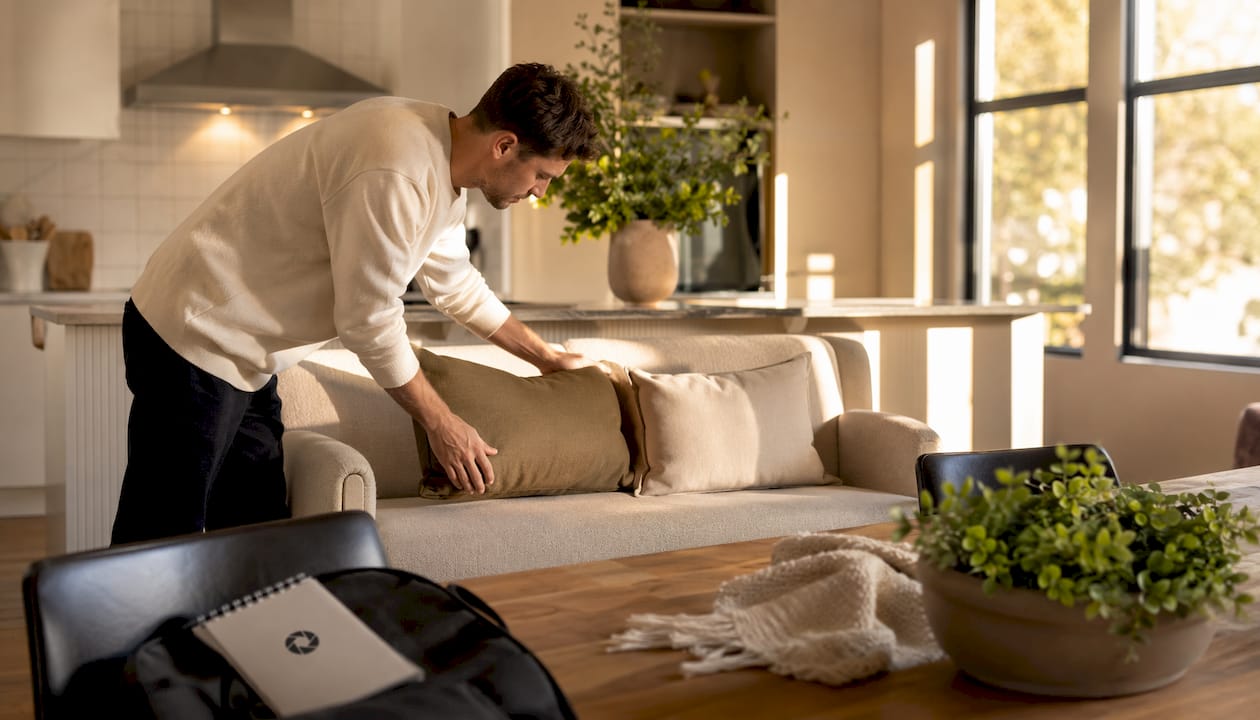
Keep vertical lines straight. Keystoning, where walls appear to lean inward or outward, undermines guest trust because it makes the space feel distorted. Use your camera’s grid overlay to align verticals before you shoot, and correct any remaining lean in editing.
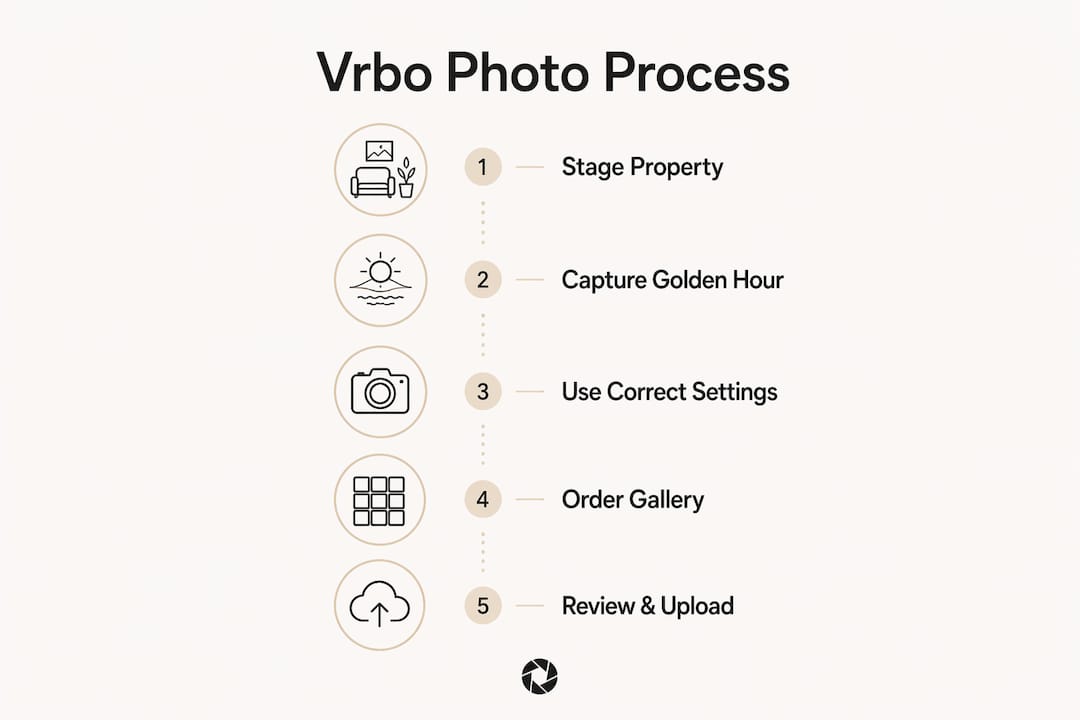
Aim for one-third floor, one-third middle, and one-third ceiling in your frame. This proportion reads as natural and honest to the eye.
Lighting and timing
Shoot interiors during golden windows: roughly 1 hour after sunrise or 2–3 hours before sunset. Overcast days are actually ideal for interior rooms because cloud cover acts as a natural diffuser, producing even, shadowless light. Avoid harsh midday sun, which creates blown-out windows and deep shadows that editing cannot fully recover.
Turn off the flash entirely. Flash creates harsh highlights and unnatural shadows that no amount of post-production can fix cleanly. Use lamps and ambient light instead, and supplement with a simple LED panel if a room is genuinely dark.
The wide-angle trap
A 16–24mm equivalent focal length is the right range for most interior shots. Go wider than that and you risk distortion that makes a modest bedroom look like a ballroom. Guests notice the discrepancy on arrival, and that disappointment shows up in reviews. Use wide lenses to show honest scale, not to manufacture space that does not exist. For more on lens distortion control, the tradeoffs are worth understanding before you shoot.
What camera settings and gear do you actually need?
You do not need a professional camera to produce Vrbo-grade images. A modern smartphone with the right settings and a $30 tripod can get you most of the way there. Here is a practical reference for both phone and DSLR/mirrorless setups.
| Setting |
Phone Workflow |
DSLR / Mirrorless |
| Format |
Shoot in RAW or highest JPEG quality |
RAW (CR2, ARW, NEF) |
| Aperture |
Fixed (phone manages automatically) |
f/8–f/11 for sharpness across the room |
| Shutter speed |
Use a tripod; let the phone expose naturally |
1/60s or slower on a tripod |
| ISO |
Keep auto-ISO; avoid digital zoom |
ISO 100–400; avoid high ISO indoors |
| White balance |
Set manually to “cloudy” or “shade” indoors |
Kelvin setting for warm interiors |
| Stabilization |
Tripod mandatory for bracketing |
Tripod mandatory; use mirror lock-up |
| Lens |
Native wide camera; never use digital zoom |
16–24mm equivalent; avoid fisheye |
Phone workflow tips: Enable the grid overlay to keep verticals straight. Lock exposure by tapping and holding on the brightest part of the frame before shooting. Use a native camera app or a pro app like Halide or ProCamera for manual control. Never use digital zoom; move physically closer instead.
Bracketing for bright windows: Professionals shoot bracketed exposures on a tripod to blend interior detail with exterior window views. On a phone, HDR mode approximates this. On a DSLR, shoot three exposures (normal, +2 stops, -2 stops) and blend in Lightroom or Photoshop.
Low-cost lighting: A white foam board positioned opposite a window reflects natural light into shadow areas. A simple LED panel (under $50) fills dark corners without the color cast of a flash.
How should you order your Vrbo photo gallery?
The gallery order influences whether guests book or keep scrolling. Viewers expect a logical tour and will abandon listings where photos appear randomly. Think of your gallery as a short visual walk-through that answers guest questions in the order they naturally arise.
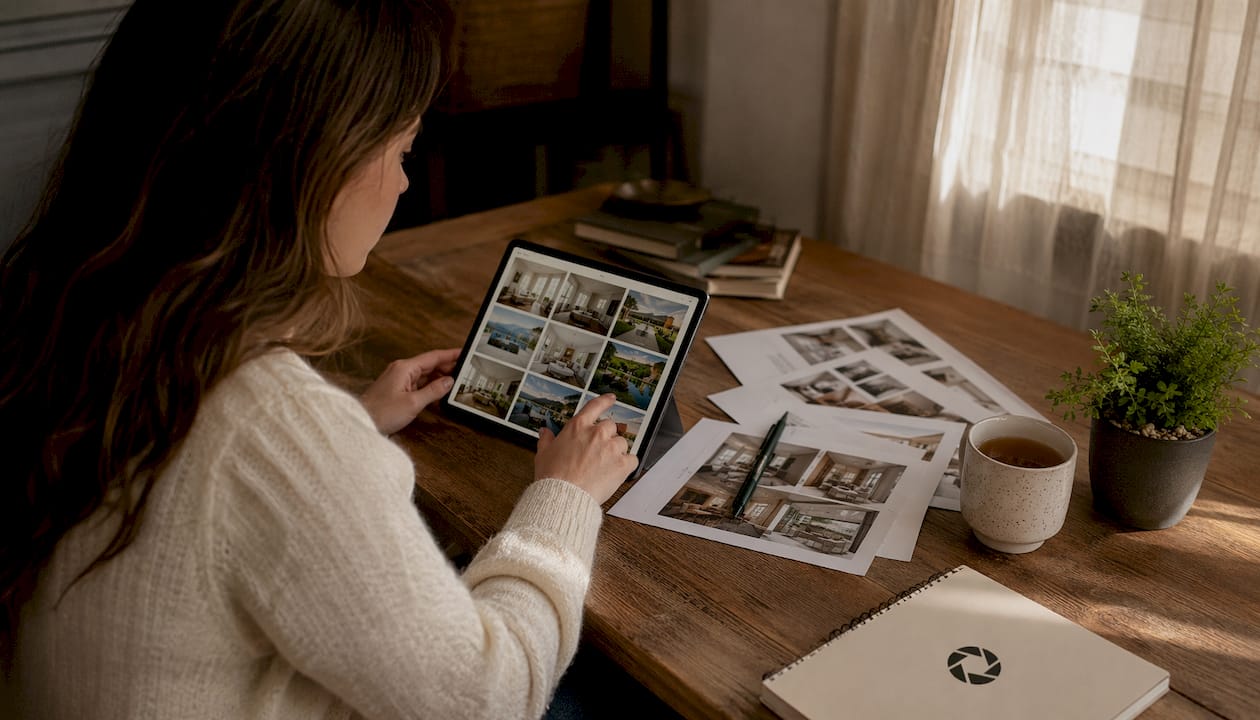
The recommended sequence for most properties begins with an exterior hero shot, then approach/entry, main living spaces, kitchen, standout amenities, bedrooms, bathrooms, detail shots, and local context.
If your property has a pool, hot tub, or exceptional view, move that shot into positions 2 or 3. Amenity shots should appear within the first six images when they are a primary booking driver. A guest comparing two similarly priced listings will often decide based on whether the amenity photo appears early enough to register.
For seasonal markets, consider maintaining two hero images: a summer exterior (pool, deck, outdoor dining) and a winter or autumn version (fireplace, cozy interior, snow-covered landscape). Swapping the hero to match the current booking window keeps your listing visually relevant to what guests are searching for. Seasonal hero swaps are worth scheduling every 2–3 years at minimum, or whenever the property changes meaningfully.
On mobile, the first three images are the only ones most guests see before deciding to scroll or leave. Test different hero images by swapping them and monitoring click-through rate in your Vrbo host dashboard over a 2–4 week period.
For a deeper look at photo gallery sequencing and how narrative order affects booking behavior, the principles apply directly to Vrbo listings.
What edits are acceptable on Vrbo, and what counts as misrepresentation?
The edits that move the needle most are also the simplest. Three adjustments account for roughly 90% of the improvement most listing photos need: brightness (+10–15%), warm white balance correction, and straightening/perspective correction. Everything else is refinement.
Quick edit checklist:
- Brightness and exposure: lift shadows, recover highlights, avoid blowing out windows.
- White balance: correct color casts from mixed light sources (yellow lamp + blue daylight).
- Perspective correction: straighten vertical lines; remove keystoning.
- Horizon straightening: rotate until the floor line is level.
- Minor retouching: remove a scuff on a wall, a stain on a countertop, or a temporary mark.
- Consistent color grading: apply the same tone across all photos so the gallery feels cohesive.
Allowed vs. prohibited edits on Vrbo: Brightness, color correction, perspective straightening, minor blemish removal, and consistent grading are all acceptable. Removing or adding major physical features, fabricating a view that does not exist, digitally expanding a room’s dimensions, or erasing a neighboring structure are misrepresentation. Guests compare your photos to the actual property on arrival. Heavy filters and oversaturation lower trust even when nothing is technically fabricated, because the property simply does not look the way the photos suggested.
For export, save as JPEG at high quality. Keep file sizes reasonable (most platforms cap uploads in the 10–25 MB range per image, though Vrbo’s specific current limit is listed in their help center). Name files descriptively before uploading (e.g., “living-room-wide.jpg”) to keep your gallery organized during reordering.
Tools that work well for batch consistency: Adobe Lightroom Mobile for color grading across a set, Snapseed for quick single-image corrections on a phone, and HospitalityLens for vacation rental photo editing when you need perspective correction, clutter removal, or lighting fixes without reshooting.
Should you hire a pro photographer or use an editing service?
Done properly, self-photography with correct timing, staging, and editing can approach 80–90% of professional quality for many properties. The question is not whether you can do it yourself. It is whether the investment in a pro shoot or an editing service pays off for your specific situation.
Hire a local pro photographer when:
- Your property is in a competitive market with high nightly rates (luxury or premium tier).
- You are launching a new listing and need a complete, cohesive gallery from scratch.
- The property has complex lighting (floor-to-ceiling windows, dark wood interiors, multiple light sources).
- You need aerial shots, video walkthroughs, or virtual staging alongside stills.
Typical US professional real estate and vacation rental photography ranges from $150 to $400+ for a standard shoot, depending on location, property size, and deliverables. Turnaround is usually 24–72 hours for edited files.
Use a photo editing service when:
- You have existing photos that are dark, crooked, or cluttered but structurally sound.
- You need a seasonal hero swap or a single-image refresh without a full reshoot.
- You manage multiple listings and need consistent quality across a portfolio quickly.
- You want to test whether better images improve bookings before committing to a full pro shoot.
For a practical breakdown of photo outsourcing options across a portfolio, the cost and workflow differences are worth reviewing before you decide.
If you are listing on multiple platforms, note that vacation rental sites each have slightly different display formats, so images that look strong on Vrbo may need minor cropping adjustments for other channels.
Common Vrbo photo rejections and how to fix them fast
Most Vrbo photo rejections fall into a handful of categories, and most fixes take under five minutes.
Format or file size issue: The image is not a JPEG, or the file exceeds the platform’s size limit. Fix: export as JPEG at high quality, compress if needed using a tool like Squoosh or ImageOptim, and resubmit.
Overlay or watermark: A logo, text, or graphic is burned into the image. Fix: remove the overlay in editing software and export a clean version. Vrbo does not permit any text or branding on listing photos.
Personal information visible: A name, address, license plate, or face is identifiable in the frame. Fix: crop or retouch the identifying element, or reshoot the angle to exclude it.
Low image quality: The photo is blurry, pixelated, or severely underexposed. Fix: reshoot using a tripod and correct lighting conditions. Editing cannot recover a fundamentally out-of-focus image.
Vertical orientation: The photo was shot in portrait mode. Fix: reshoot in landscape orientation. Vrbo’s gallery layout does not support vertical images.
Misrepresentation flag: The image shows something that does not match the actual property. Fix: replace with an accurate photo. Do not attempt to resubmit a flagged image without correcting the underlying issue.
To resubmit, go to your listing in the Vrbo host tools, navigate to the Photos section, remove the rejected image, upload the corrected version, and save. Vrbo typically reviews resubmitted images within a few business days. If a rejection reason is unclear or the image appears compliant but keeps getting flagged, contact Vrbo host support directly through the help center rather than continuing to resubmit.
Key Takeaways
Strong Vrbo listings require a compliant, well-staged, logically ordered gallery of 20–30 photos led by a hero image that shows the property’s single most distinctive feature.
| Point |
Details |
| Hero image first |
Lead with your property’s most distinctive feature (pool, view, deck), not a generic interior. |
| Gallery size |
Aim for a modest number of photos; too few may raise guest suspicion, too many may cause scroll fatigue. |
| Staging before shooting |
A 30-minute declutter and staging session outperforms heavy post-production editing for booking impact. |
| Lighting windows |
Shoot interiors during the morning or late afternoon golden hours; overcast days work well for indoor rooms. |
| HospitalityLens option |
Upload existing photos to HospitalityLens for lighting correction, perspective fixes, and clutter removal without a reshoot. |
What the HospitalityLens team sees working with short-term rental hosts
The most common mistake we see is not bad photography. It is outdated photography. A host renovates the kitchen, adds a hot tub, or replaces the furniture, and the listing still shows photos from three years ago. Guests arrive expecting one property and find another. That gap, even when the reality is better than the photos, creates friction and erodes trust.
The second pattern is over-reliance on ultra-wide lenses. A 10mm or 12mm shot of a bedroom makes a 200-square-foot room look like a suite. Guests notice on arrival. The reviews that follow tend to mention “smaller than expected” or “not as shown,” and those phrases stick. Honest scale, captured at 16–24mm from a chest-height corner position, builds the kind of trust that produces five-star reviews.
For managers running portfolios of five or more listings, the photo refresh problem compounds quickly. One property needs a seasonal hero swap. Another just had new furniture delivered. A third has photos from a previous owner that no longer reflect the property’s condition. Scheduling individual photoshoots for each update is expensive and slow. The more practical approach is to maintain a consistent editing workflow: upload the best available raw photo, correct lighting and perspective, remove clutter digitally, and publish. That workflow scales. Individual photoshoots do not.
What actually works at scale is a clear standard applied consistently: every listing gets a horizontal hero at golden hour, a 20–30 image gallery in walk-through order, and a quick editing pass for brightness, white balance, and perspective. Properties that meet that standard consistently outperform those that do not, regardless of price point.
Get Vrbo-ready photos without booking a photoshoot
Your existing photos may be closer to booking-ready than you think. HospitalityLens takes the raw images you already have, whether they were shot by a cleaner, a previous owner, or yourself on a phone, and returns professionally enhanced versions: corrected lighting, straightened perspective, cleaned-up clutter, and removed objects or people, all while preserving what the property actually looks like.

Current HospitalityLens pricing (USD); one-time packs — The Hero: 1 photo for $12; The Refresh: 10 photos for $59; The Property: 25 photos for $129; The Portfolio: 100 photos for $399; monthly subscriptions — THE STARTER: 10 photos/month for $49/month; THE OPERATOR: 25 photos/month for $99/month; THE PORTFOLIO: 100 photos/month for $299/month; one-time pack credits do not expire; monthly subscription credits remain valid for up to 3 months; 2 free revisions per photo on one-time packs; 3 free revisions per photo on monthly subscriptions. See current pricing.
Free watermarked preview. Pay only if you like it. No card is required to create the free watermarked preview. See current pricing for unlocks, one-time packs, and subscriptions.
Useful sources and further reading
- Vrbo photo guidelines (official help center) — the authoritative reference for file formats, size limits, orientation rules, and rejection reasons.
- Vrbo Partner Central listing quality — host tools and listing quality guidance for managing and reordering photos.
- Vacation rental photo checklist: 12 must-have shots (Houfy) — practical shot-by-shot breakdown with staging and sequencing guidance.
- Vacation rental photography tips (Evolve) — staging and pre-shoot preparation advice from a large US property management team.
- Short-term rental photography (Fotober) — technical guidance on lens choice, bracketing, and perspective correction.
- Airbnb photography guide (10xBNB) — gallery sequencing and amenity prioritization principles that apply equally to Vrbo.
- Vacation rental photography: the complete guide (Beyond Booking) — DIY vs. pro decision framework with quality benchmarks.
- HospitalityLens blog: photo storytelling for rental listings — gallery narrative and sequencing guidance specific to short-term rental listings.
- HospitalityLens blog: vacation rental photo editing that sells — practical editing steps and before/after examples for listing photos.
FAQ
How many photos should a Vrbo listing have?
Aim for a 20–30 photo gallery for most properties. Very small photo galleries may raise guest suspicion, while very large galleries may cause scroll fatigue.
Should Vrbo photos be horizontal or vertical?
Horizontal (landscape) orientation only. Vrbo’s gallery layout does not display vertical (portrait) images correctly, and portrait-mode photos are a common rejection reason.
How do you take better photos for a Vrbo listing?
Shoot during golden windows (1 hour after sunrise or 2–3 hours before sunset), use a tripod, stage the property for 30 minutes before shooting, and lead with the property’s most distinctive feature as your hero image. For existing photos that need improvement, a service like HospitalityLens can correct lighting, perspective, and clutter without a reshoot.
How should you arrange photos on Vrbo?
Order your gallery as a visual walk-through: exterior hero first, then entry, living room, kitchen, primary bedroom, additional bedrooms, bathrooms, amenities, and detail shots. Move standout amenities (pool, hot tub, exceptional view) into the first six images when they are a primary booking driver.
What makes a Vrbo listing stand out in search results?
The cover photo is the single biggest factor. The gap between a scrolled-past listing and a clicked one is almost always the cover image.
Recommended